- Joined
- Dec 31, 2009
- Messages
- 15,215
- Reaction score
- 157
How could you possibly get the suit off without either cutting or sewing? The neck hole isn't nearly big enough to fit the whole figure through...
Yes, It needs at least one slice between shoulder blades.

And on the kevlar mod, it's not possible on all DX12's. One of my connectors was bonded solidly to the suit, no way it could ever come of. I did shorten them though and also cut the elastics holding the shoulder pads and tightened them. Cutting the shoulder pads into two pieces is well worth it also IMO, that was one of my peeves with the armor.
")

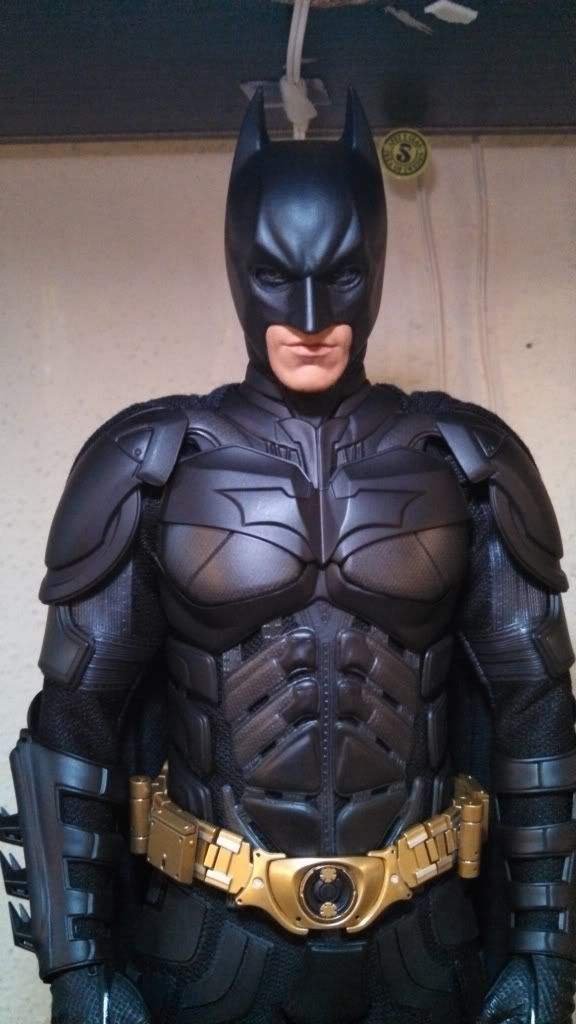
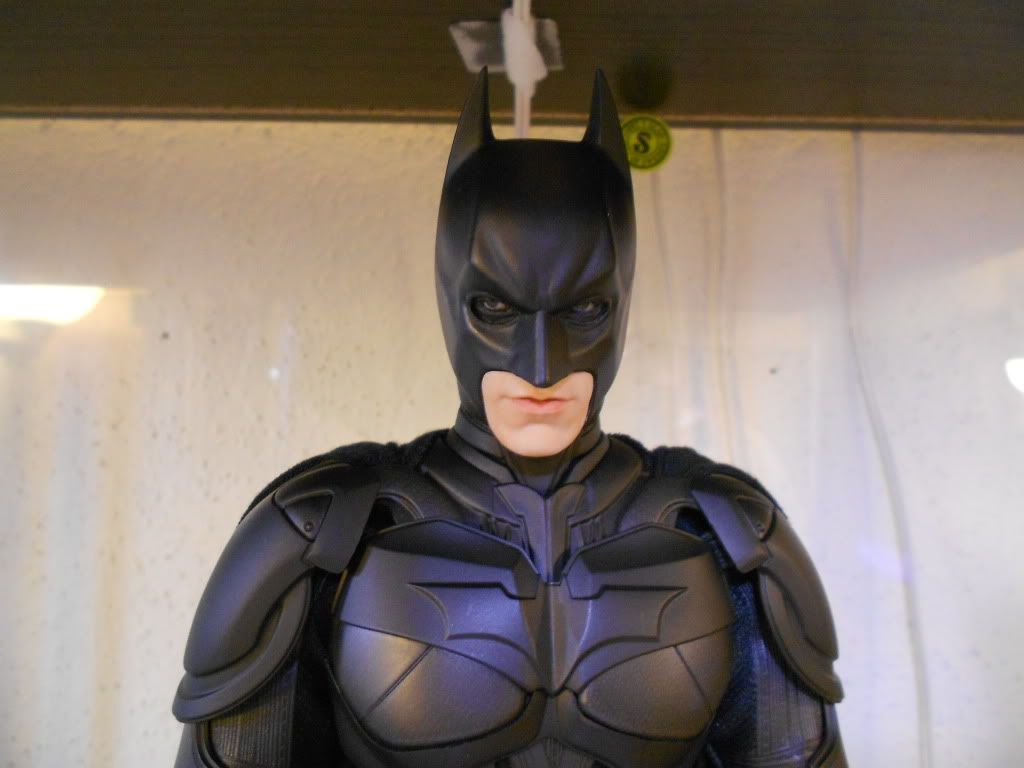
 while my photos aren't the best, they come out worse when I upload them :mad