1/6 Scale Blade Runner Spinner scratchbuild (Complete!)

Collector Freaks Forum

Help Support Collector Freaks Forum:

This site may earn a commission from merchant affiliate links, including eBay, Amazon, and others.
Door panels complete, I'll leave the detailing until later.

spin078.jpg


View from the pilot's seat.

spin079.jpg


Next step is to join the rear bulkhead to the roof.

spin080.jpg


spin081.jpg


I'm back at work now, so progress is going to slow down. It's been less than 2 months, so no complaints.
 
Last edited:
Just saw these on Japanese twitter....looks like a customizer here beat you to the punch!

FJDidutaQAQqhtD.jpg

FJDidhVaAAQHeEw.jpg


Yes, that's 1/6 and he did the entire noodle shop too. People here are insane.
 
I've seen that one on YT, very impressive, especially when it's all lit up.


As far as i can tell it has no moving parts, such as wheels or doors. The White Dragon noodle bar is really good. I'm pretty sure he built this Deckard sedan as well.

br-cars.jpg


I also want to build the red sedan, as well as a Metrokab and some of the street furniture, such as parking meters and street lights.
 
Making the rear suspension. This is similar to how it was made for the Bond Lotus.

spin085.jpg


The main difference is that the entire assembly is mounted on rails and retracts when in flight mode.

spin086.jpg


spin087.jpg


spin088.jpg
 
Looking Great!
I'm curious..These are quite big when you complete them. Where/How do you display them or what do you do with them?
 
They have to be stored for now, like some of the larger pieces in my collection. I have a plan to display them properly later on.
 
The rear suspension complete.

spin089.jpg


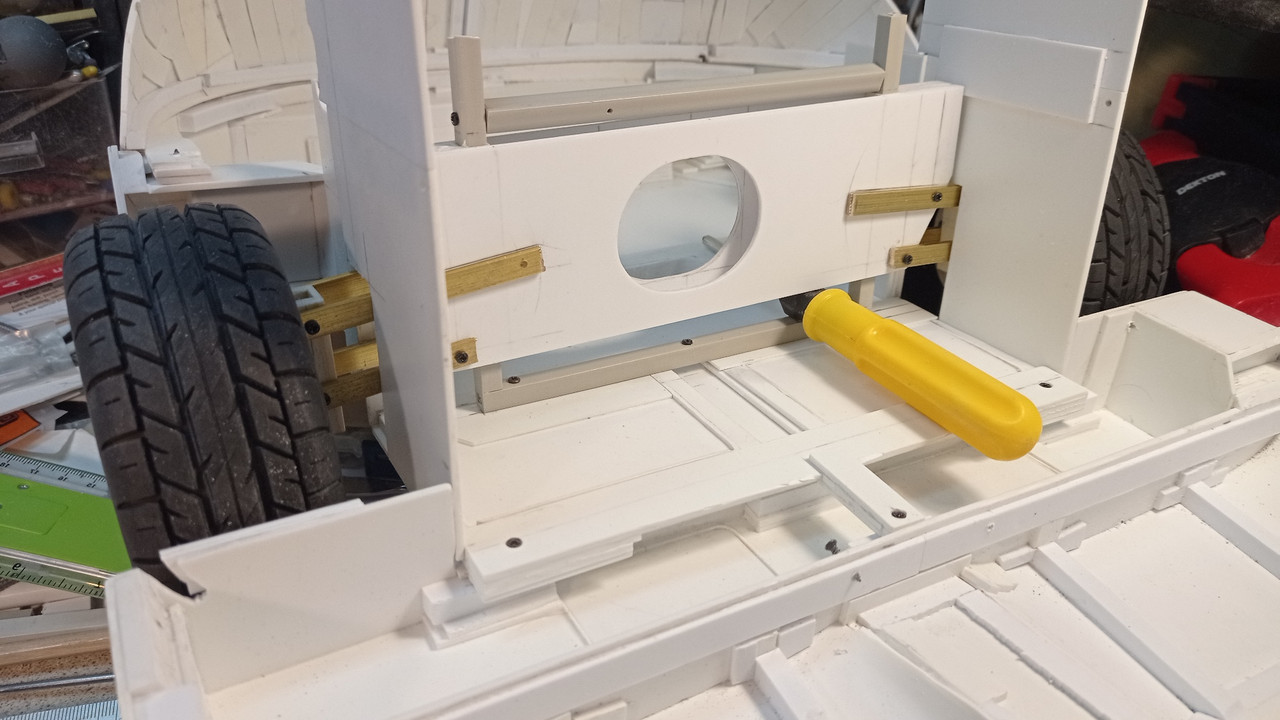
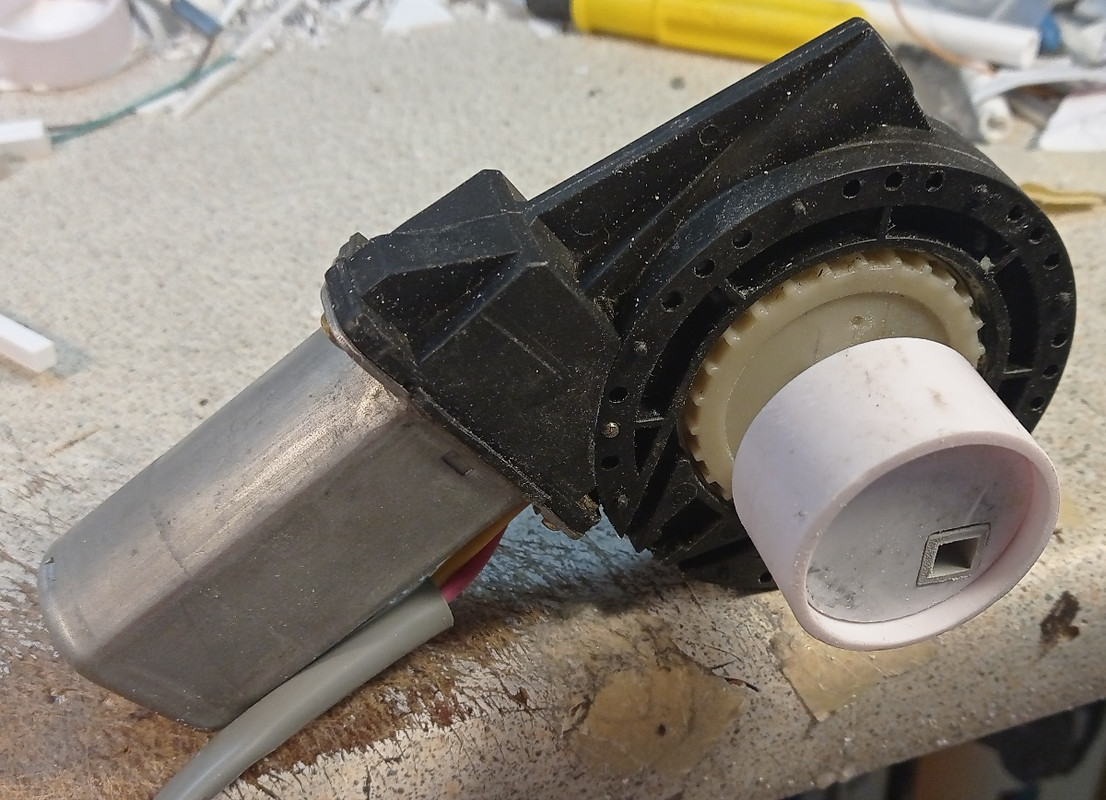
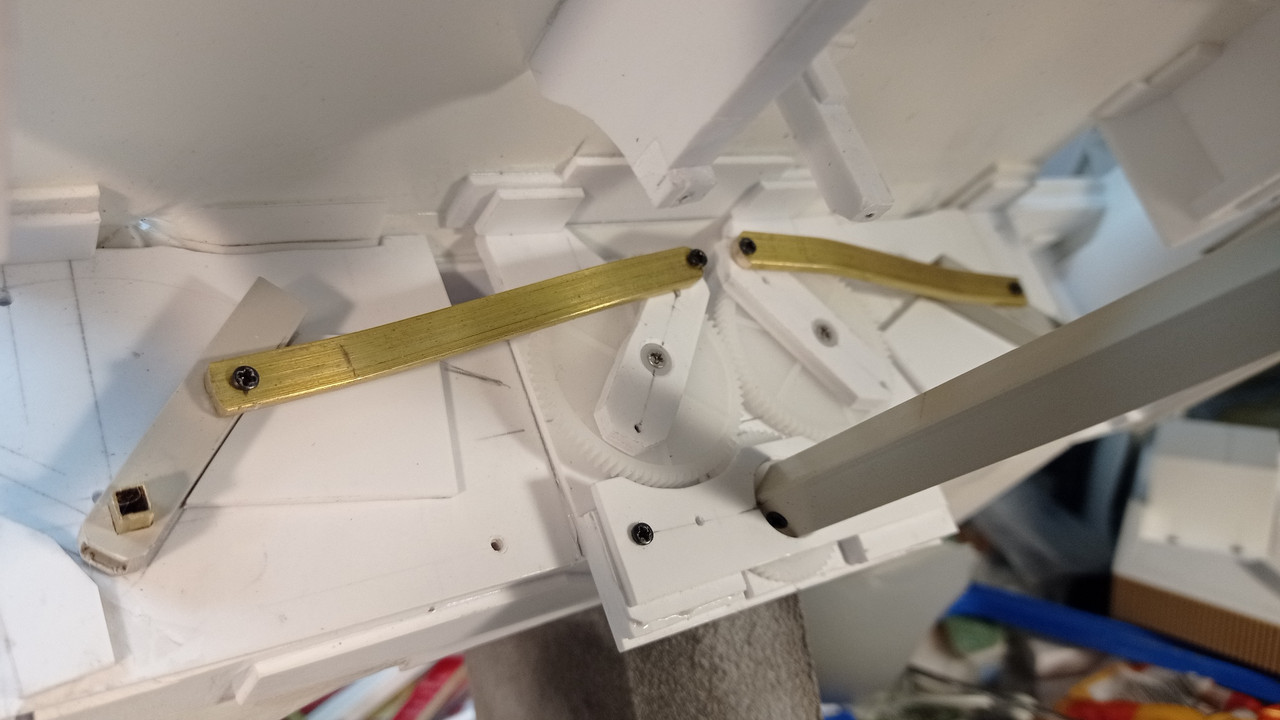
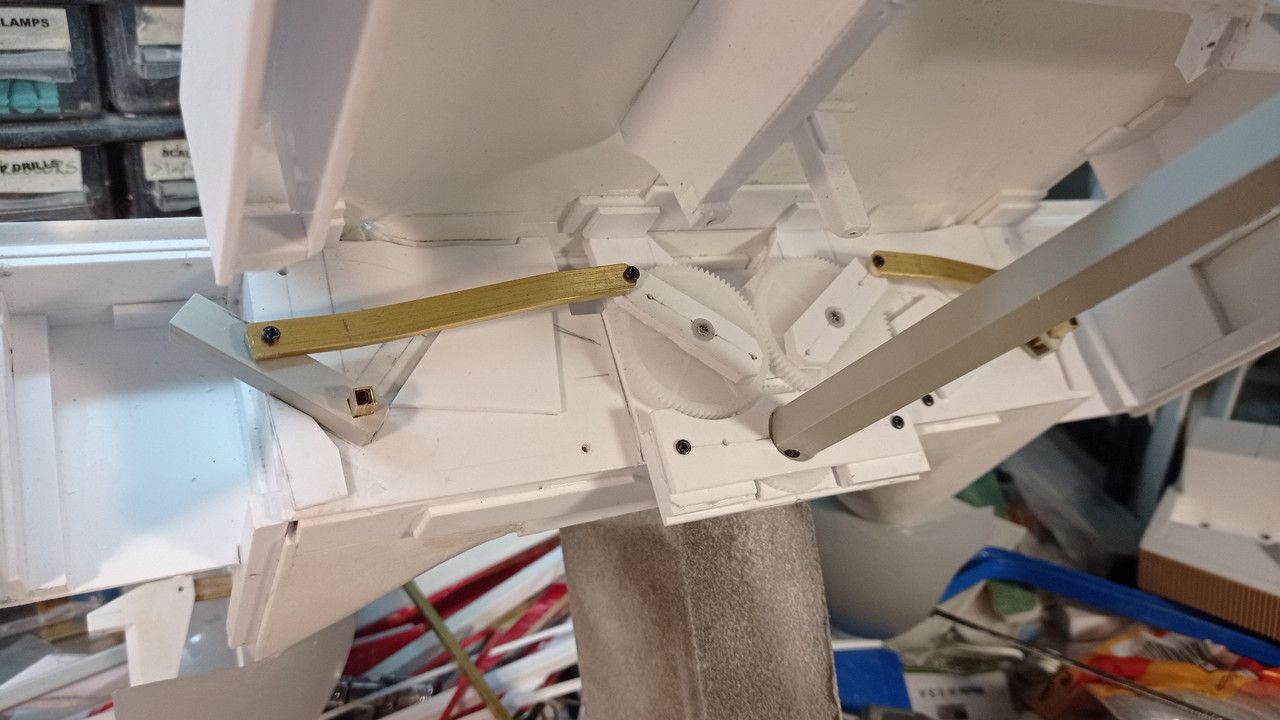
The motor i'm using is an electric window motor. It was cheap and has more than enough torque for my needs. A square section beam passes through the central gear. Attached to the beam is an off centre cam.

spin090.jpg


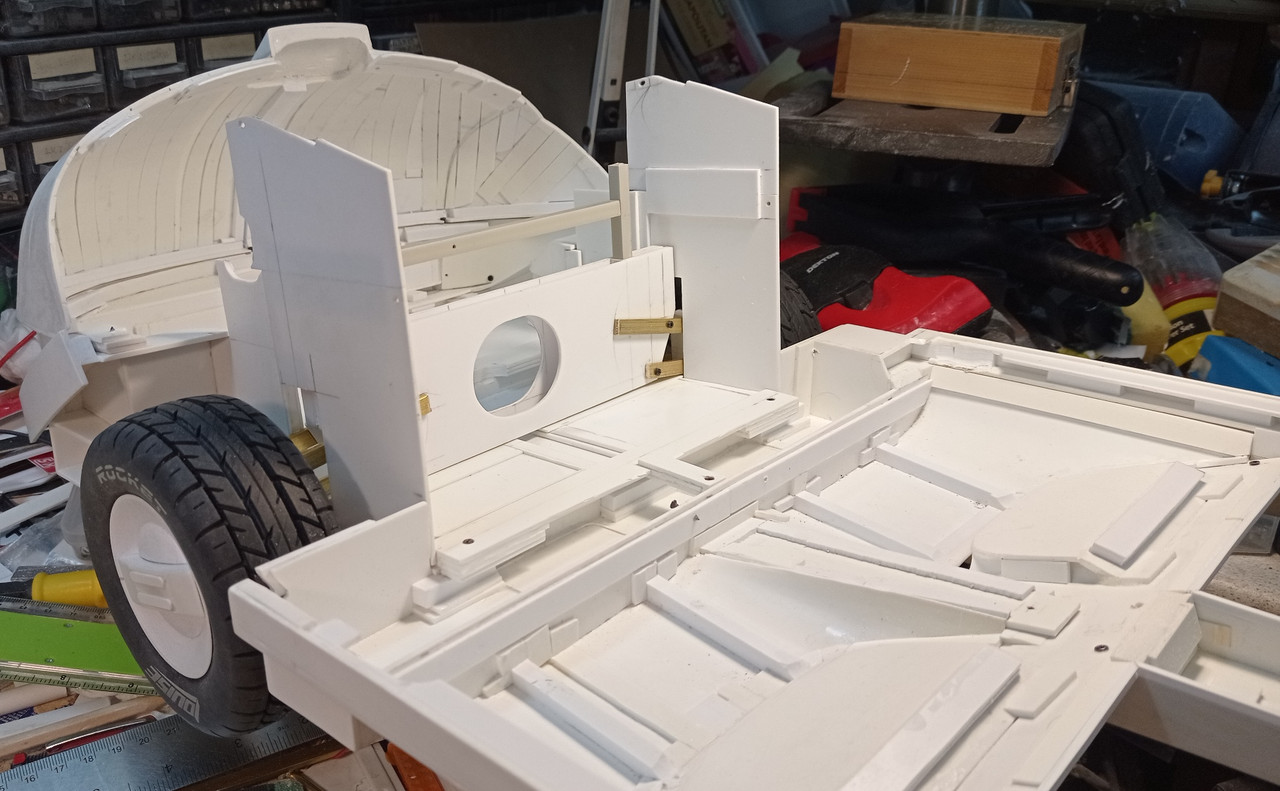
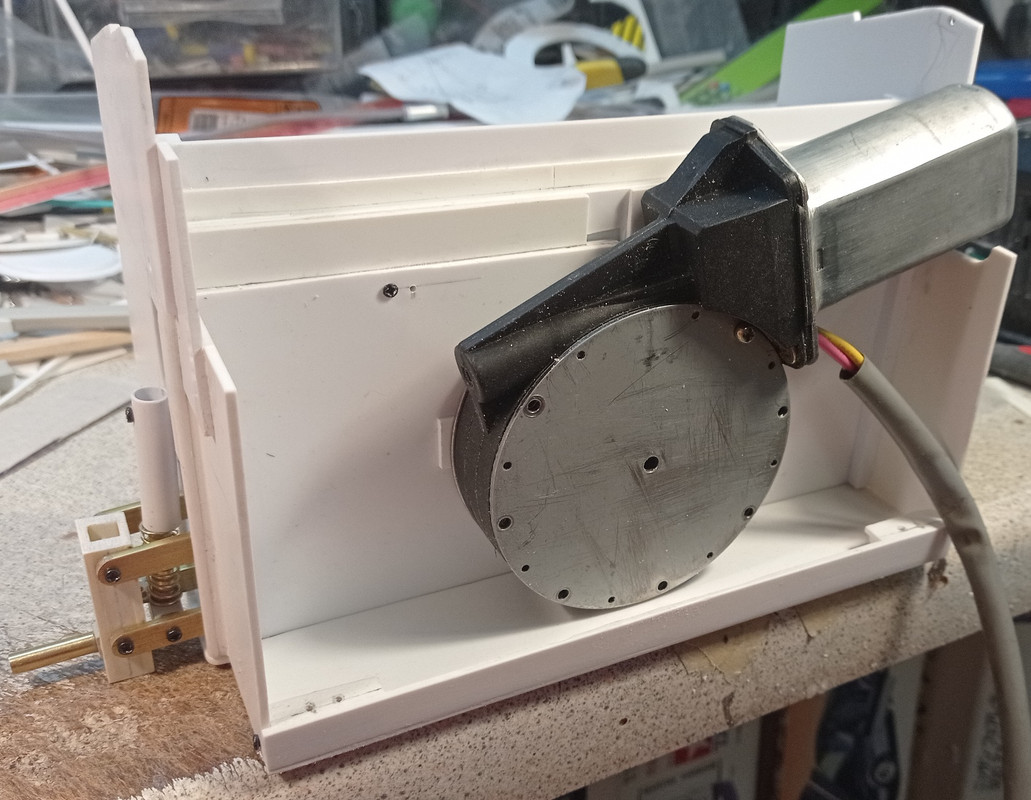
The motor is fitted behind the suspension assembly.

spin091.jpg


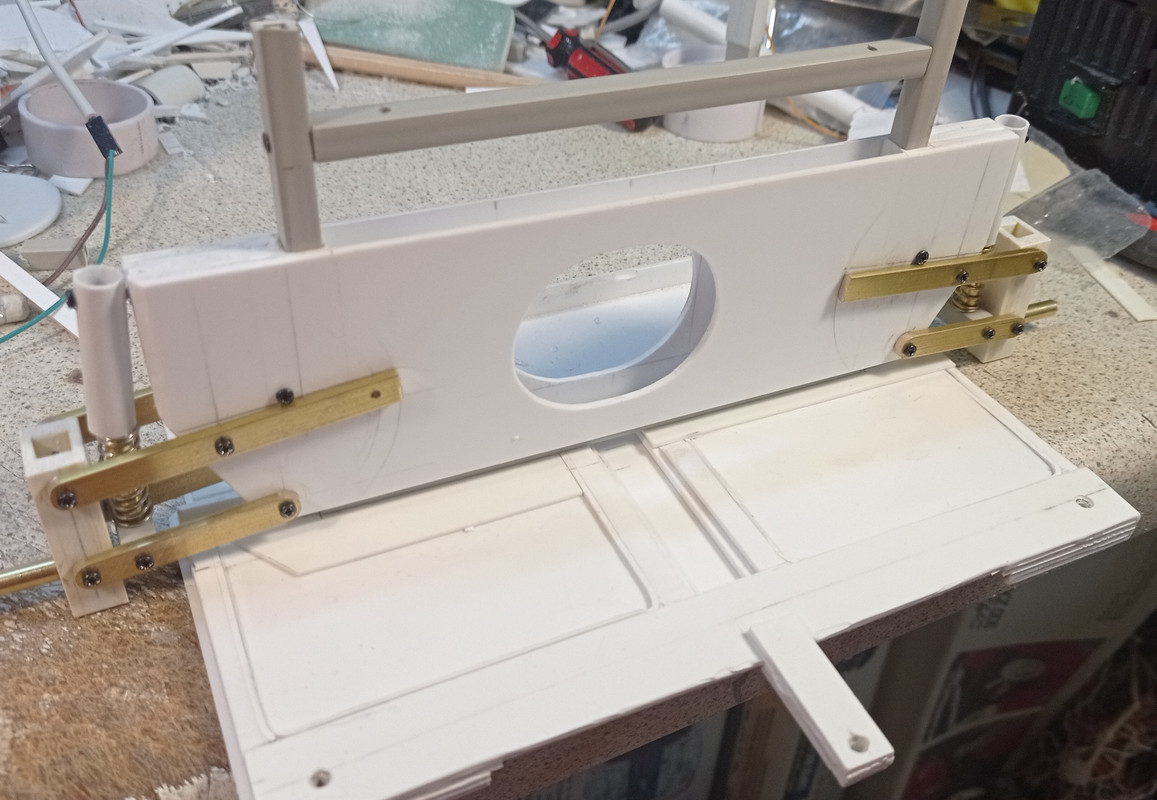
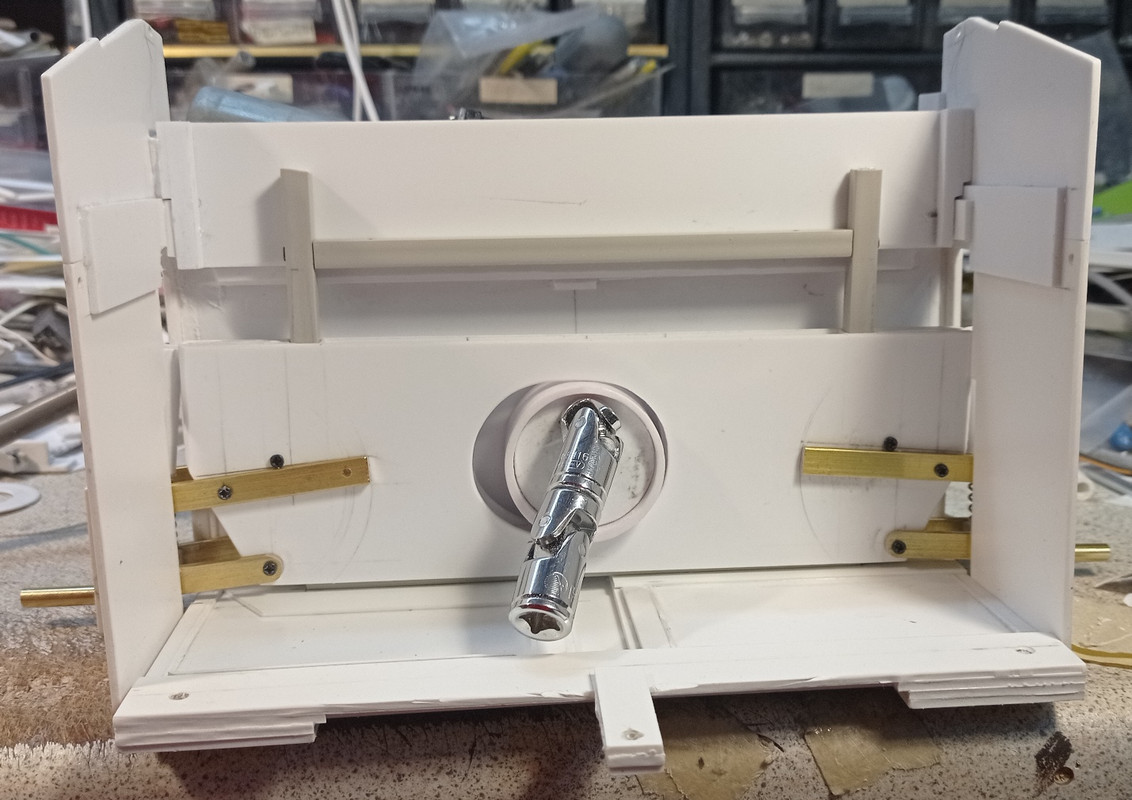
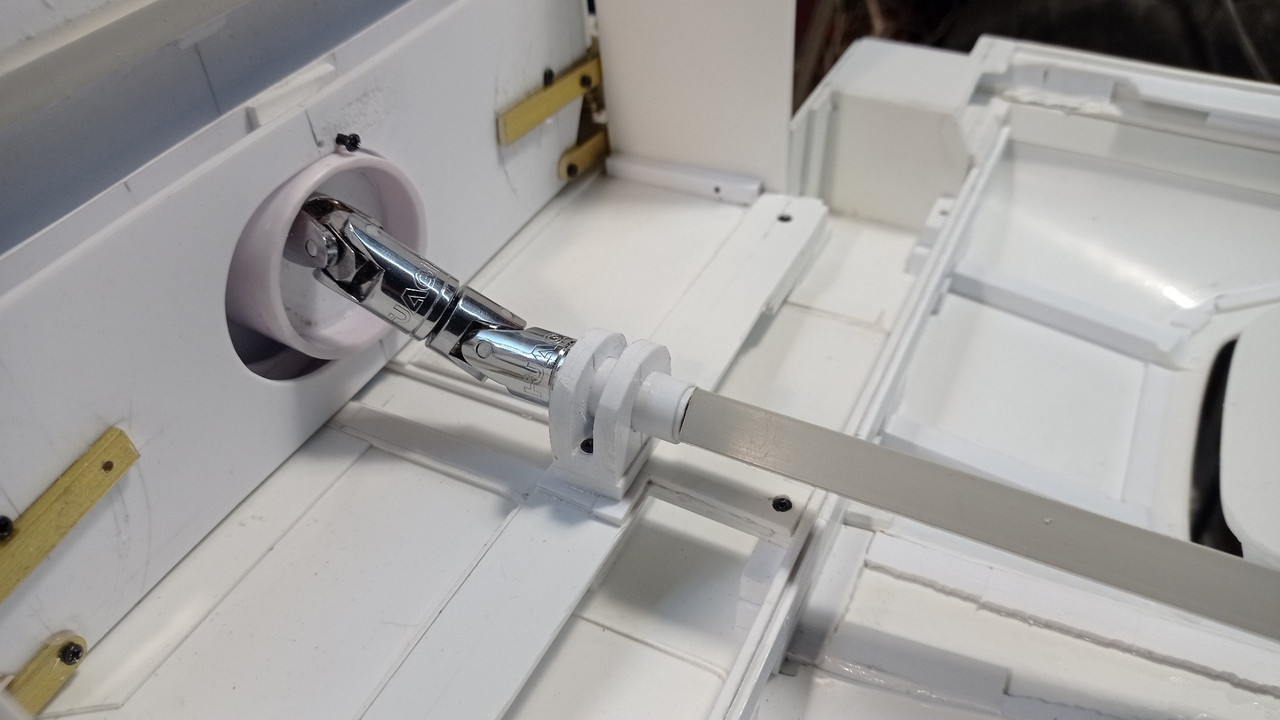
As the motor spins, the cam pushes the suspension assembly up or down and holds it in place. Universal joints are inserted into the square beam.

spin092.jpg


spin093.jpg


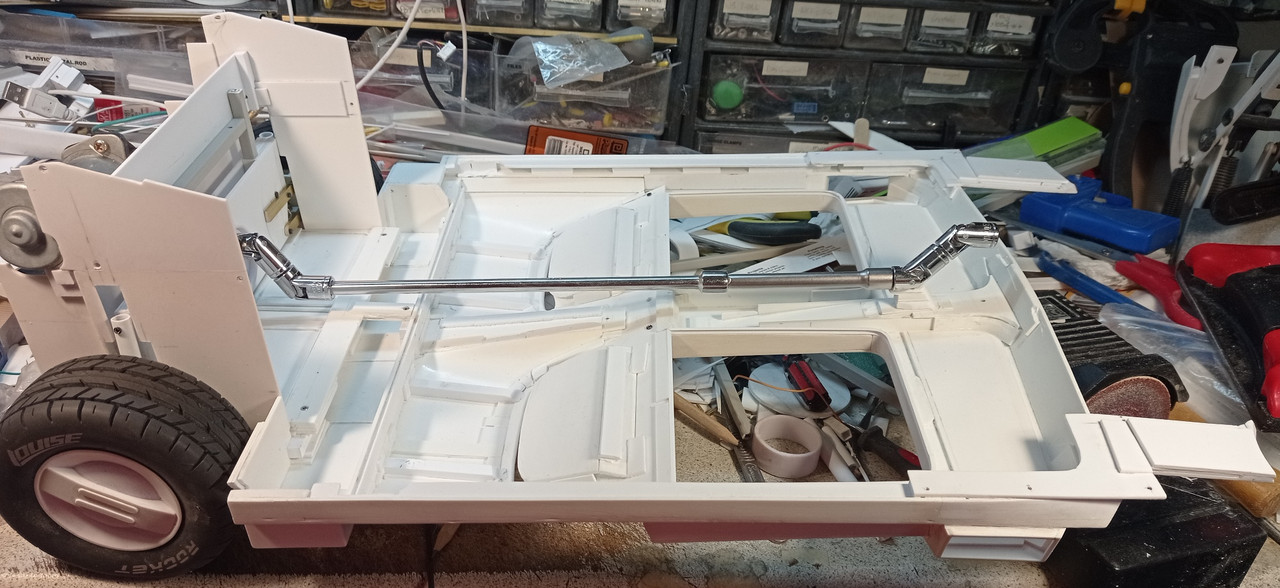
A drive shaft is connected to the joints, to transfer power to the folding wheel mechanism at the front. The shaft will be hidden within the centre console.

spin094.jpg
 
Made the mechanism for the front wheels.

spin095.jpg


Extended

spin096.jpg


The driveshaft is connected to the rear wheels.

spin097.jpg
 
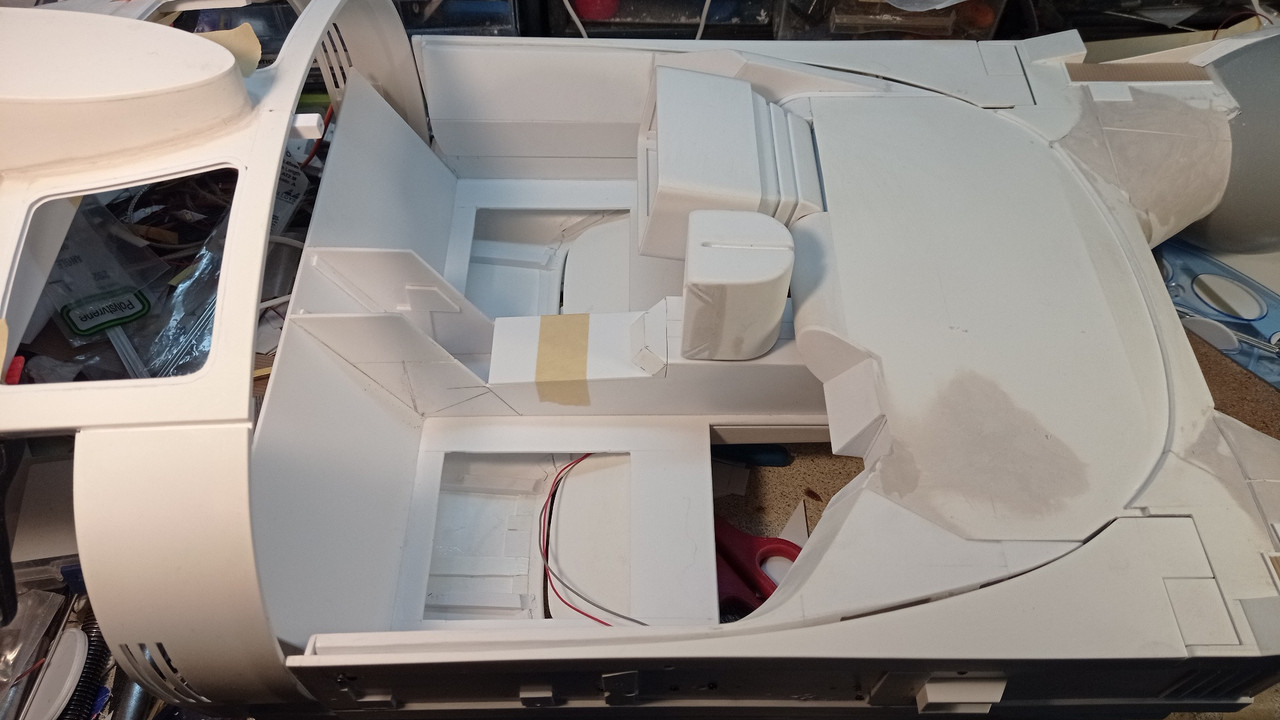
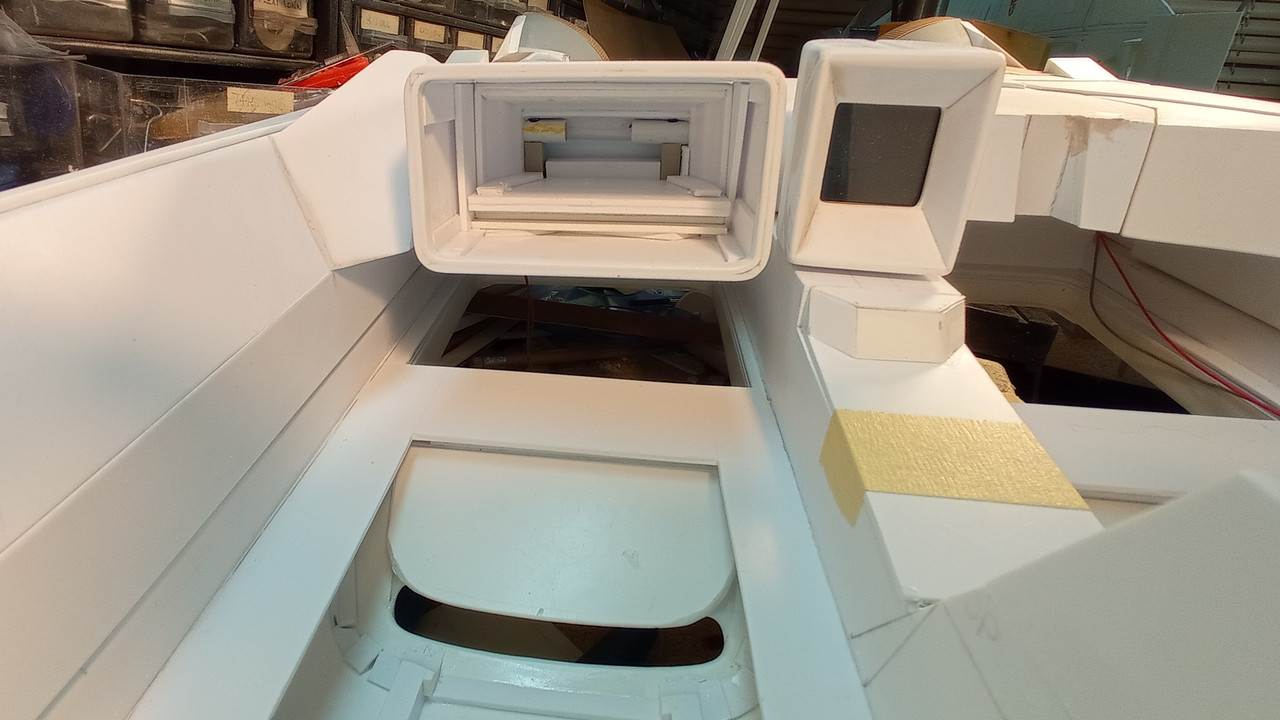
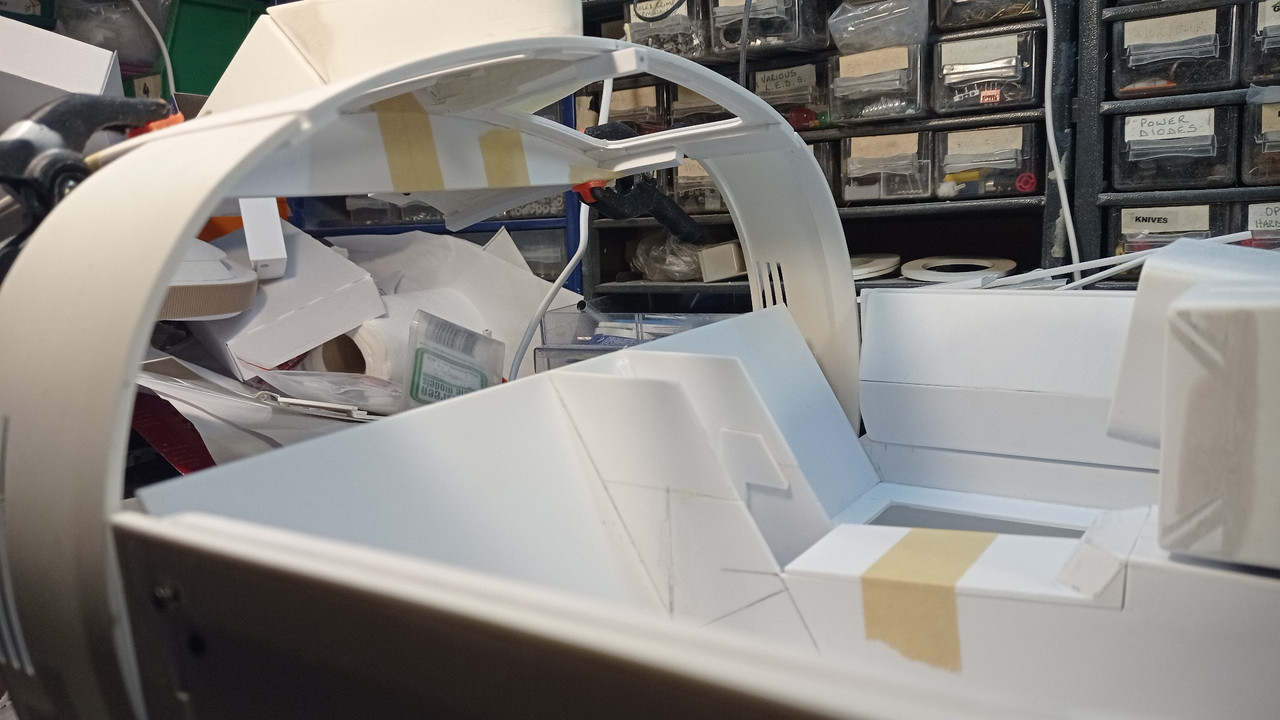
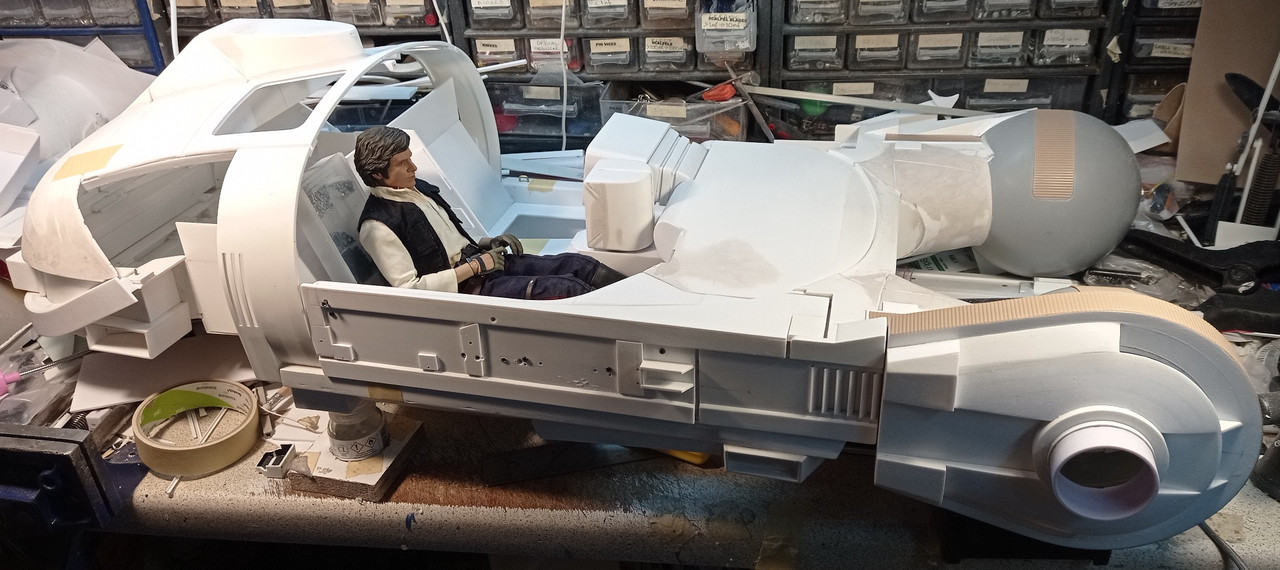
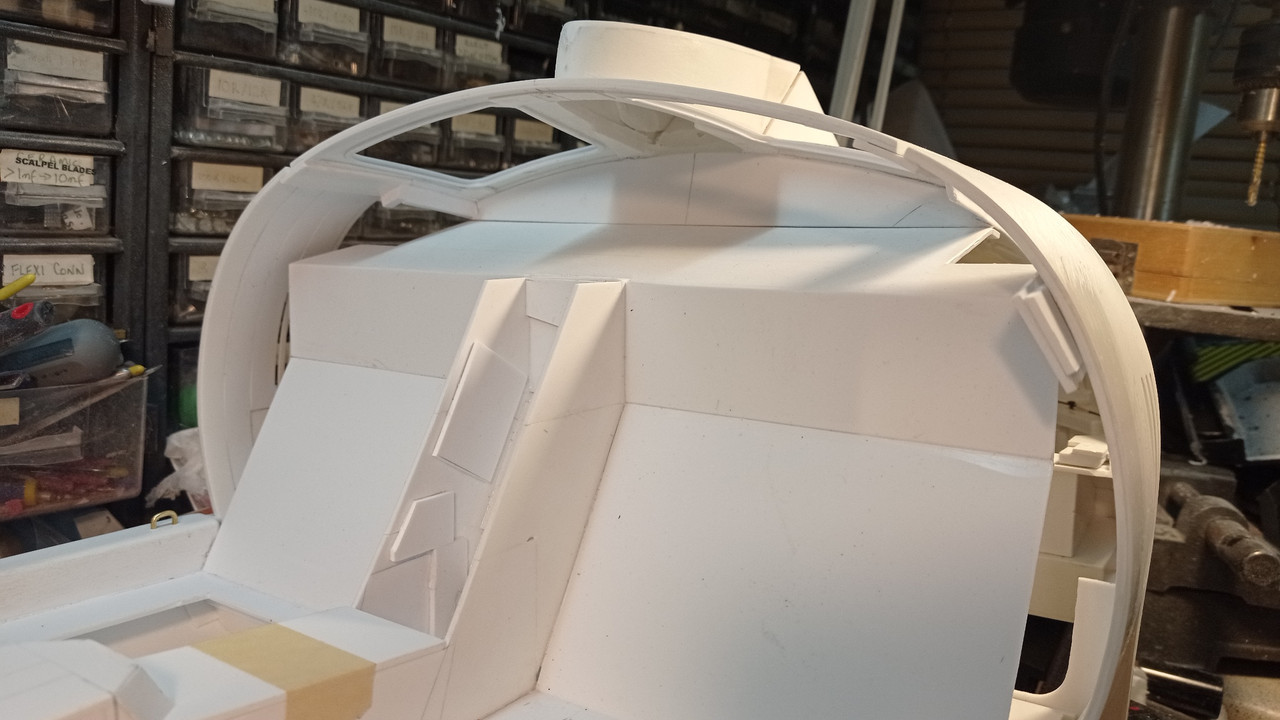
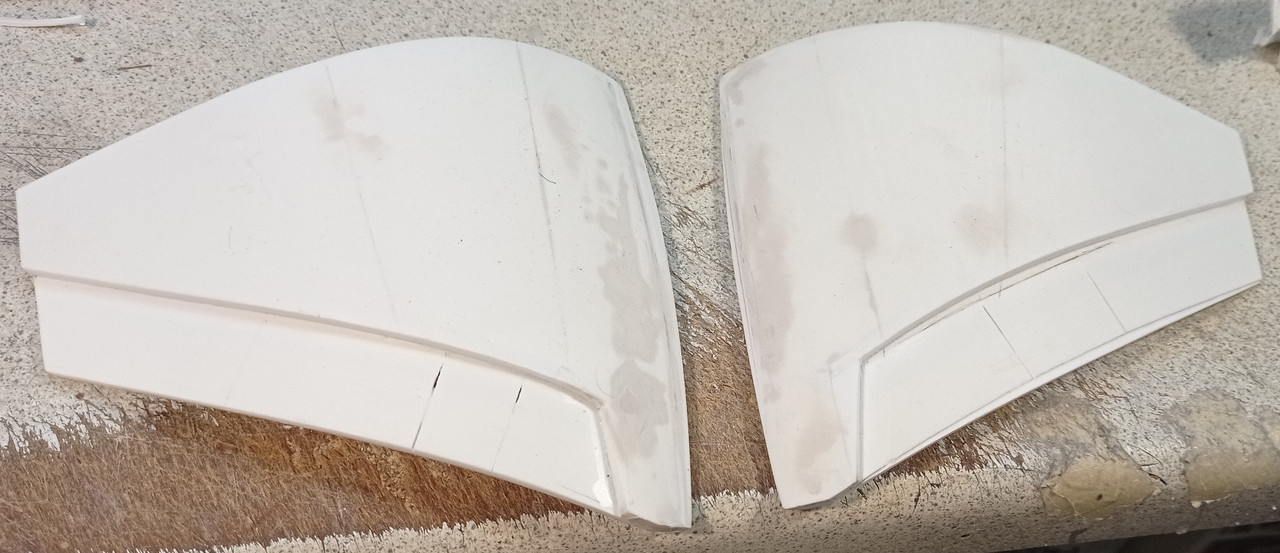
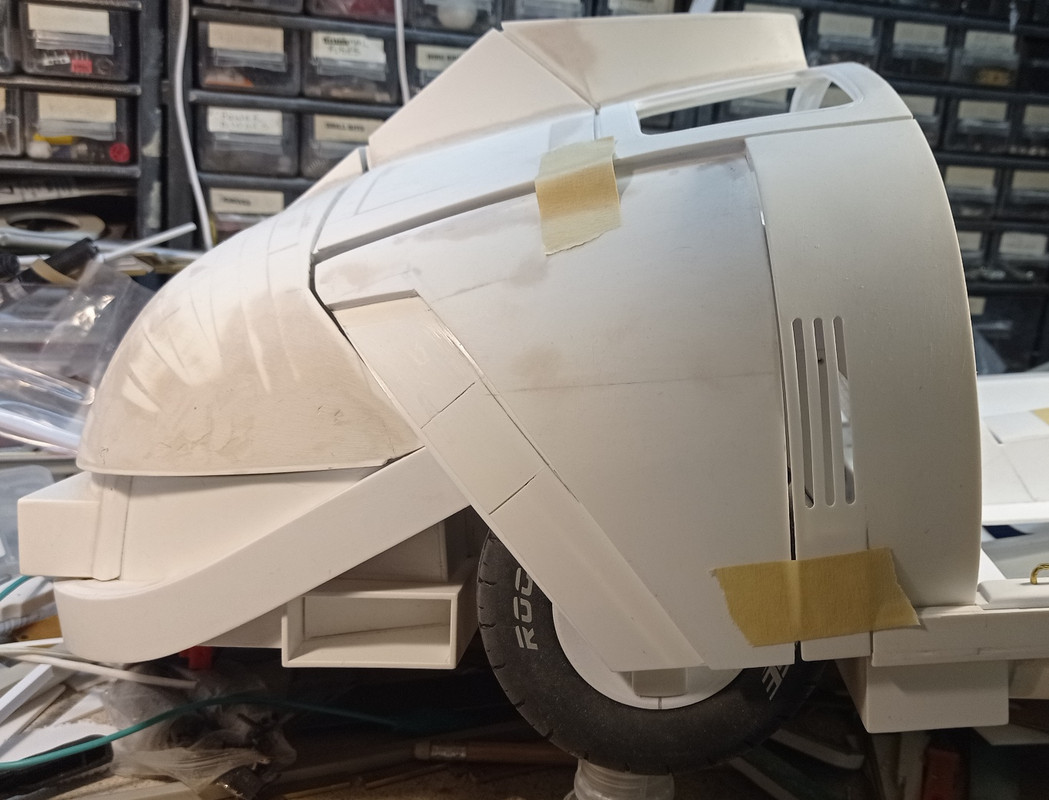
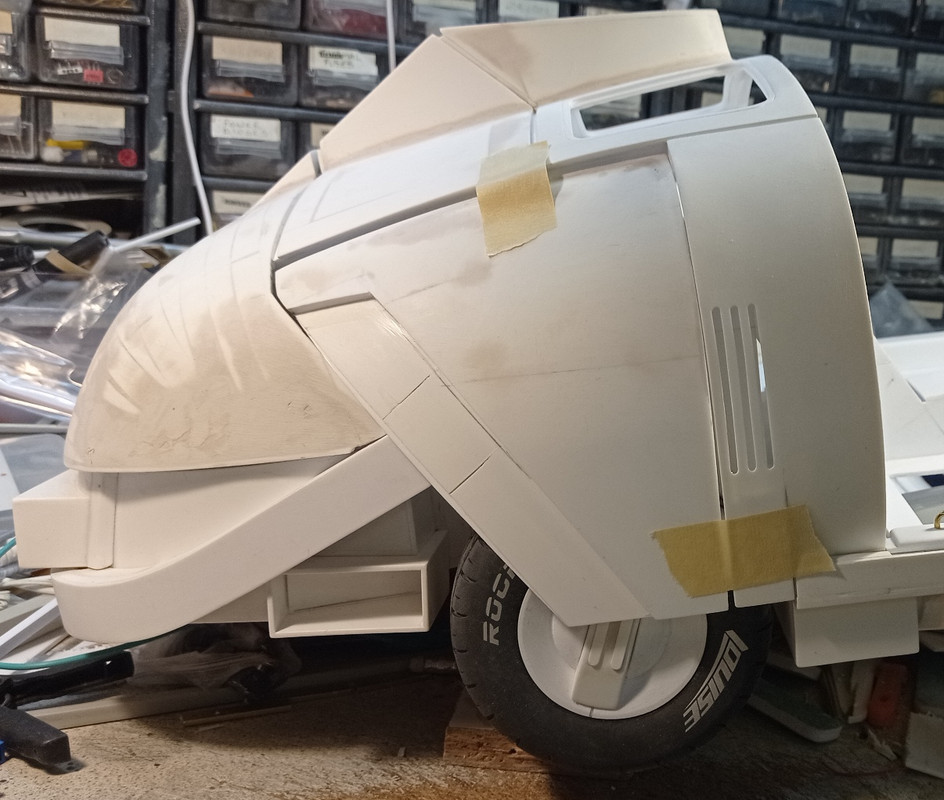
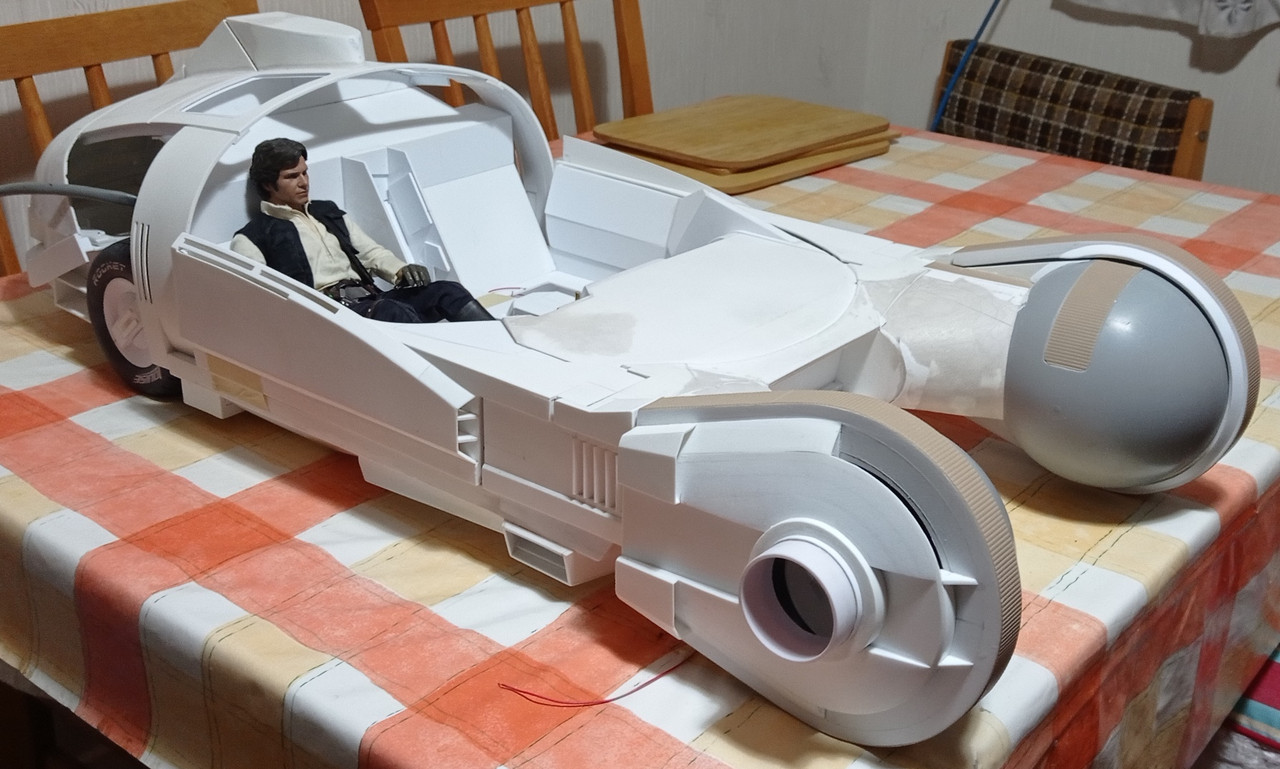
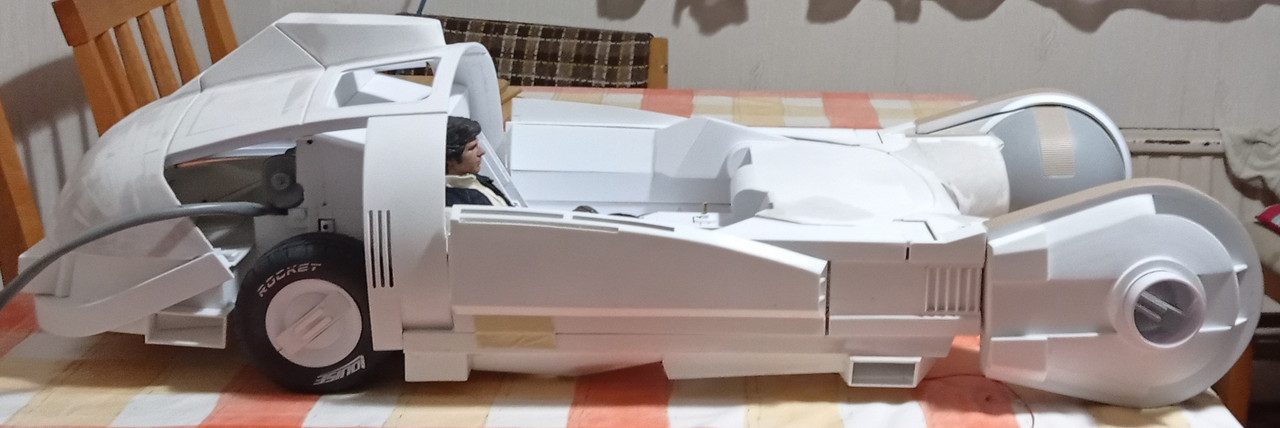
Progress so far. My Deckard shipped from KGHobby a few days ago, so hope to get him soon. I had completed the wheel covers and had hoped to show it on it's own wheels for the first time, but once all the other panels were attached, it stopped working properly. There may be something jamming it somewhere.

spin098.jpg


spin099.jpg


spin100.jpg


spin101.jpg
 
Back
Top