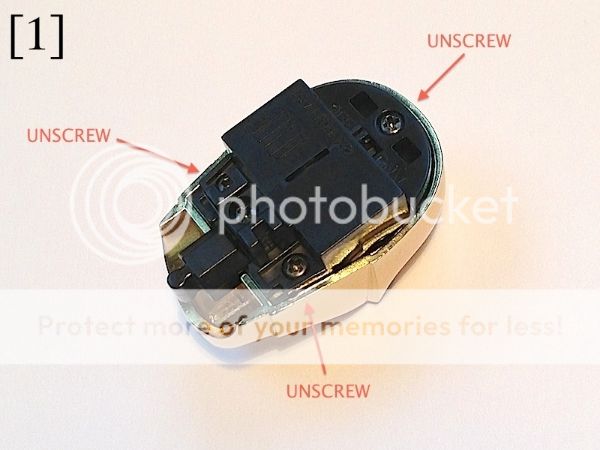
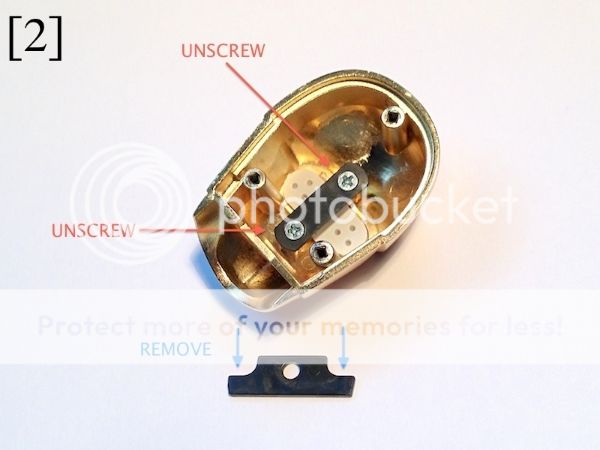
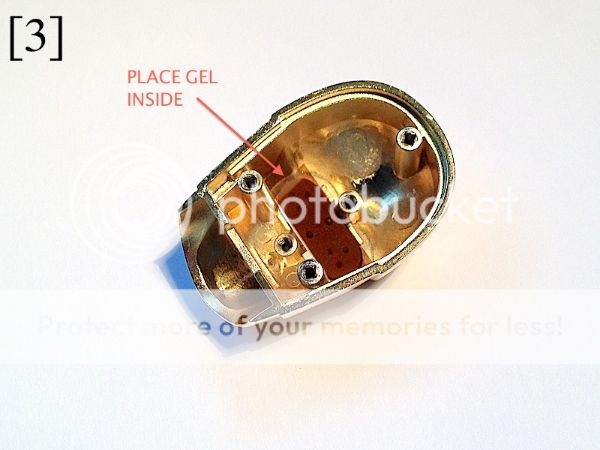
so, I went to LCS this morning to resolve the both-left-palm-hand problem...
I already made appointment with the owner, but when I got there, he was nowhere to find, so I waited. and while I did stroll around at the display case, there it was, c-3po display with right hand I looked for.
so I convinced the store worker, rather than replace with a new C-3PO, it's better to just let me swap the hand the c-3PO at the store-display.
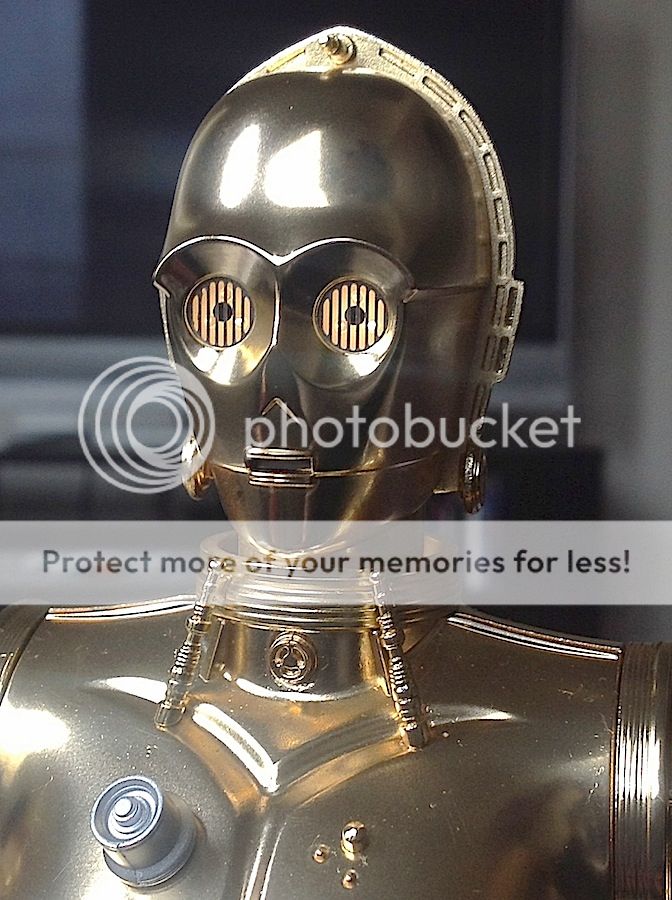
thank god the worker gave me green light, so now I have c-3PO with no defect problem