Tatooine Scene: Searching for Droids

Collector Freaks Forum

Help Support Collector Freaks Forum:

This site may earn a commission from merchant affiliate links, including eBay, Amazon, and others.
any craft store or stores like walmart carries pastel chalk. you can get sets that carry just the basic colors to some that have up into 40 pieces or more. just take a razor knife or something similar and scrape off into a cup or something. i use those little plastic sample dishes. anyway here's an example pic of pastel chalk.......
51IvD2b3XWL._SX450_.jpg


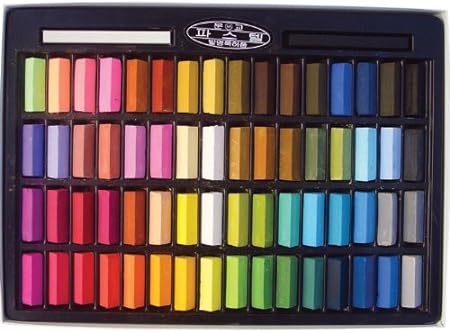
great stuff for weathering............especially desert stuff
Sweet! I had no idea, but I was at Wal-Mart a couple months back in the craft section...they do have A LOT of stuff. I'll have to circle back at lunch time.

Thanks man!!! :cheers:


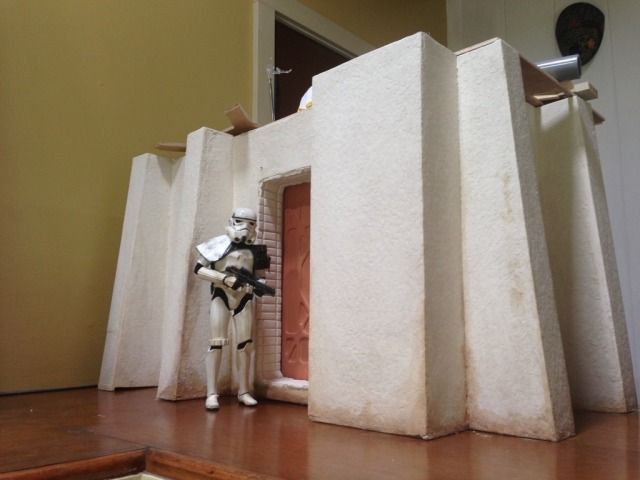
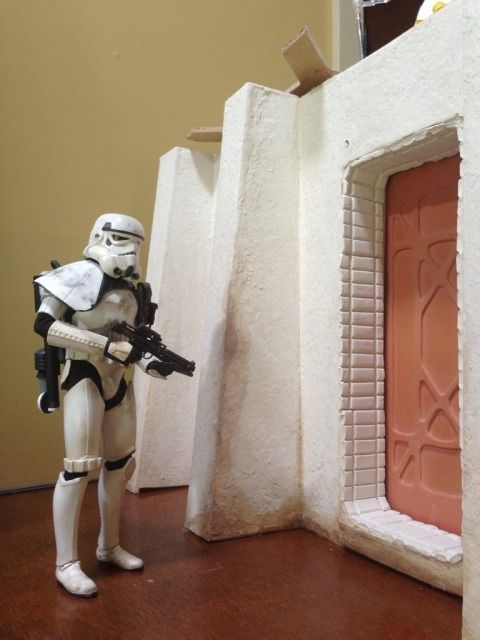
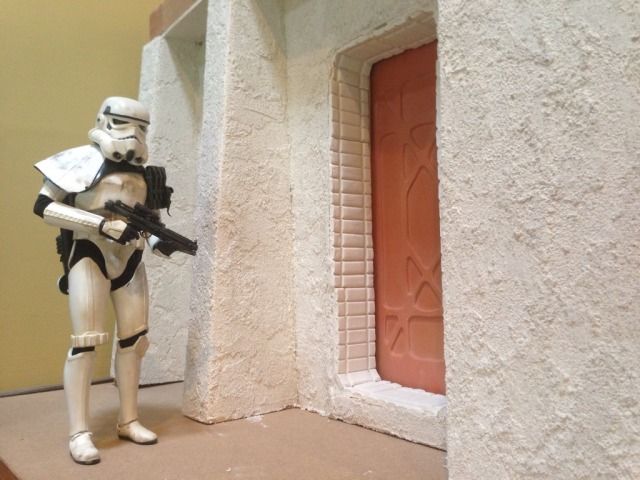
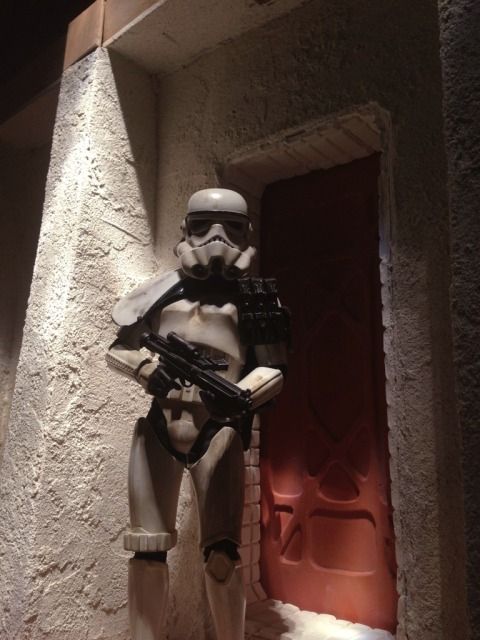
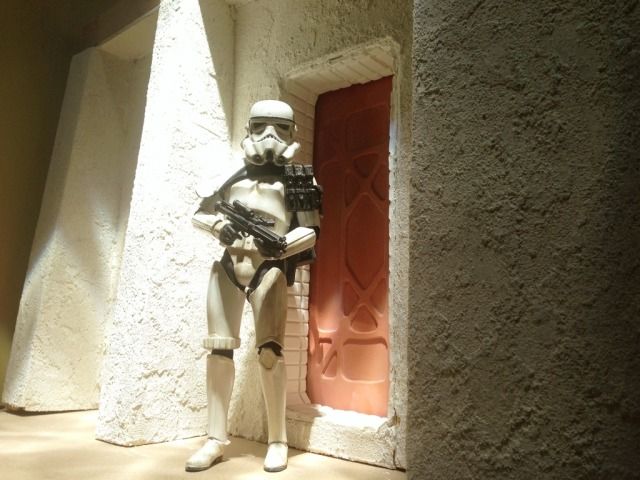
when i did my sandtrooper last week, i used some really rough grit sandpaper and collected it in a baggie(which doesn't help you with your walls, etc)...then i sprayed my stuff with a quick shot of fresh paint and threw them in the bag..tossed them around and let them sit in it for a bit...then took them out and sprayed a quick coat of hairspray on them to seal it..seems to have worked so far..
maybe that will give you some ideas for yours...

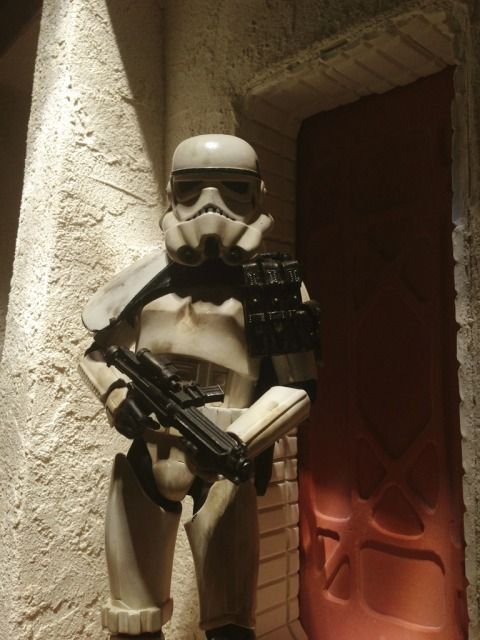
and with the hairspray and the chalks on the armor..it actually has a bit of a texture to it...kinda did that on accident..lol


Ah, yeah, Kash did that too for the sand effect. Nice. Thanks for the tip, Spidey.
 
Pastels work great. I just grind whatever color(s) I want onto a piece of sandpaper and apply with a soft brush. I sometimes use a dab of water, but not too much. I then seal with a dullcoat aerosol.

Looking forward to seeing what you come up with. :)
 
Pastels work great. I just grind whatever color(s) I want onto a piece of sandpaper and apply with a soft brush. I sometimes use a dab of water, but not too much. I then seal with a dullcoat aerosol.

Looking forward to seeing what you come up with. :)

Yeah, I saw you used them on your custom sandies and in some fabric. Did you seal it in the fabric with the same aerosol?

I saw barryo used them on his Jawas and others on their Tusken Raiders.

Thanks man!
 
So far, pastels seem to work pretty solidly.....nice. Thanks, Mortifactor, Barryo, Chaka and Spdr...

1AA5A9A1-E678-4F57-A3F3-90B11879E424-4038-000002B1C6C64979_zps50711f51.jpg
 
Thanks Jay. I appreciate it man. I was motivated to do this scene, espeically after I saw your doorway dio...perfect for your shelveves.

This one...it was really just an attempt to try..and learn....I was going through a lot at work and it was a great stress releiver. Now im just committed to finishing it.
 
Thanks Lopie. I'm still working on a few things. Finishing the "padding" looking stuff on the door entrance, getting the exterior weathering, a roof (with lights, have ready to go), the entire inside....then there's the extension of the roof and the other side of the street scene, which I have decided to do.

Here's the WIP

0885C9FB-7215-44D3-B235-5E21BC658771-1015-000000A0F8934FEC_zps09c528fe.jpg

146F9B36-F249-4EBC-9802-F2C3800CF778-1015-000000A0FB35D0C1_zps6ea46a2d.jpg
 
Yeah man, a floor with sand and even the other side of the street. It will be a false face, but I feel I have to complete it. Also, there's an entire inside to the structure i am making...i just haven't started it too much yet.
 
Yeah man, a floor with sand and even the other side of the street. It will be a false face, but I feel I have to complete it. Also, there's an entire inside to the structure i am making...i just haven't started it too much yet.

WOW, this is going to be epic.
 
I'm so going to copy the facade/doorway as a background for my troopers. ;) I just wish I wasn't so restricted for space to fit it.

(EDIT) Great timing... Just had a light-bulb moment and thought of a way to increase the head-room on the shelf where this background will sit.
 
I'm so going to copy the facade/doorway as a background for my troopers. ;) I just wish I wasn't so restricted for space to fit it.

(EDIT) Great timing... Just had a light-bulb moment and thought of a way to increase the head-room on the shelf where this background will sit.

Awesome man. That's what I love about this site. Everyone is giving each other ideas and motivating each other to do their art and create. Would love to see the space your working with. If you go to the first page of this thread you can see you don't really need much more than super glue for this kind of wood. The braces are additional, but not always needed. It just helps it from flexing.
 
I was thinking because of the relatively small size I might just make the entire structure out of expanded polystyrene foam and then clad that in plaster, the same way it's done on real houses - though those also have wooden, steel or concrete skeletal structures of course :)

Basically I was thinking of fitting this and another structure within the top shelves of the Expedit units in my office. You can see the third image of my office build thread linked in my signature. I've removed the divider from the shelf which opens it up to 27" wide, but it's only 13.5" tall.

My lightbulb idea was simply to extend the height of the shelf by creating and inserting spacers to lift the top of the unit. I'd fasten it all back together after painting the spacers to match. That can give me another 6" of height for a total space of 27w x 19.5h x 15" deep. That would even give me enough space to swap out the display to fit a SSC Dewback (on an angle) in the future.
 
Last edited:
Sheesh Will, this is looking fantastic. Beautiful job so far, super stuff.

I cant wait to see the adjacent wall and interior, keep up the good work my friend. :)
 
Thanks guys. Although I think it's coming out OK, something was really bothering me. I was trying out some new techniques for weathering and after all that I concluded it was starting to look more like the Alamo, and less like Tatooine. So I decided to sand it all down and try again.

Here's the old...WIP

706260A6-EE8F-42BA-91EF-F8A41CA0AF47-3785-0000023FCB59CFBB_zps14297f0e.jpg


And here's the new WIP.....this is the first coat, base, then I'll try doing some stucco knockdown.....for the final coat....and then weathering.

029BA6FC-5C4C-4B1D-8E0F-F4CE23D43215-3785-0000023FC1DDCC0A_zps307b217c.jpg


127FFFEF-8C20-4A51-9498-75D351FFBD53-3785-0000023FC907A786_zpsf93bc2f3.jpg

72358144-BCB6-495D-937C-C946580DAEC9-3785-0000024747202366_zps716c765e.jpg
 
Last edited:
I thought it looked great the first time around, but I understand what you mean now that I have seen v2. Looks really nice.

Lighting will also add a lot to this scene, that 3PO looks awesome standing there with eyes lit up. Awesome build. :)
 
Thanks, Chris. It was a tough call. But I think after the knock down with the stucco i'm feeling it to be more movie accurate. Here's the latest WIP. My progress for today got halted due to heavy, heavy rain storm.

2831556F-2BE4-4FC9-87FD-8BD9E12B8CA0-3785-000002610E284928_zpsf05c6c11.jpg


5FC10B8B-8902-49C1-A76A-9C3603444EF0-3785-00000261097368C0_zpsc385516c.jpg

star-wars-a-new-hope-stormtrooper-blaster-high-definition_zpsc05c8173.jpg

CD0B4914-266F-4C3E-8590-18818ACF27E7-3785-0000026EE9E8510A_zps4000efaa.jpg
B20606DD-F40F-4834-854C-15E9D58EC61C-3785-0000026EE73BEF3C_zps018420ff.jpg
8A5C1BF2-9E69-44B9-9205-74C08ABA8354-3785-0000026EE46540CA_zpsa34a81f1.jpg
 
Last edited:
It was impressive before and I thought you were being a little critical for wanting to do it again, but... DAMN! It looks even better now. If you want to nit-pick, there are a few spots that could be flattened a bit to be more movie accurate (around the trooper's head height), but the parts below the trooper's arms looks SO impressive. In fact if you look quickly between your images and the screen caps you might swear they were all from the same shoot. I think if you adjust the lighting and color balance you'll be able to fool most people most of the time into thinking they're looking at 1:1 photography.

Can you describe the technique(s) you used the first time and what you did differently the second time? I have plenty of experience plastering drywall, but that's always in an effort to try and hide all seams and make everything smooth. ;)
 
Back
Top