Solo_bones
Super Freak
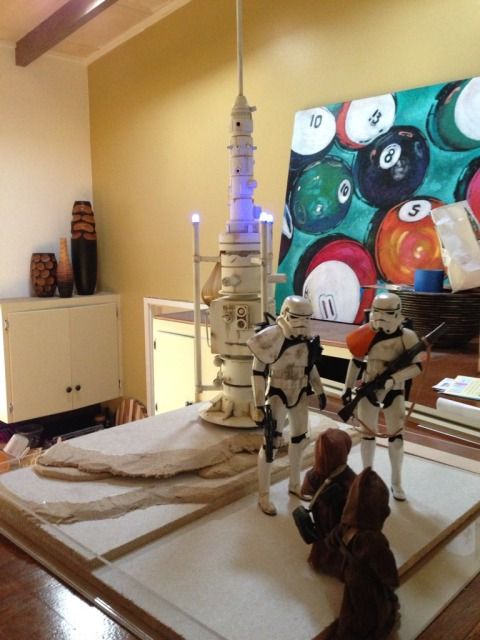
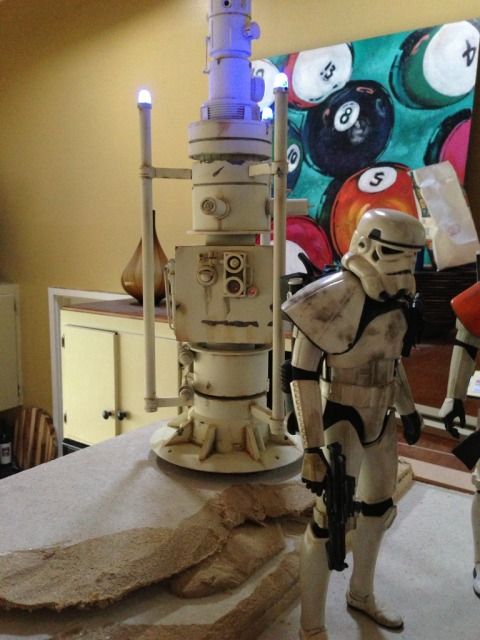
Someone once said "It ain't a dio unless you can stick your head in it". So based on that baseline, I had to start one of my new projects with that in mind, even though some of the best dio's I have ever seen you can't stick your head in. Still...it's a lofty goal.
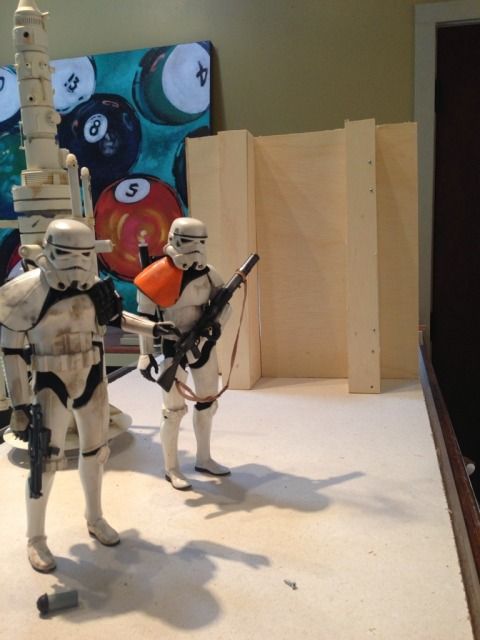
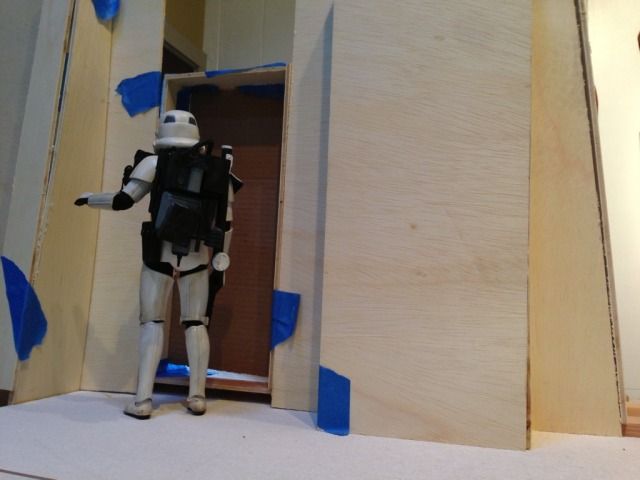
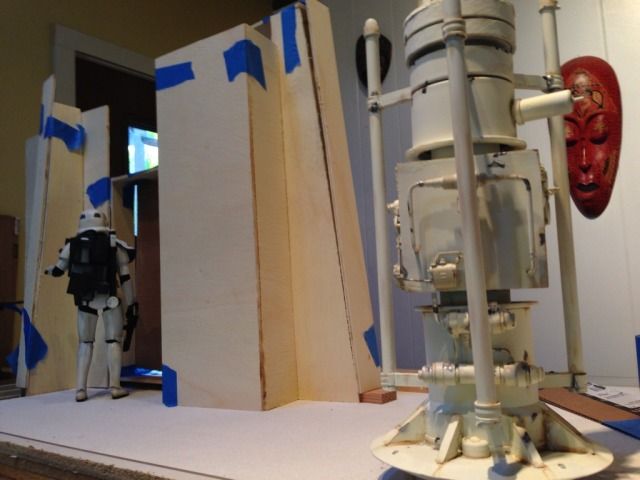
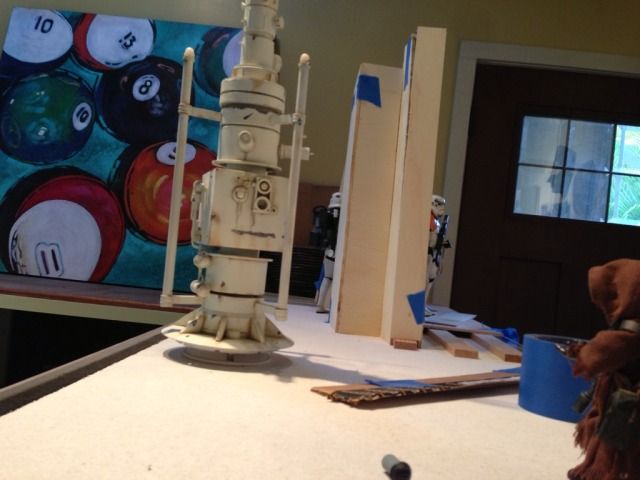
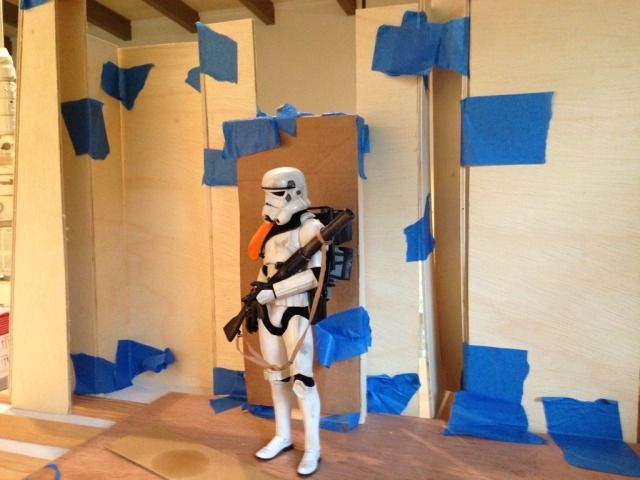
Here's the very first stages of my new dio, that was to be built for the new C3PO, which I bought in January, and still haven't received.
This is the scene where the R2 and C3PO are hiding in a room, waiting to connect with the others on Tatooine. And when I imagined it, I didn't think it would be this big, but....oh well.
My wife might be struggling with this one, but I made it modular, so I can remove the building and still leave the base, to be used later for a Lars homestead scene, which we originally agreed would be nice for the art display area.
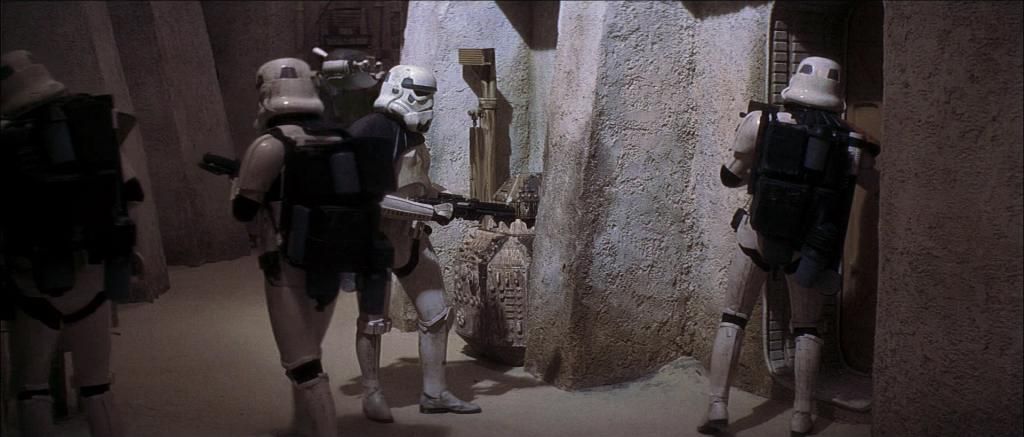
Inspiration:
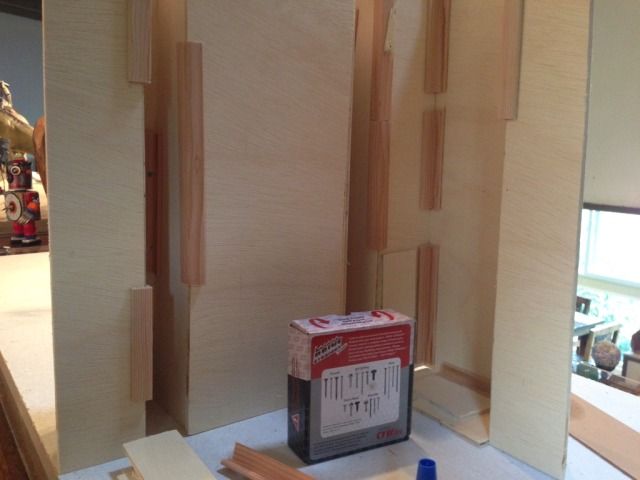
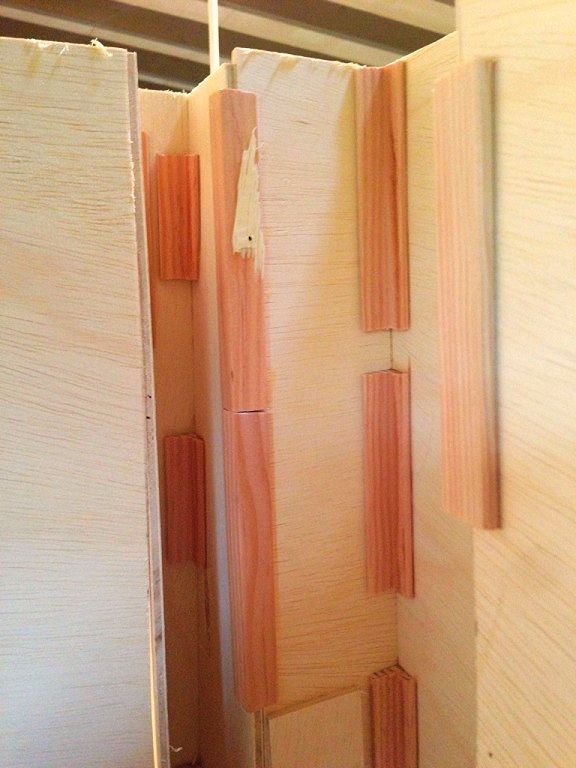
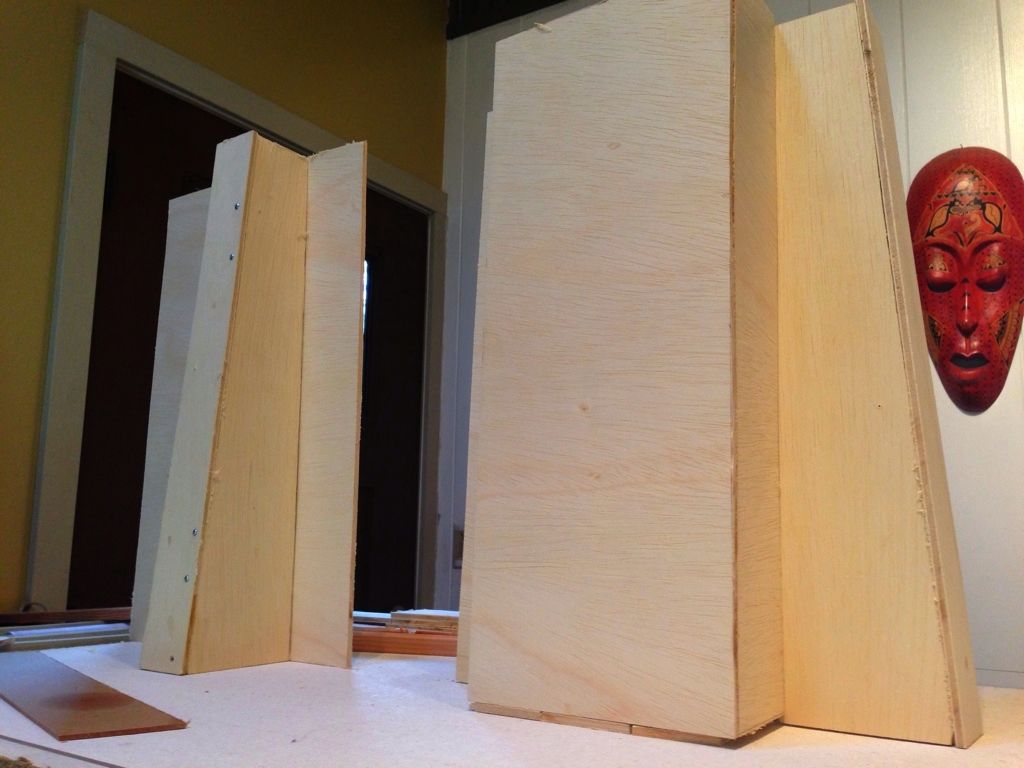
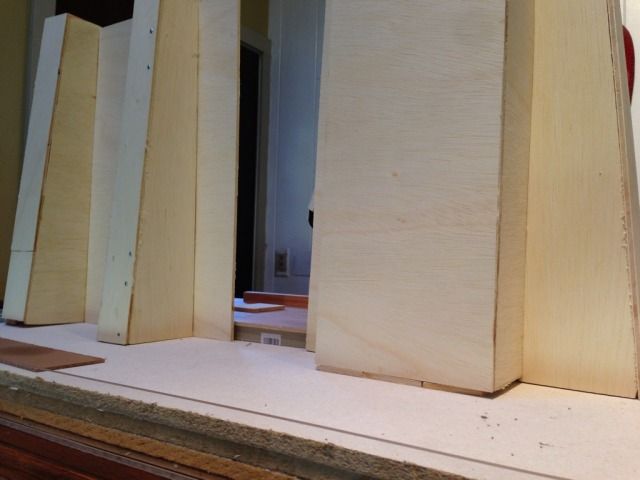
Initial build:

Here's the very first stages of my new dio, that was to be built for the new C3PO, which I bought in January, and still haven't received.
This is the scene where the R2 and C3PO are hiding in a room, waiting to connect with the others on Tatooine. And when I imagined it, I didn't think it would be this big, but....oh well.
My wife might be struggling with this one, but I made it modular, so I can remove the building and still leave the base, to be used later for a Lars homestead scene, which we originally agreed would be nice for the art display area.
Inspiration:
Initial build:
Last edited: