My Junk... Gigidy,Gigidy,Gigidy

Collector Freaks Forum

Help Support Collector Freaks Forum:

This site may earn a commission from merchant affiliate links, including eBay, Amazon, and others.
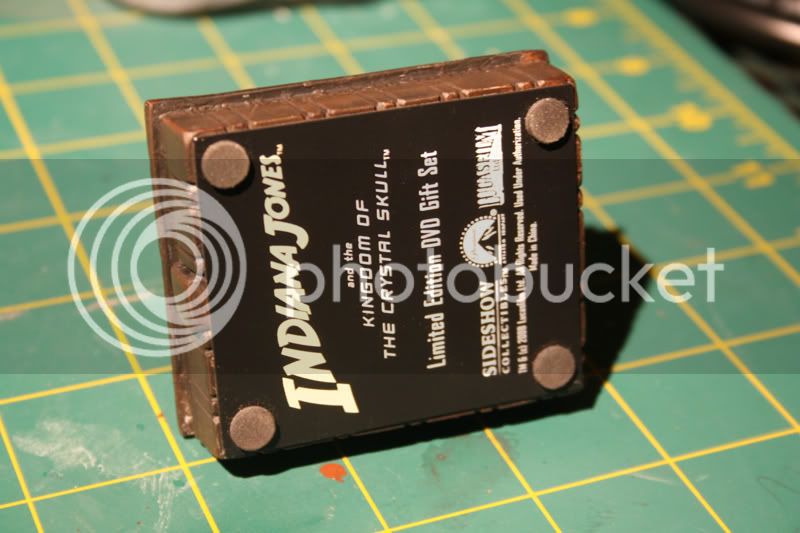
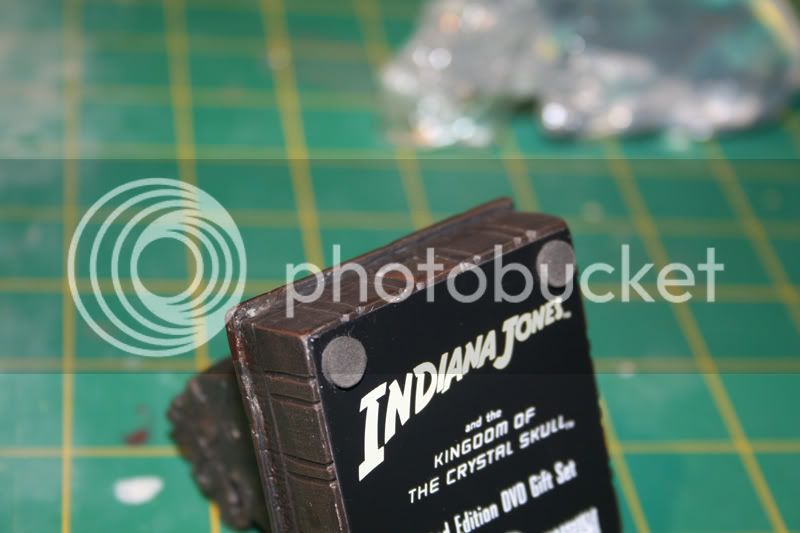
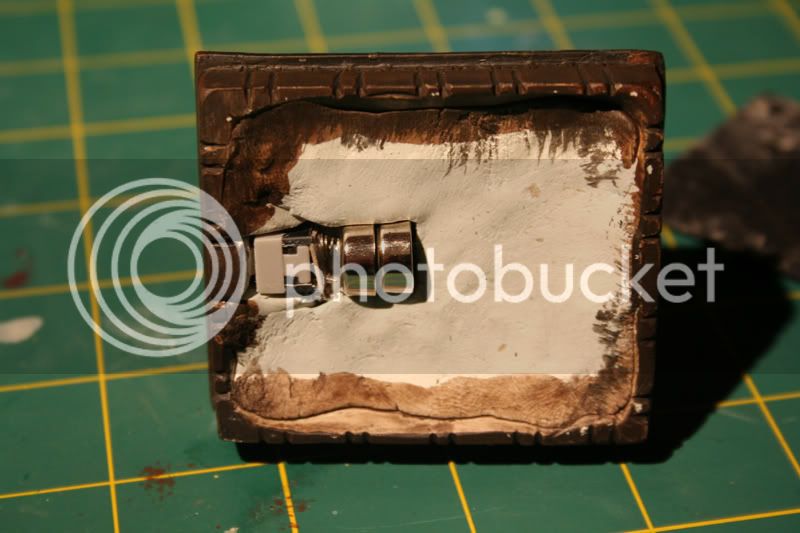
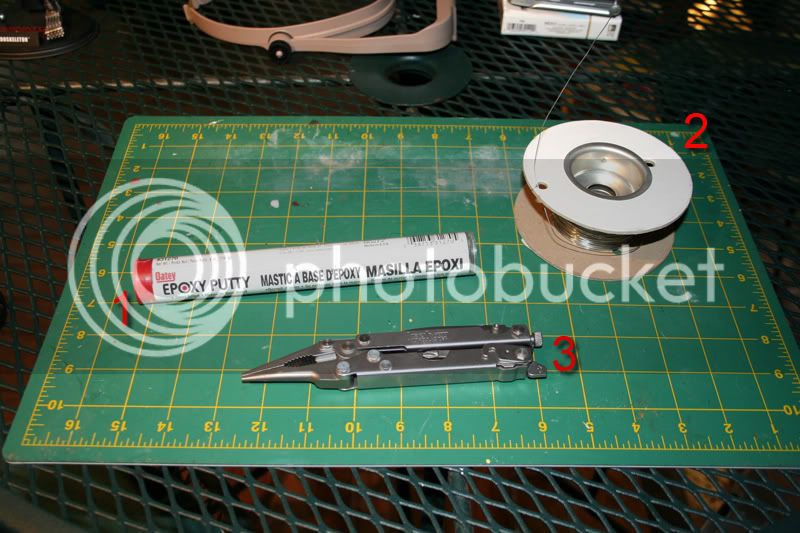
As promised the tut...
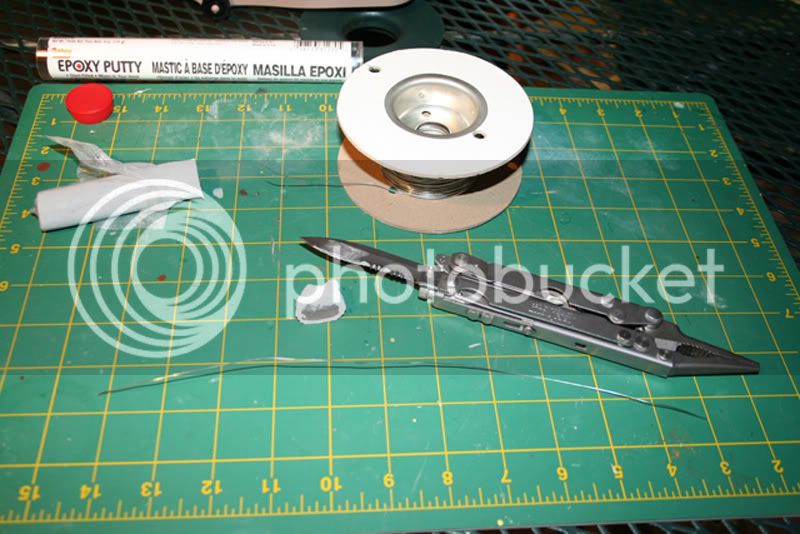
List of stuff:
1. 2 part epoxy putty. I use the plumbers putty, the cheap stuff you get at your local hardware store. It's super strong and sets in about 5 min. This can be a detractor depending on what you're working on but I'm inpatient.
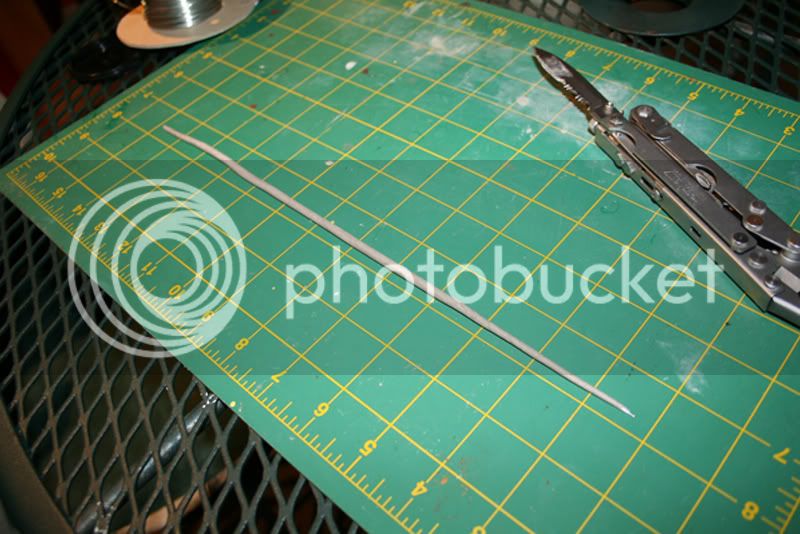
2. Ply-able wire, you can use copper, aluminum etc. You just need to test the stuff to make sure it does not break with repeated bending.
3. Knife, Pliers etc. I use the nifty Kershaw multi tool with vise grip.

1-1.jpg


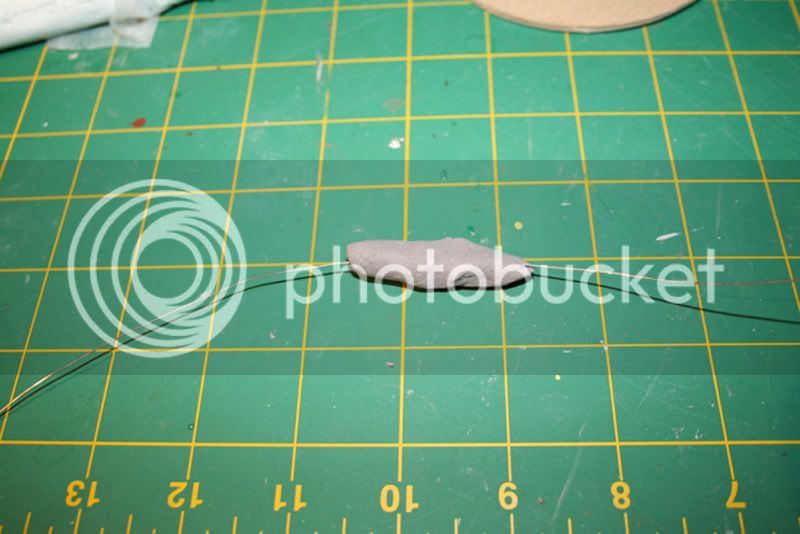
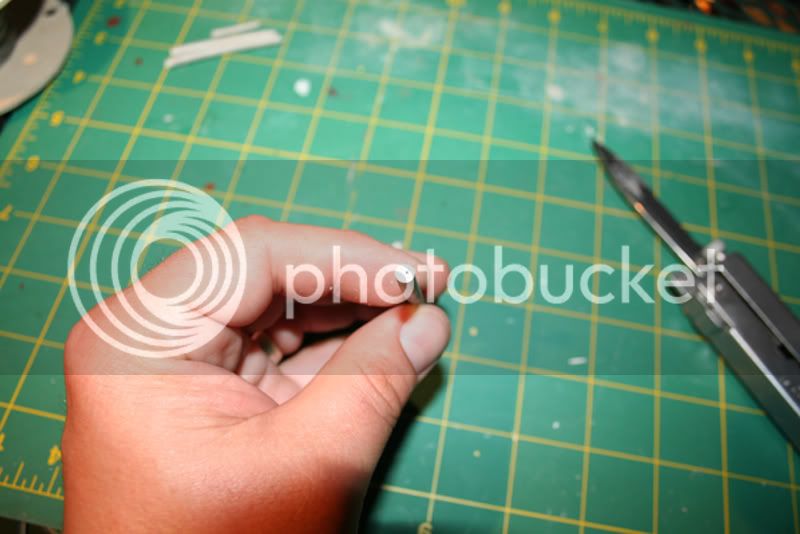
Cut off a piece of the putty and kneed. You can use water to smooth the stuff out and prolong setting a bit.

2-1.jpg


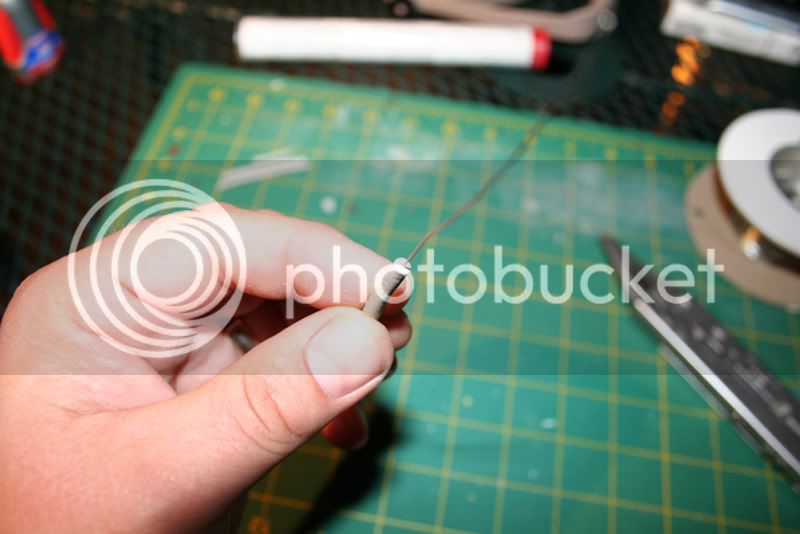
Next, wrap the putty around the wire and...

3-1.jpg


Start makin' "snakes" like you did when you were a wee tyke playing with Play Doh.

4-1.jpg


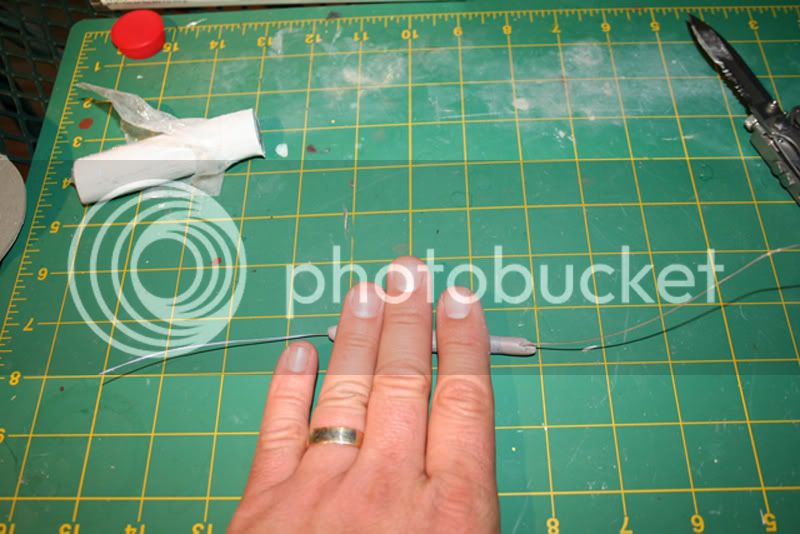
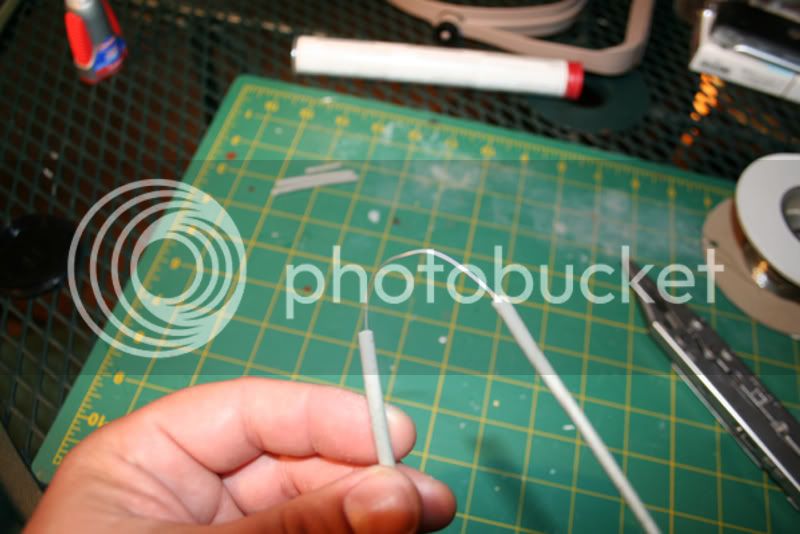
Keep going until you reach the desired thickness. Sometimes the wire will tear the putty and stick out the side of your "snake". If this happens just start over. Bear in mind with the plumbing stuff you only have 5 min.

5-1.jpg


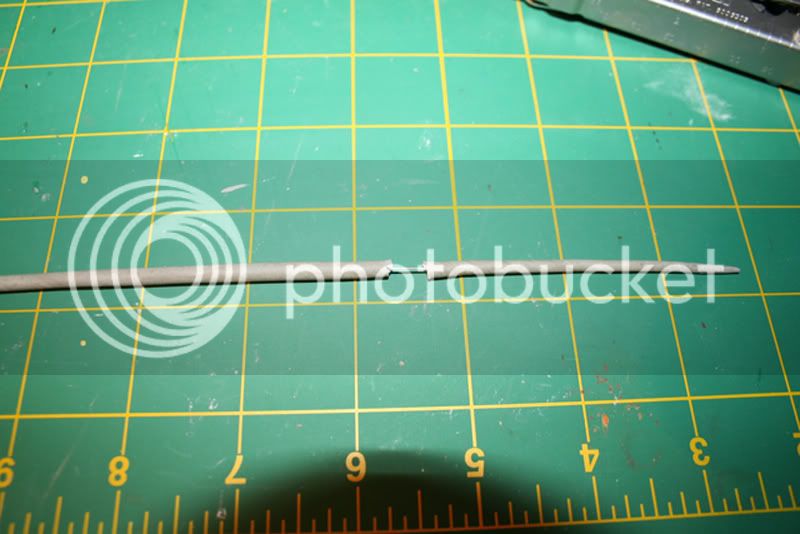
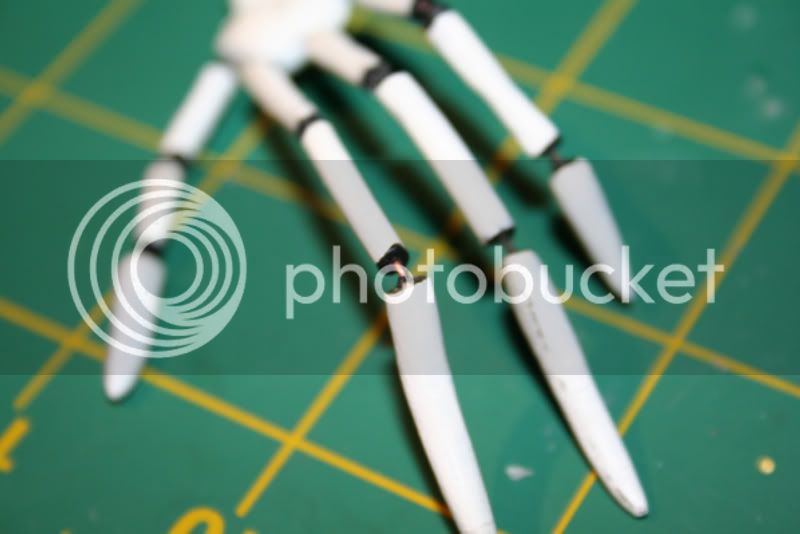
Once desired thickness is reached. Let the "snake" set.

6.jpg


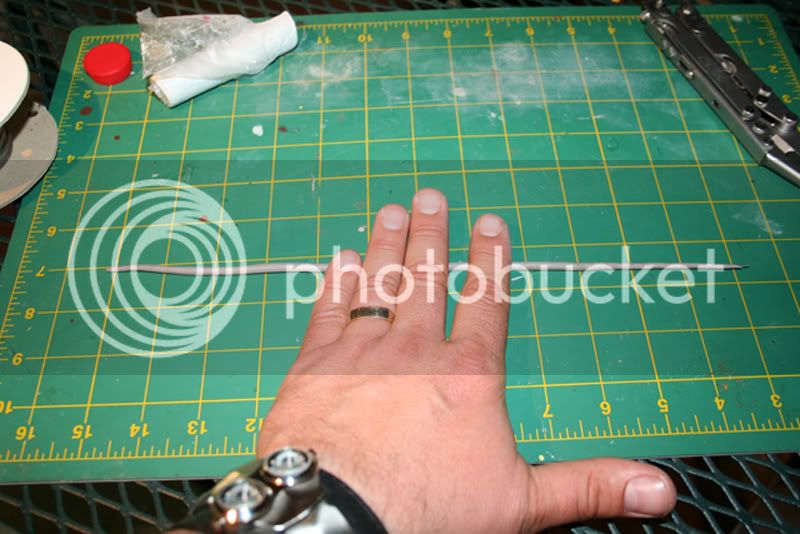
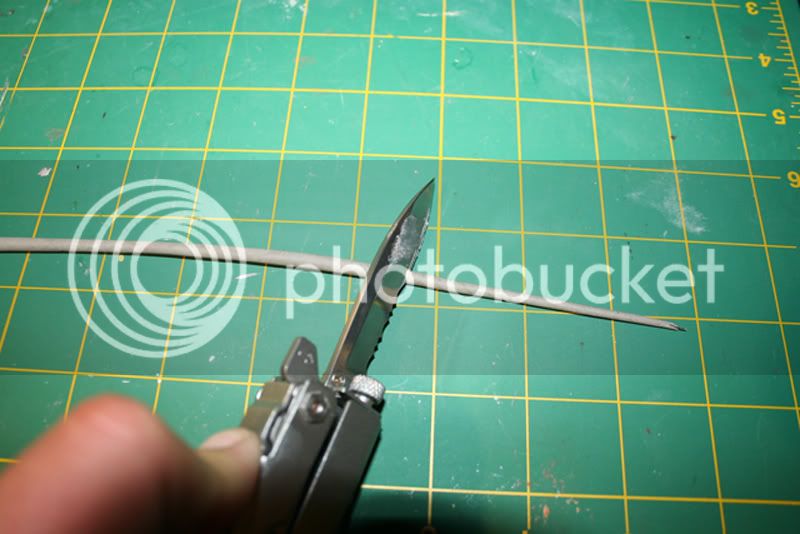
Now, cut the "snake" wherever makes sense to you...

7.jpg


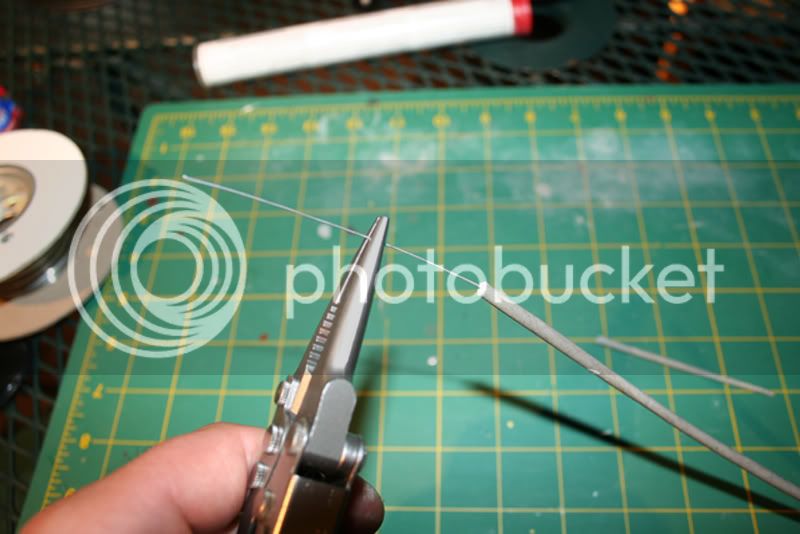
and pull the putty off the wire.

8.jpg


Vise grips are handy for this.

9.jpg


As you can see there is a nice clean tunnel which runs down the length of the putty "snake".

10.jpg
 
You can now thread wire that has not been abused through the "snake". By doing this instead of just cutting off what is not needed in earlier steps you don't risk nicking the wire and weakening it. Also you can make sure your putty segments are cleanly cut and to desired length.

11.jpg


12.jpg


Then prime and paint. This is my first prototype hand. I used copper wire for this one and it still functions quite well (just a bit beat up).

13.jpg


14.jpg


That's it. I hope this helps some folks out. Post away if you need clarification on anything. I've been thinking this method might work quite well for gloved figures (assuming proper 1/6 gloves are available).

Rock on all you FLUCKING FREAKS!!!!!!
 
great tutorial PR...............i think anyone who would want to do this could easily follow what you showed and be successful.............you are a pioneer. :D
 
Been working hard at improving my painting skills. This is the 5th official head I've painted. Thanks to Xenoviper for the killer sculpt. I think I may tweak paint a bit but overall I'm happy so far. I'm looking for criticism good, bad, or indifferent so I can improve my work. Fire away! :gun

IMG_2532copy.jpg


IMG_2533copy.jpg


IMG_2534copy.jpg


IMG_2536copy.jpg


IMG_2538copy.jpg
[/QUOTE]
 
Last edited:
thats looking pretty damn good to me. im sure others will agree. nice work !!
 
The Jack display looks great. Thanks for the wonderful tutorial on how you made Jack's awesome fingers!
 
Thanks all!
Here are a couple of full body shots. I'm using a pretty horrible body right now. Not sure what kind. Should have some of HT TT bodies next week and will convert.

IMG_2550copy.jpg


IMG_2551copy.jpg
 
Finally got the nads to mess with my Tak Bat. Took a good bit of dremeling both head and body. Still need to futz with some stuff and make a custom stand. Thanks again to Wofford for making this awesome Bale sculpt available to the masses.

Untitled-9.jpg


Untitled-33.jpg


Untitled-55.jpg


Untitled-22.jpg
 
Already posted this to the Shaun of the Dead section but thought I should add it here as well.

Just could not stand the paint apps on these guys and needed the practice. Hope you like.

shaun1.jpg


shaun2.jpg


shaun3.jpg


ed.jpg


ed2.jpg


ed3.jpg
 
BLOODY HELL! Seeing these repainted makes me wish I would have gotten the set and not canceled my original order. THey have a great life like quality... Nice work!
 
that is some top notch eye work.............about as real as it gets
 
First off sorry about the blurry pix. Broke my tripod on a recent trip.
Just a quick teaser. Plan on housing electronics in the pedestal the skull sits on with a brighter LED. Just thought it looked too cool not to post. Tut will follow with finished work.

skull1.jpg


skull2.jpg


skull3.jpg


12-04-08
Sorry for the delay all... Work WOrk WORK!!

Anyhow just in case anyone cares. Finally got around to finalizing electronics and building the base up to house them. Bear in mind the paint is a base coat.

Will defiantly post a tut with finished paint and lit this weekend.
I like it. Hope you do too.

The built up base (plumber's putty rocks):
IMG_2946.jpg


Button in off position:
IMG_2959.jpg


Button in on position:
IMG_2954.jpg


Made sure to make it look official:
IMG_2952.jpg


Another view of the underside:
IMG_2955.jpg


Electronics:
IMG_2957.jpg
 
Back
Top