Darkavatar
Super Freak
yes, but first..... face in Cowl mod
What is face is cowl mod? You mean make the face plates sit better?


yes, but first..... face in Cowl mod


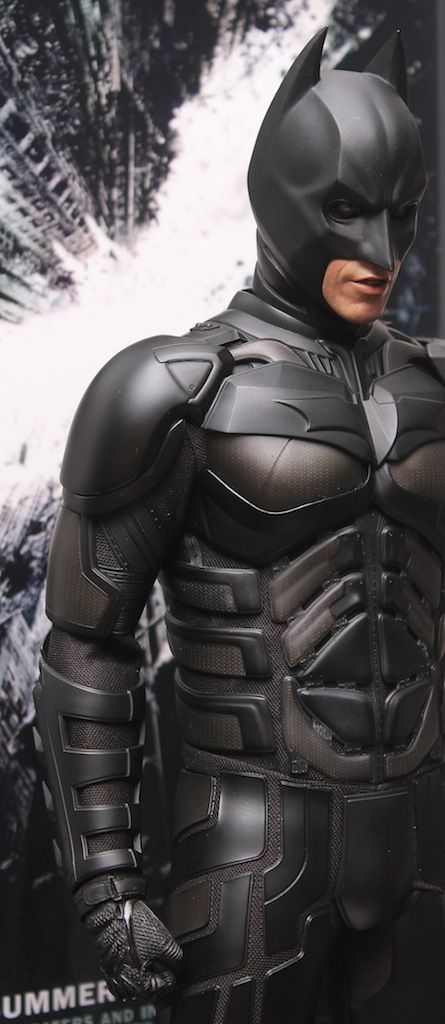
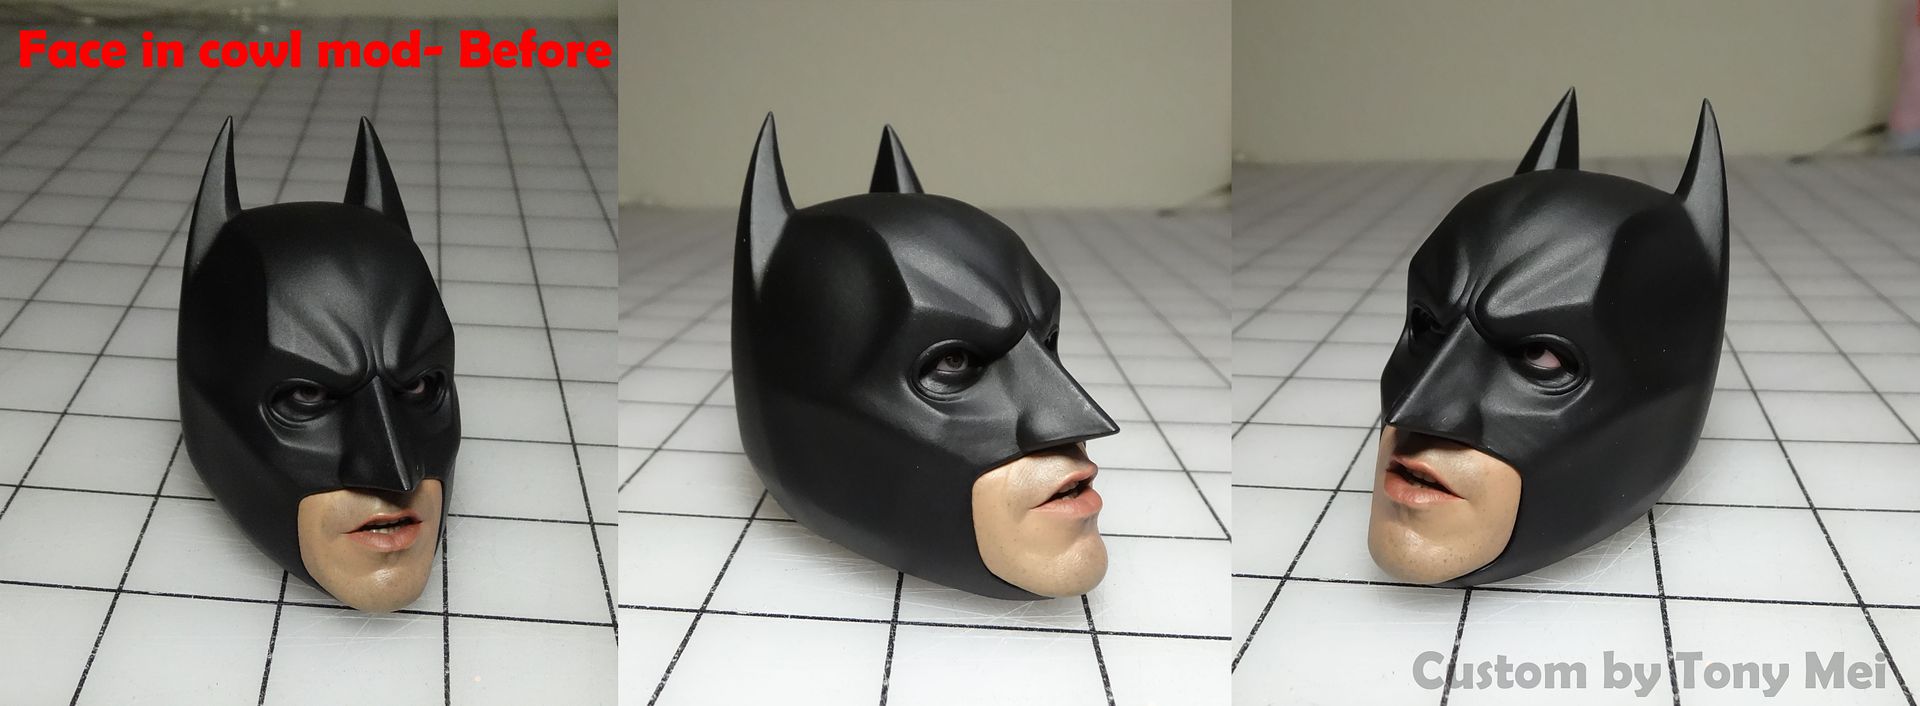
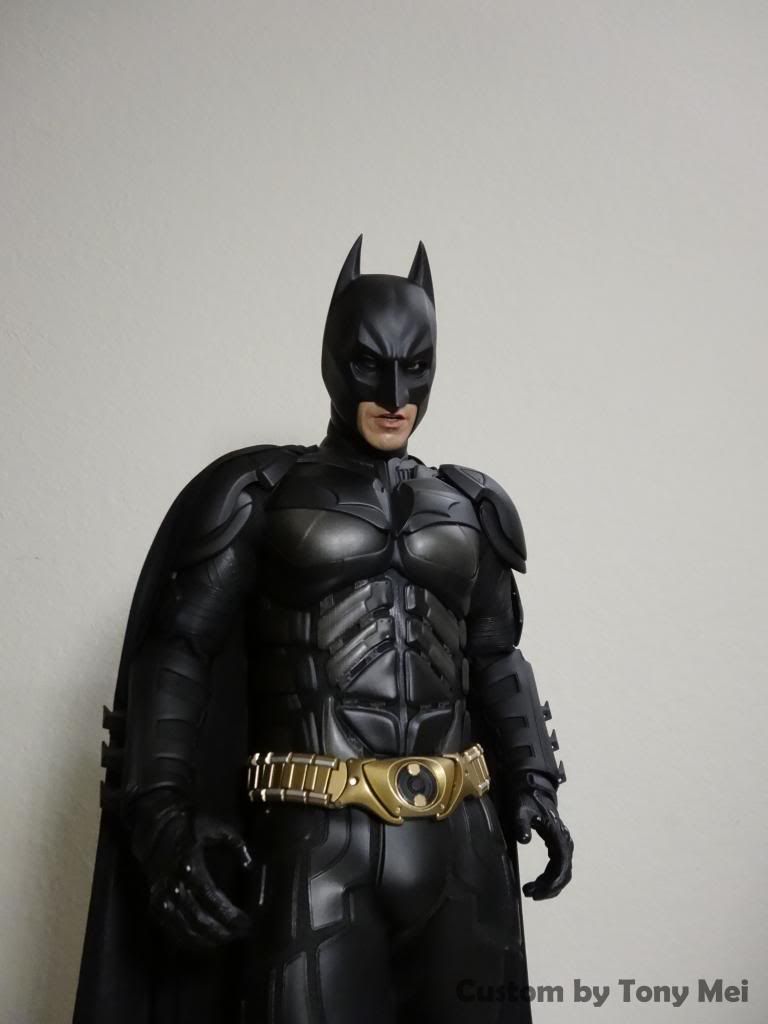
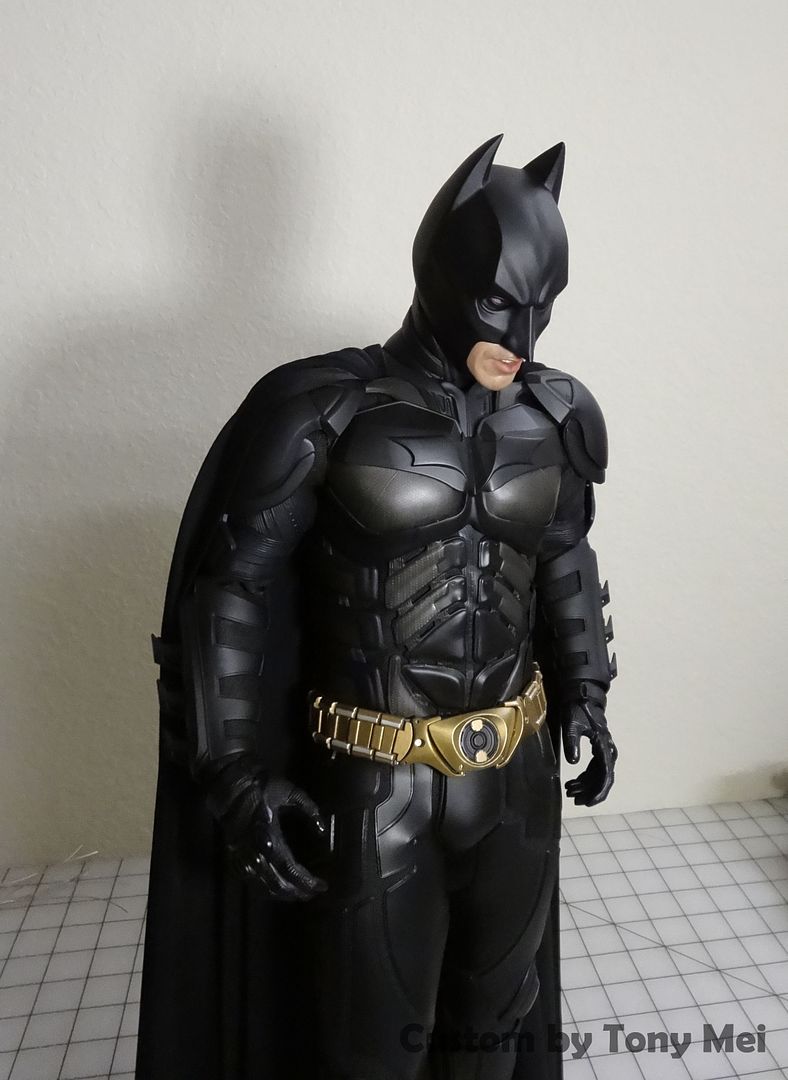
Here is the Face in Cowl mod. I have notice the face stick out a bit more, doesn't look as natural as the EB..... so I decide to play around with it...... end up to be one of the easiest mod ever, hope this is helpful
 This cowl looks very toyish IMO because of the slightly bug eyes and the face plates(although that's the least thing that bothers me). I hope you can create a cowl that gets rid of this toyish look, since you said you are going to sculpt the eye lids. However, yours look fine just by doing that painted Mod in your pictures.
Here is a before shot
face does stick out a bit more, and does look as real
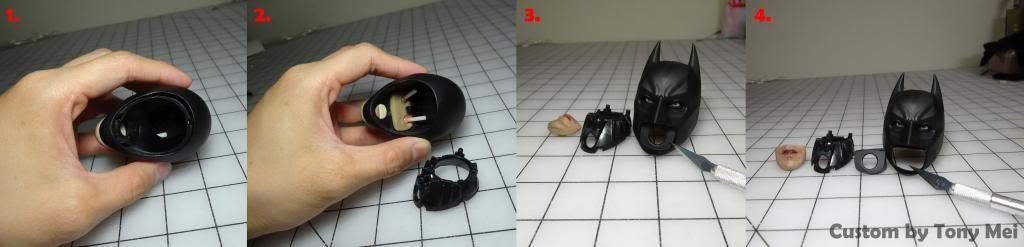
Step 1
- look at the inner cowl, your goal is the take the inner metal bracket out
Step 2
- you can take out the metal bracket by using some hook tool, its very simple as my wasn't glued in
- as you can see, the wall on the faceplate holder is very thin, your goal is to cut it off
Step 3
- cut slowly along the back wall of the faceplate.....
Step 4
- pop it out
- if any other part needs to be sand down or clean up, this is your chance to do so
- try to keep the back wall of the faceplate in good condition, you need it later on
here is the after shot, not a huge different, but I do enjoy it
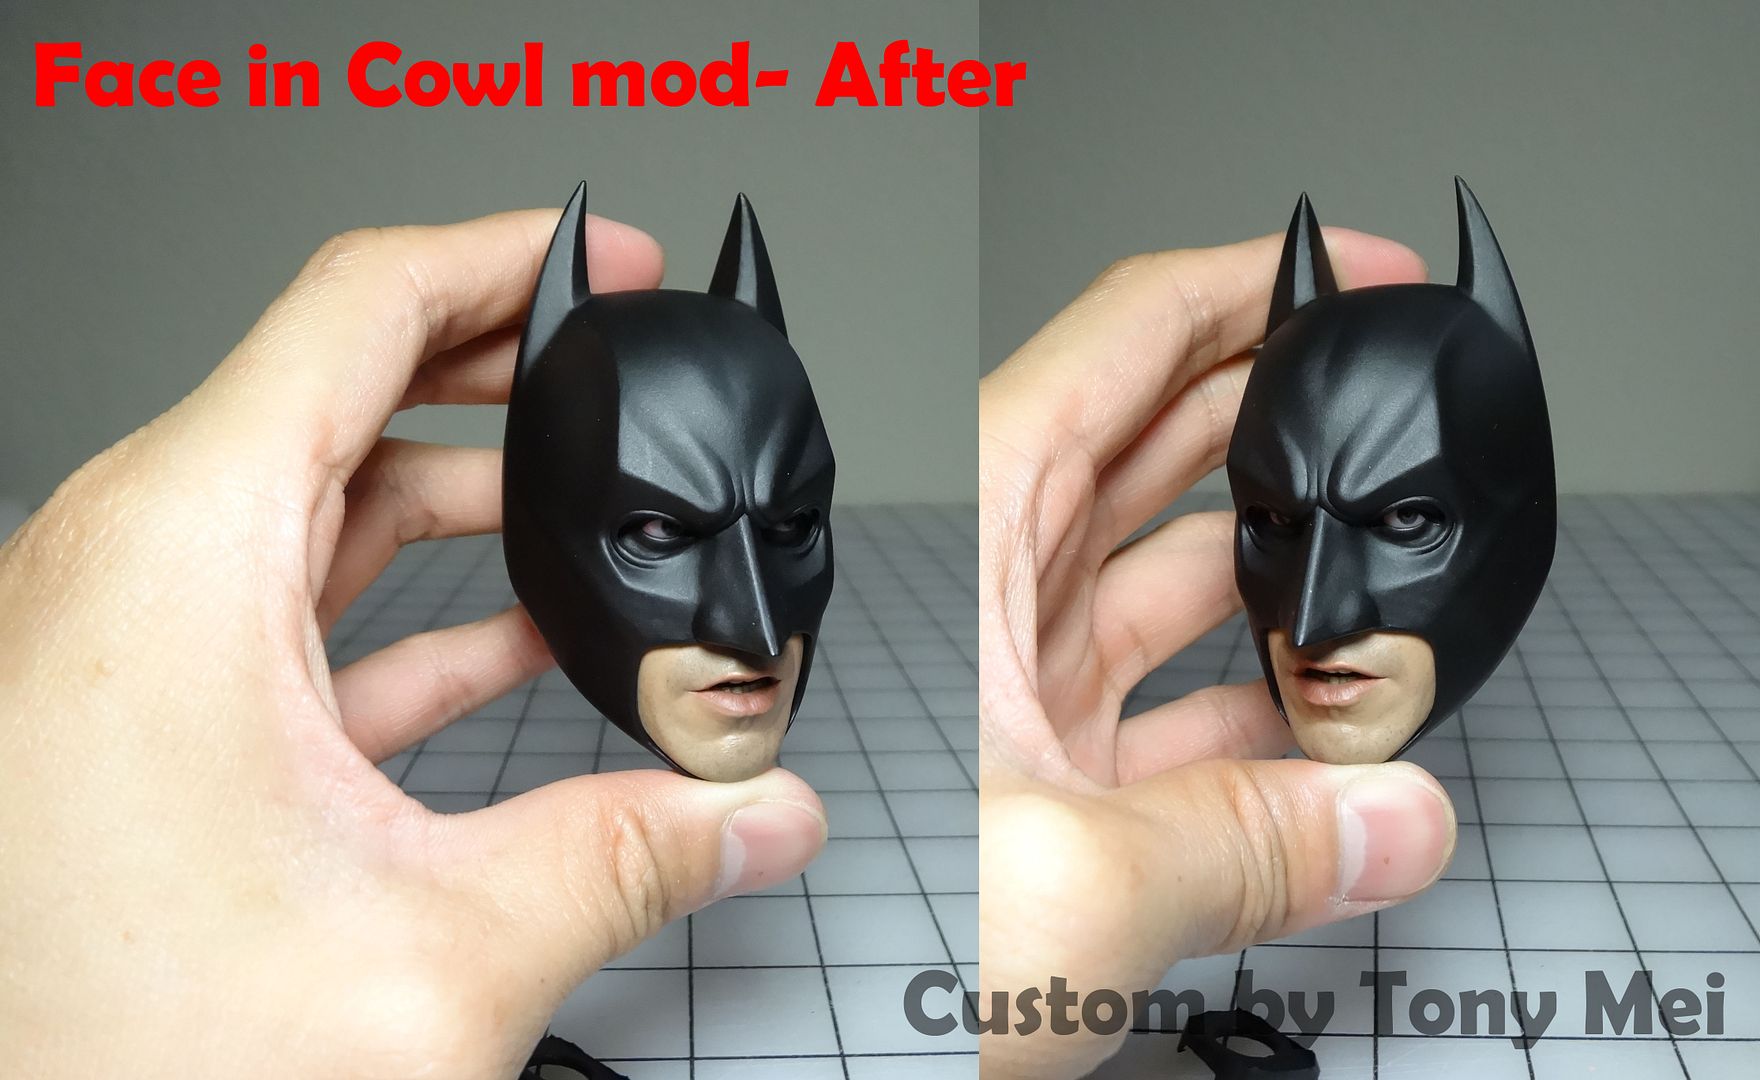
Sealed it back together
Step 1.
After you are satisfied with the fitment of the faceplate.... turn the head around, lets work on the inner part
Step 2
- put the back wall back onto the faceplate, but be sure to keep the faceplate remain in the same position you fitted earlier
Step 3
- place the metal bracket back
Step 4
- turn it around and check if everything is in place as the way you like it
- LAST, when you are completely satisfy with the location, simply super glue the back wall back to where it was
- once its dry, you can have some fun changing all the faceplates for different expression, hope this change and improve your Dark Knight a bit
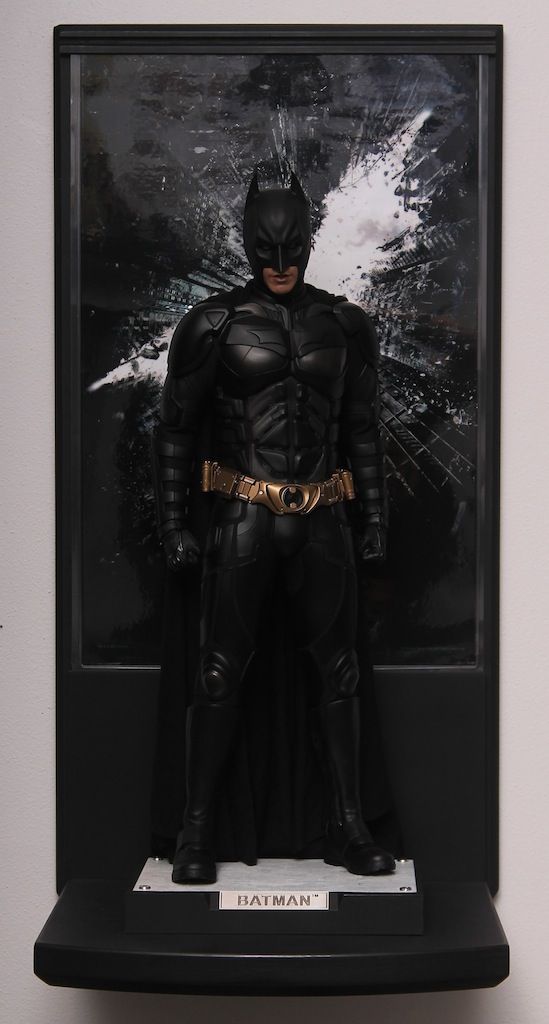
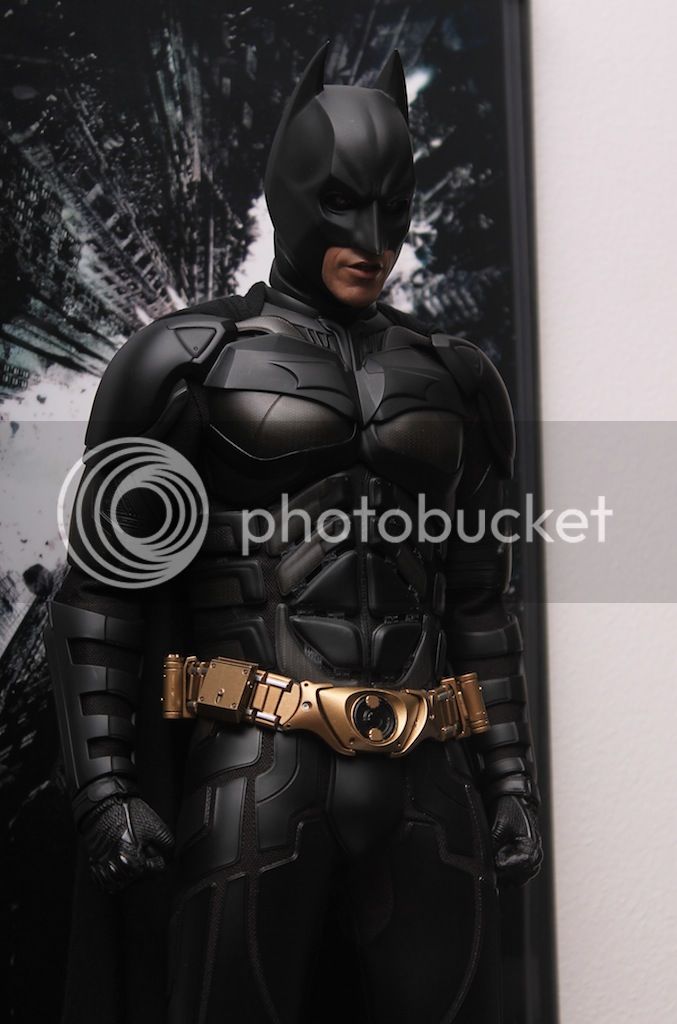
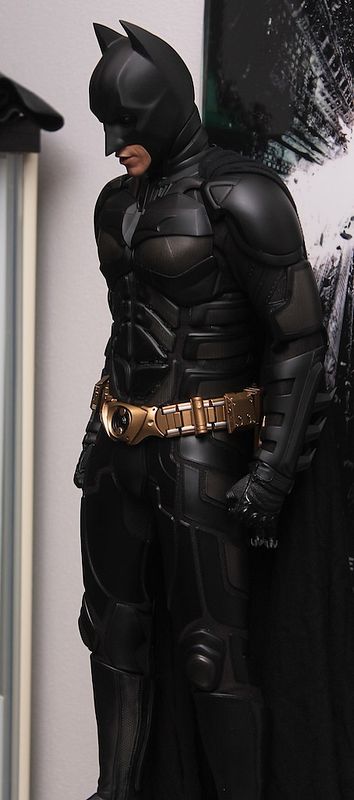
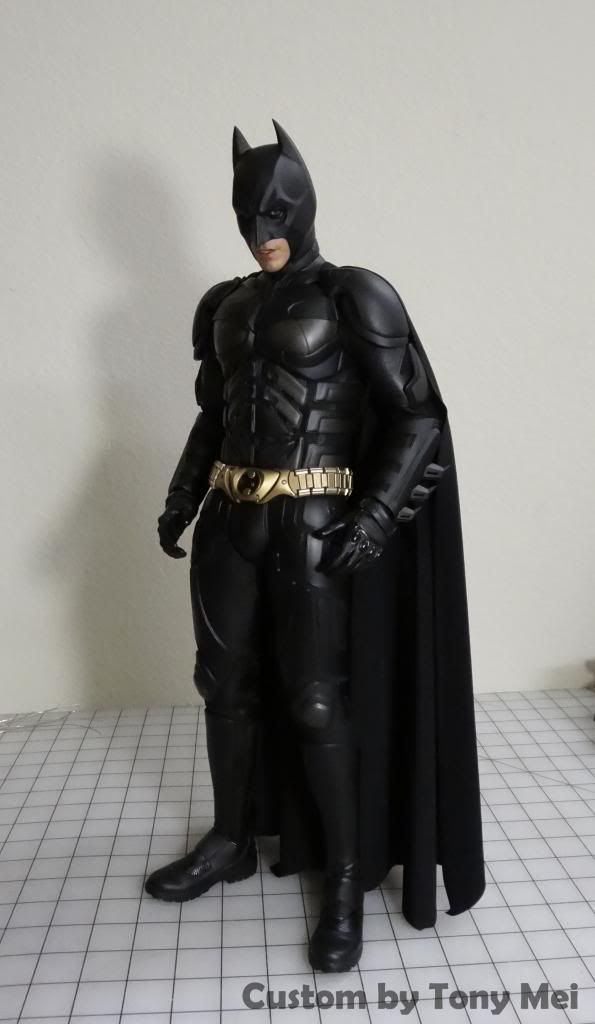
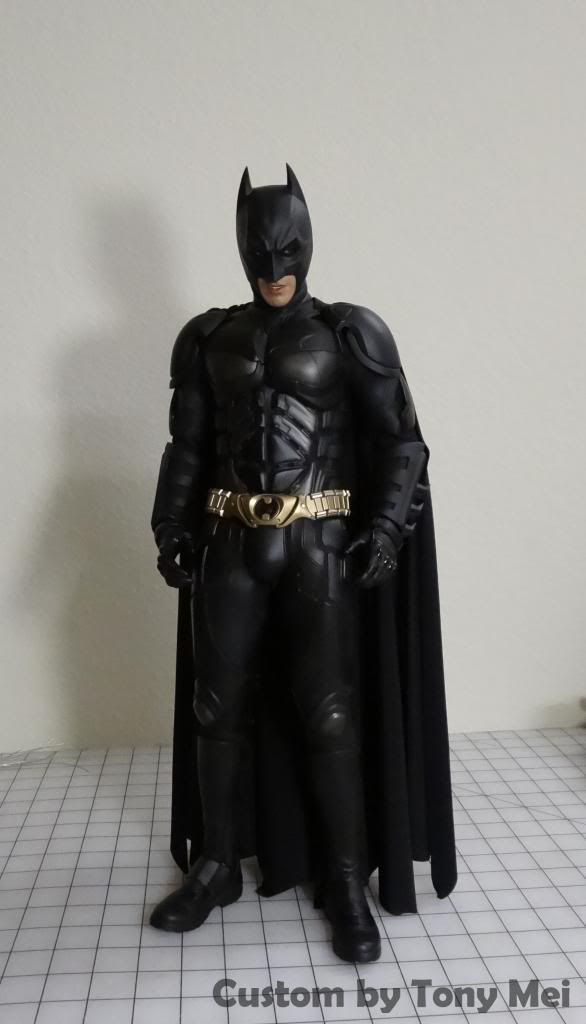
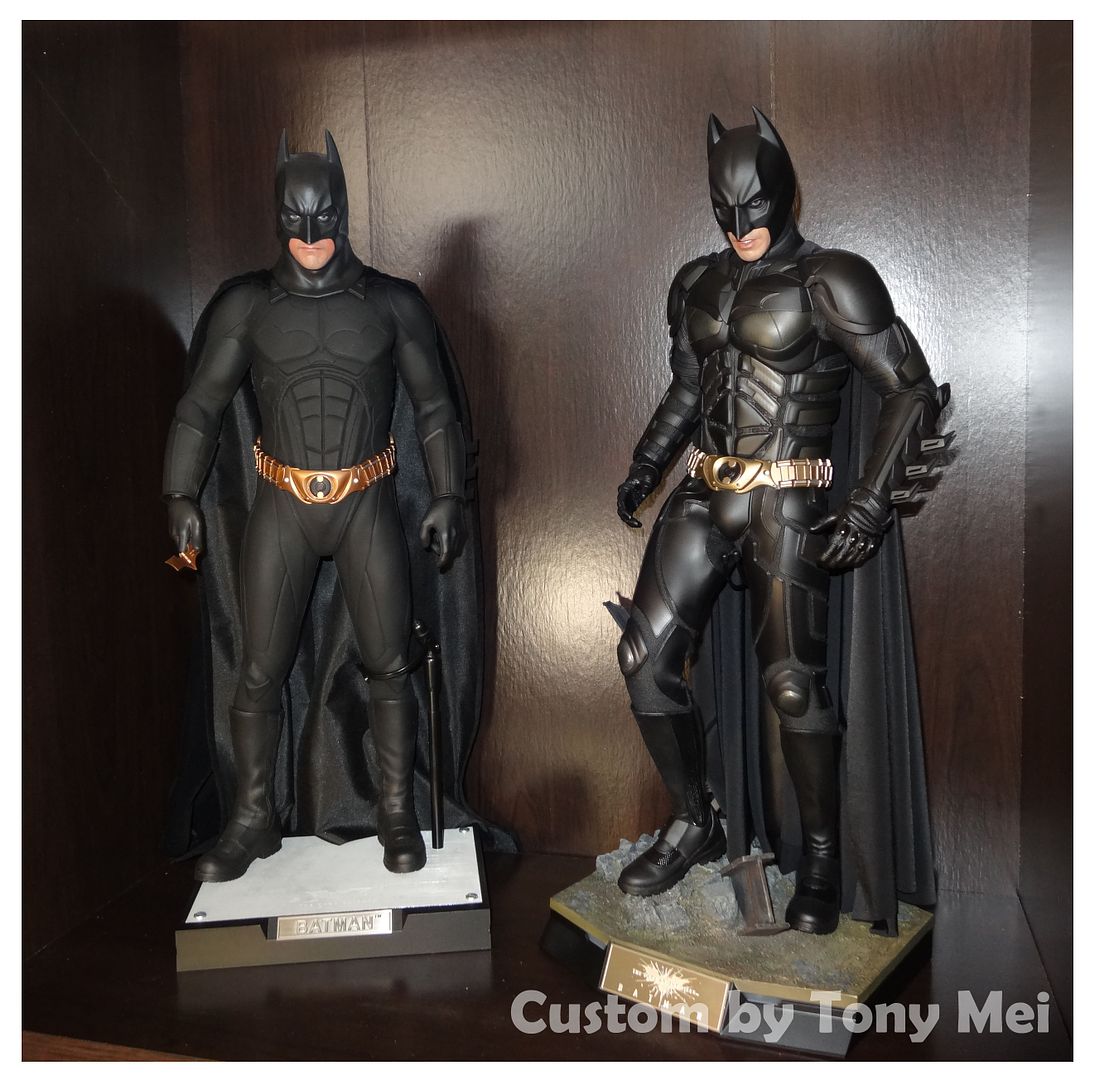
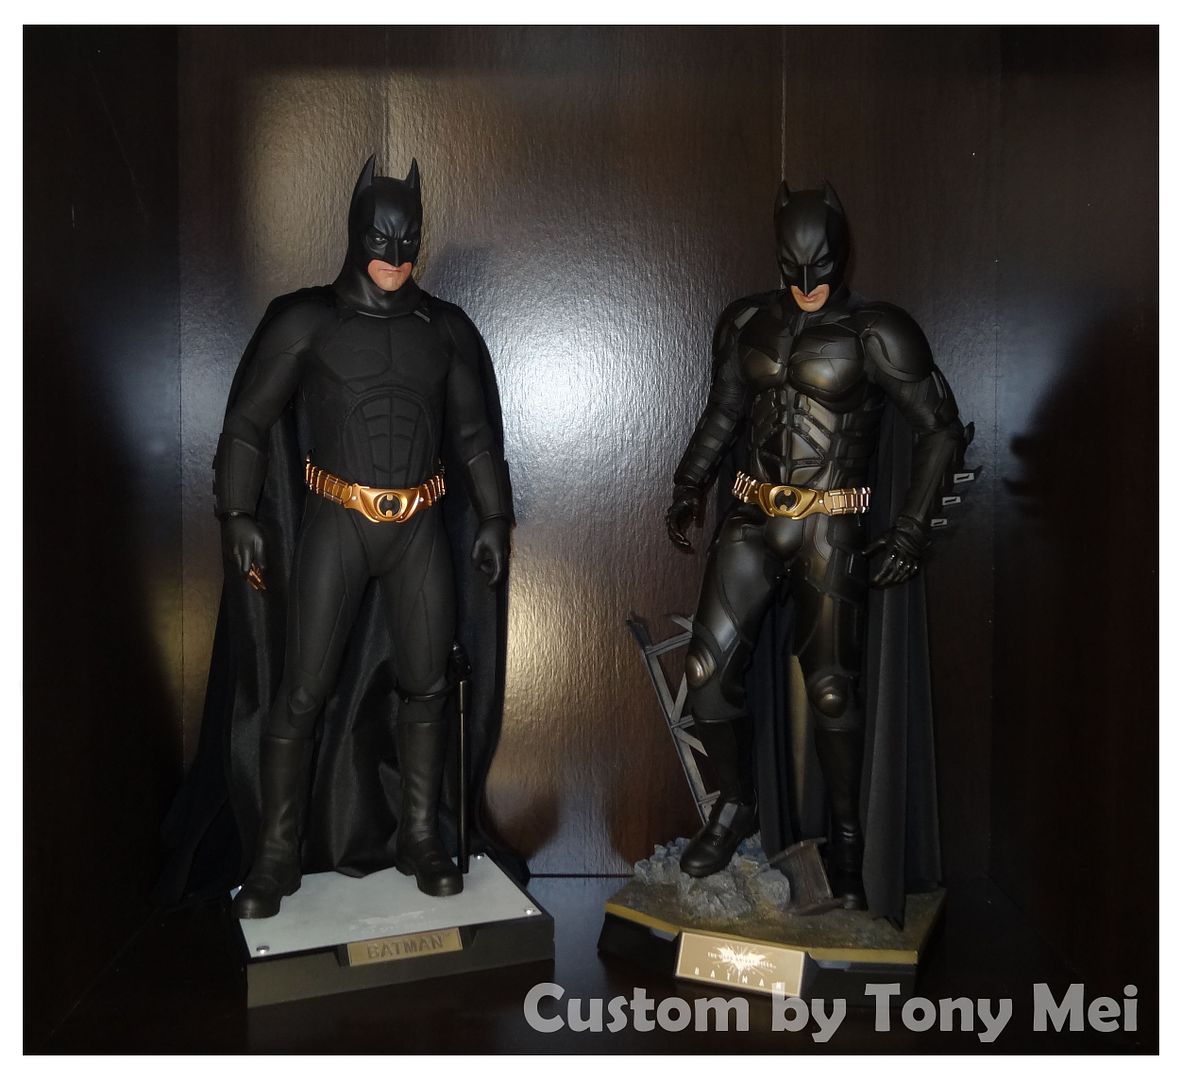
Here is a few shot of mine.....
- eye painted
- neck collar mod
- shoulder armor repositioned
- leg extension
- cape insert mod (not necessary, I would like to make it better eventually)
- custom drape cape
- glove straps mod
- face in cowl mod
Here is the Face in Cowl mod. I have notice the face stick out a bit more, doesn't look as natural as the EB..... so I decide to play around with it...... end up to be one of the easiest mod ever, hope this is helpful
Step 1
- look at the inner cowl, your goal is the take the inner metal bracket out
Step 2
- you can take out the metal bracket by using some hook tool, its very simple as my wasn't glued in
- as you can see, the wall on the faceplate holder is very thin, your goal is to cut it off
Step 3
- cut slowly along the back wall of the faceplate.....
Step 4
- pop it out
- if any other part needs to be sand down or clean up, this is your chance to do so
- try to keep the back wall of the faceplate in good condition, you need it later on
Sealed it back together
Step 1.
After you are satisfied with the fitment of the faceplate.... turn the head around, lets work on the inner part
Step 2
- put the back wall back onto the faceplate, but be sure to keep the faceplate remain in the same position you fitted earlier
Step 3
- place the metal bracket back
Step 4
- turn it around and check if everything is in place as the way you like it
- LAST, when you are completely satisfy with the location, simply super glue the back wall back to where it was
- once its dry, you can have some fun changing all the faceplates for different expression, hope this change and improve your Dark Knight a bit
What am I missing?
It just sounds like something is removed, and then put back.
Gonna read it again...
What am I missing?
It just sounds like something is removed, and then put back.
Gonna read it again...
Well your not allowed to say that on the QS001 forum because not everyone believes the face plates stick out. So you will only cause arguments there. Its so ridiculous, why can't people accept the possibility that they do stick out.
Whatever it is at least you can discuss face plate issues here without being attacked.
This is what I gathered.
The cowl has a stopping point for the face plates, ala dx12...the hole where the plates peg goes into. You gotta slice that whole thing out. Insert the face plate until you're satisfied with the depth, then repeg the sliced out portion onto the peg of the face plate (all done from the opening of the cowl).
So with the desired look of the face plate, you'll need to reassemble the metal ring that was originally lining the cowls opening, and you'll have to glue the sliced portion onto the metal ring.
I think that's what tony is trying to convey.
I have 3 of these bad boys....
I gotta be honest. Cutting something from the cowl....gives me a sick feeling in the stomach haha.
Agreed. And I've already done some cutting on this figure.

Thought this was kinda funny lookin
 That cape is garbage.


Hey Mag could you explain a bit more as to what was done to the arm/shoulder?THANX!^_^
That picture is kind of a teaser....


Enter your email address to join: