SolomonJack
Just a little freaky
- Joined
- Aug 23, 2023
- Messages
- 1
- Reaction score
- 0
A few questions.
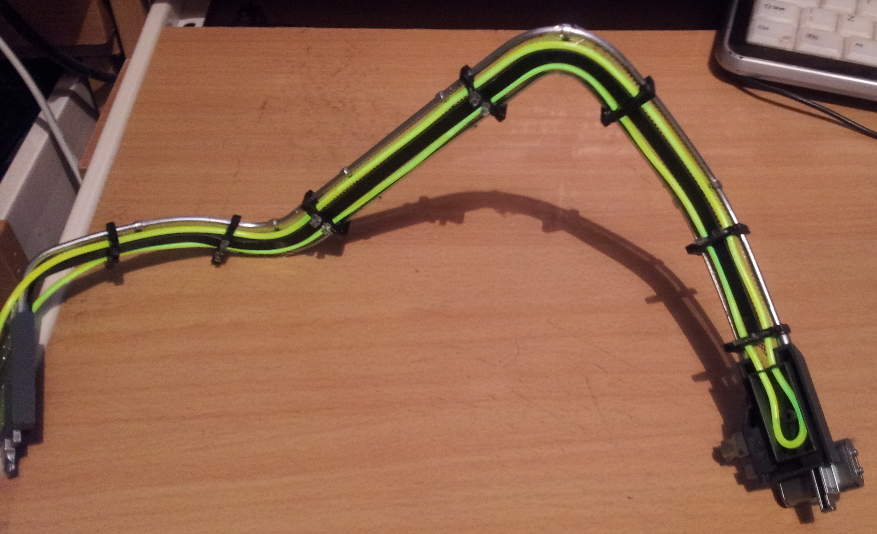
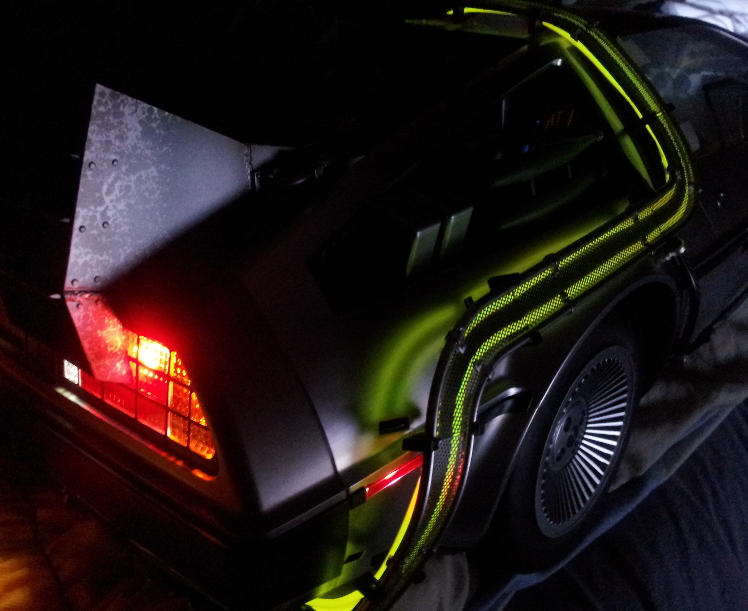
1. Do you have to unscrew the windshield to remove the under hood power assembly?
2. I've been working on this for two days. It doesn't just lift out. It feels like it is stuck on something in the center of the car under the windshield?
Is it on pegs or something? I followed the screw map but there's either screws I can't see or it's still anchored to something underneath.
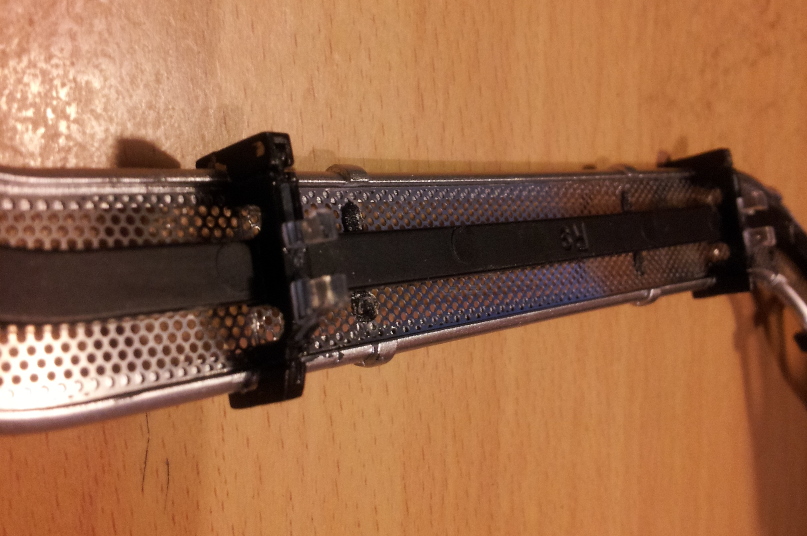
3. How exactly do you solder those 2pin wires? I scoured the internet. Nobody just sells them. I got the stuff to make them but I am a beginner at best.
4. These jumpers were not necessary for the mod as it could be completed as it was a matter of switching pegs. Can someone explain to me like I'm five which wires go where on this thing?
I started this thinking it looks straight forward. Looks like I was wrong.")
Thanks to everyone who can lend some insight.
1. Do you have to unscrew the windshield to remove the under hood power assembly?
2. I've been working on this for two days. It doesn't just lift out. It feels like it is stuck on something in the center of the car under the windshield?
Is it on pegs or something? I followed the screw map but there's either screws I can't see or it's still anchored to something underneath.
3. How exactly do you solder those 2pin wires? I scoured the internet. Nobody just sells them. I got the stuff to make them but I am a beginner at best.
4. These jumpers were not necessary for the mod as it could be completed as it was a matter of switching pegs. Can someone explain to me like I'm five which wires go where on this thing?
I started this thinking it looks straight forward. Looks like I was wrong.
Thanks to everyone who can lend some insight.