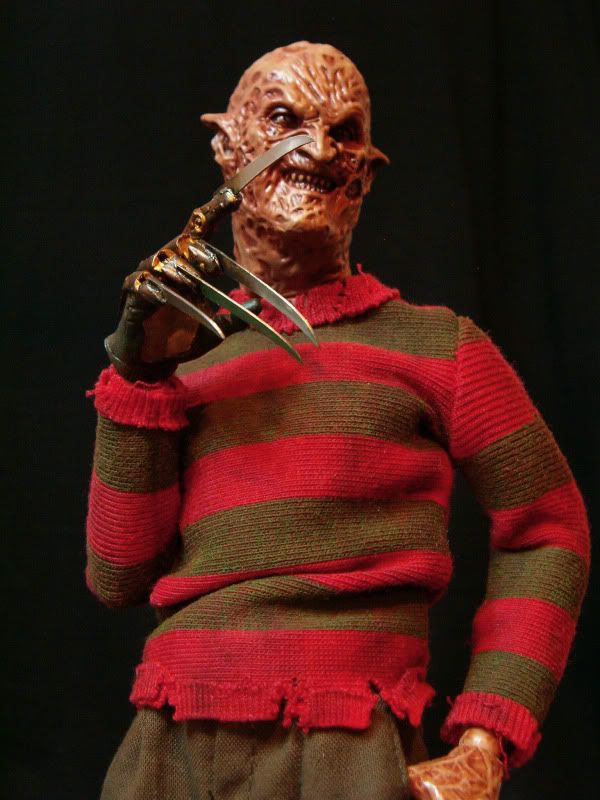
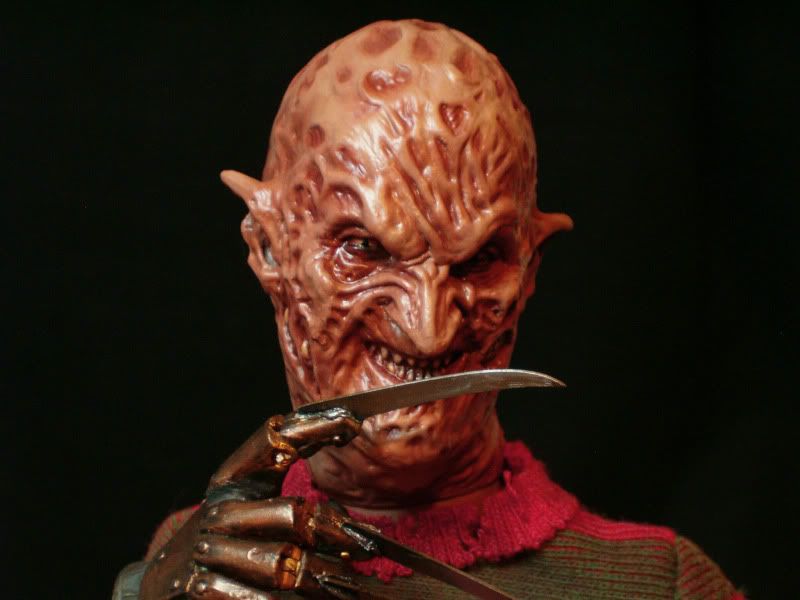
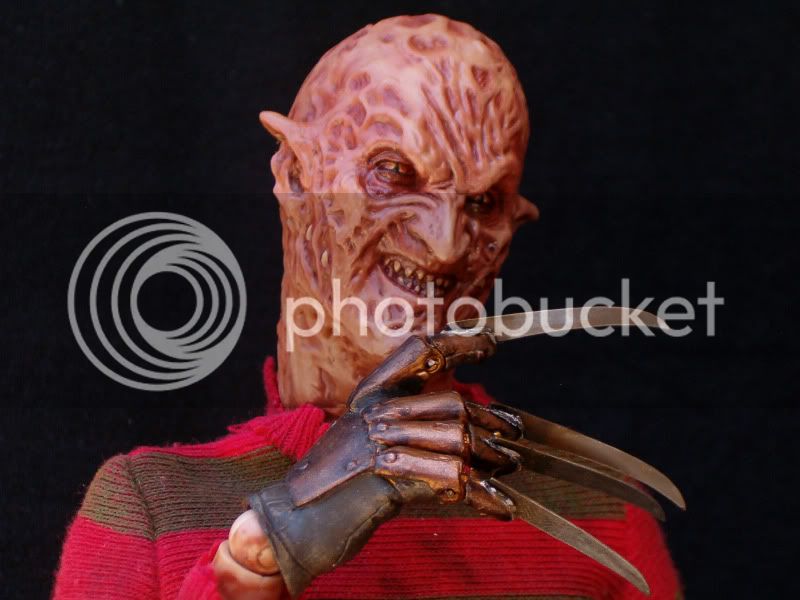
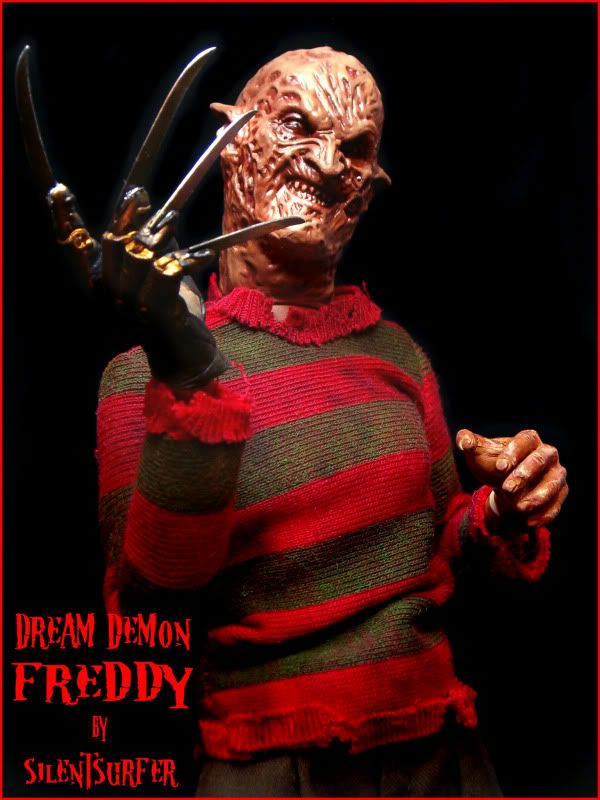
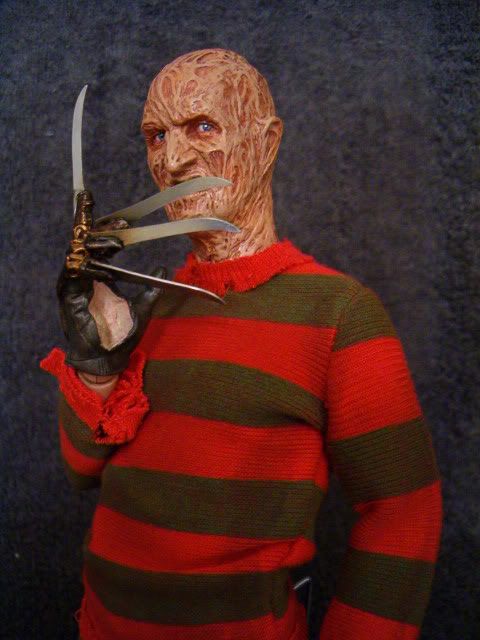
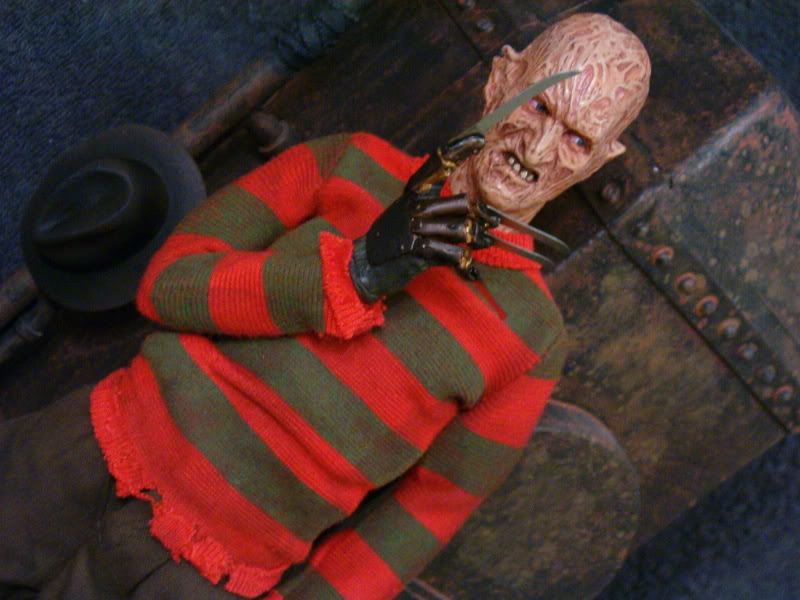
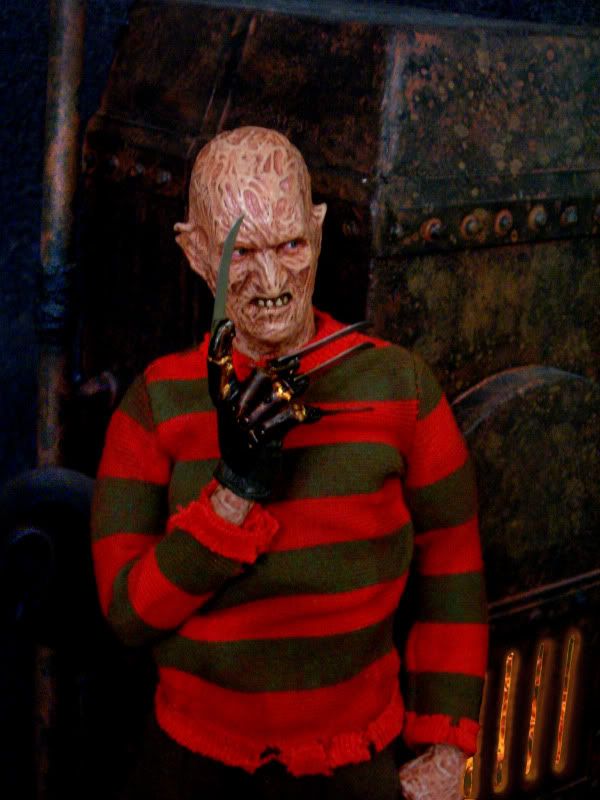
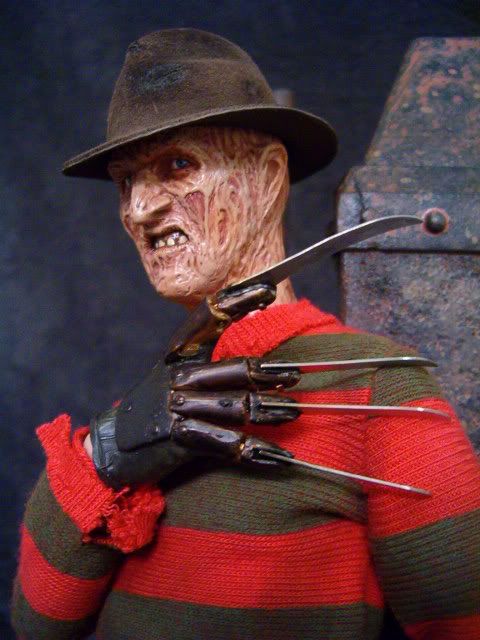
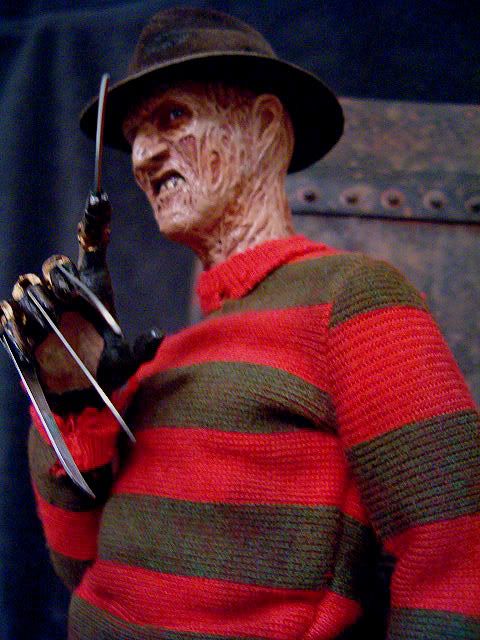
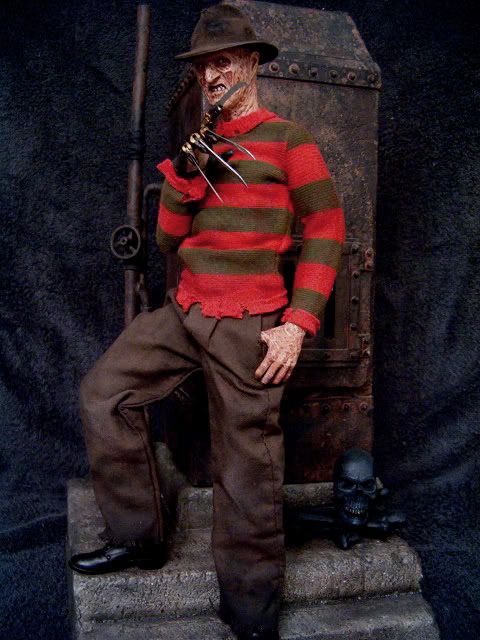
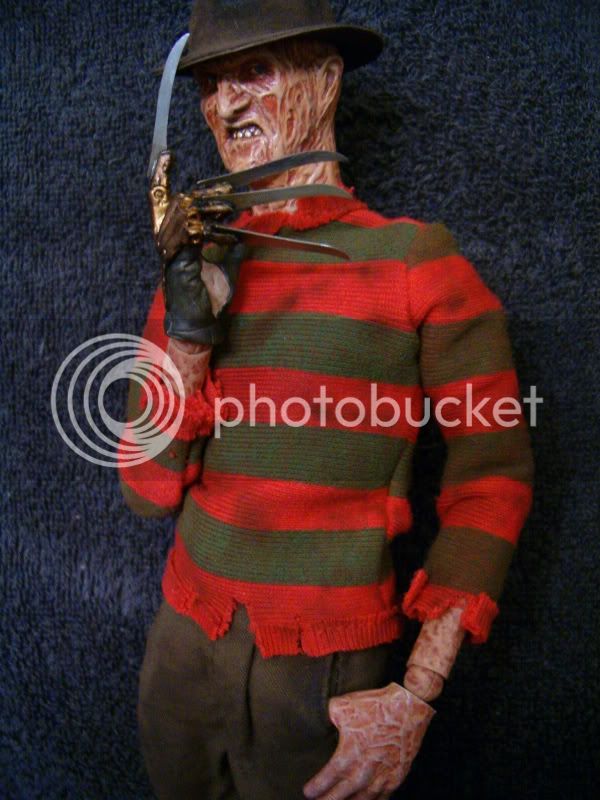
Buttmunch's Dream Demon Freddy.
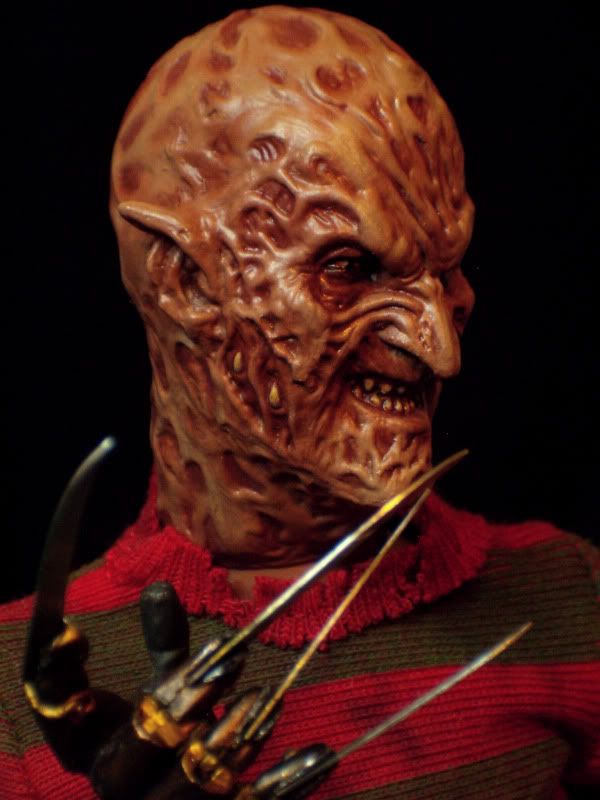
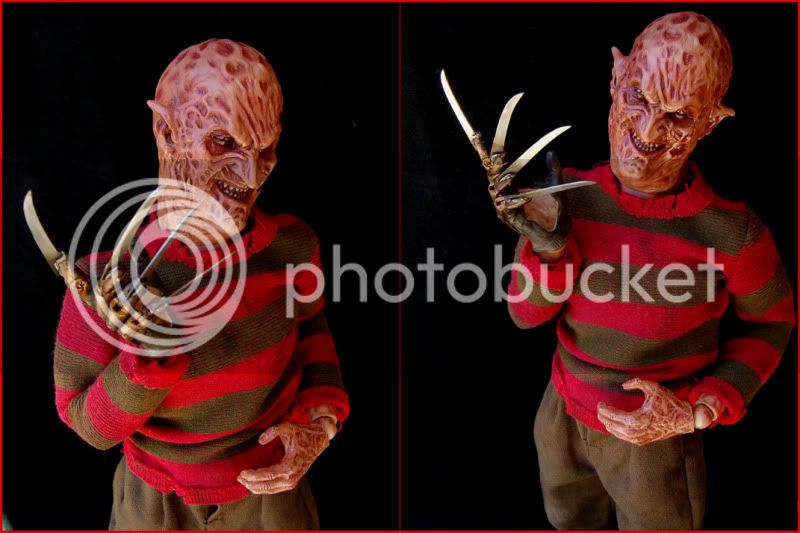


Amazing painting style, so slick.
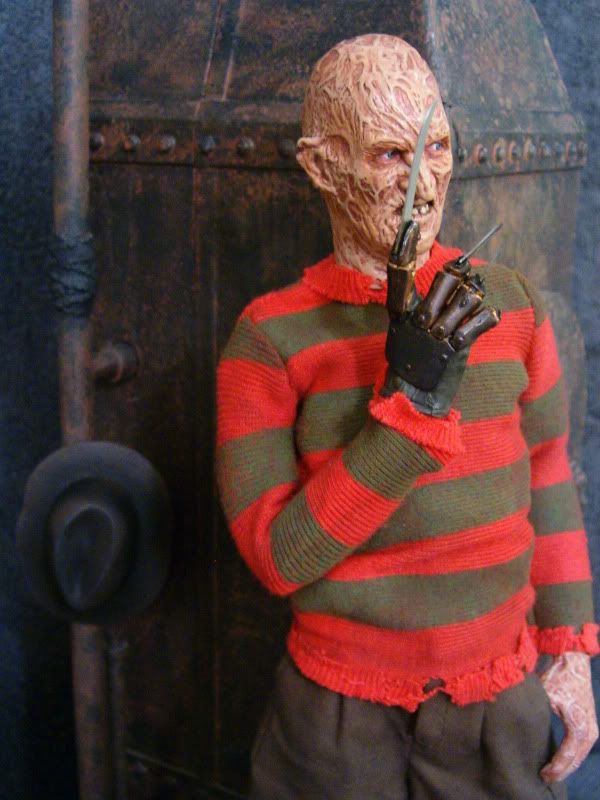
You make me like the demon freddy head!


My work is done! all i can do is wish you good luck!
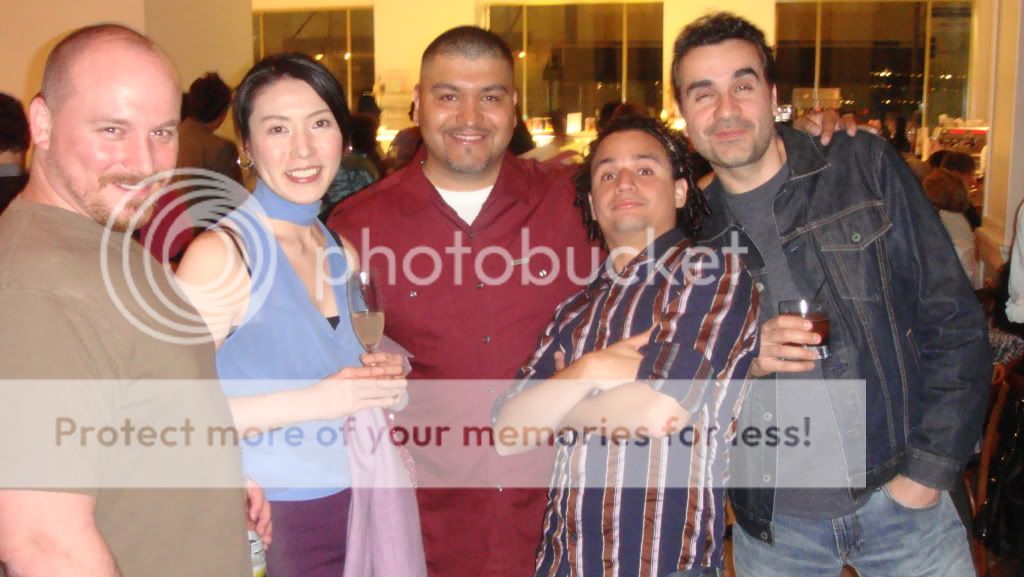
You da man, Pitu. Thanks. Safe trip home, brother. See you at SDCC.
and Thanks again for coming papo!!!!!Enter your email address to join: