OK Heres the tutorial -
If you need any further help, just ask.
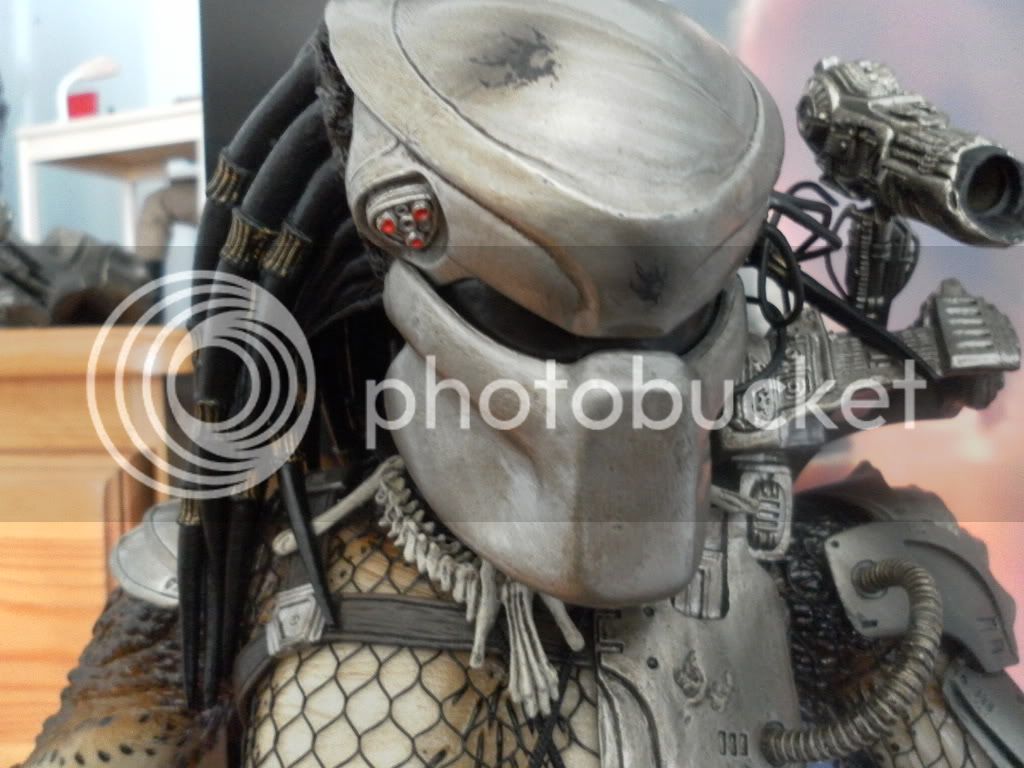
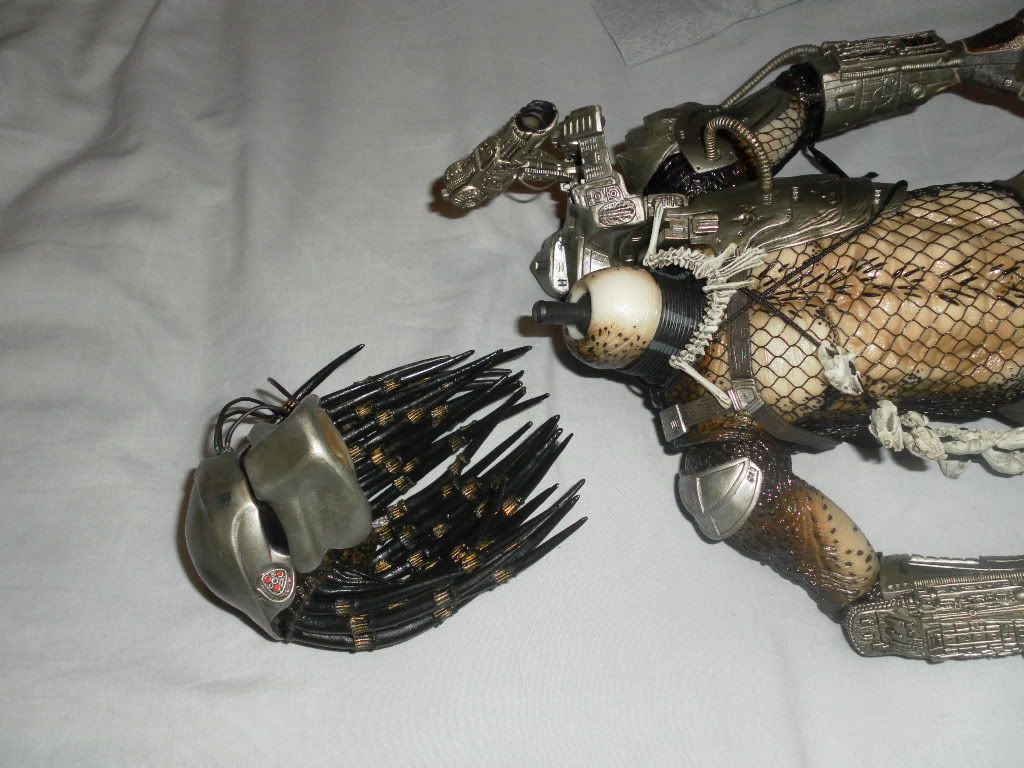
STEP 1] - Remove the head from the body.
Just pull the head with slow constant force while at the same time twisting it in different directions until it pops off.
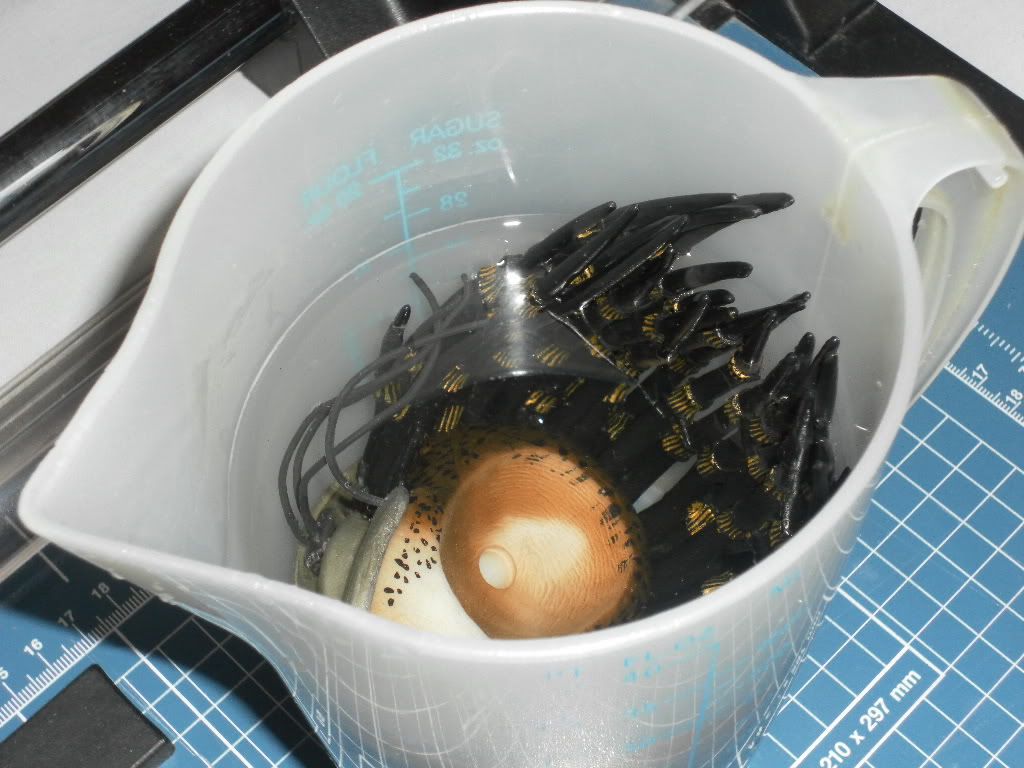
STEP 2] - Put the head in a jug of boiling kettle water for 4 minutes.
Make sure that the head is completely covered in the water.
I left his dreads poking out of the water so that I could pick him up by them and avoid burning my hands.
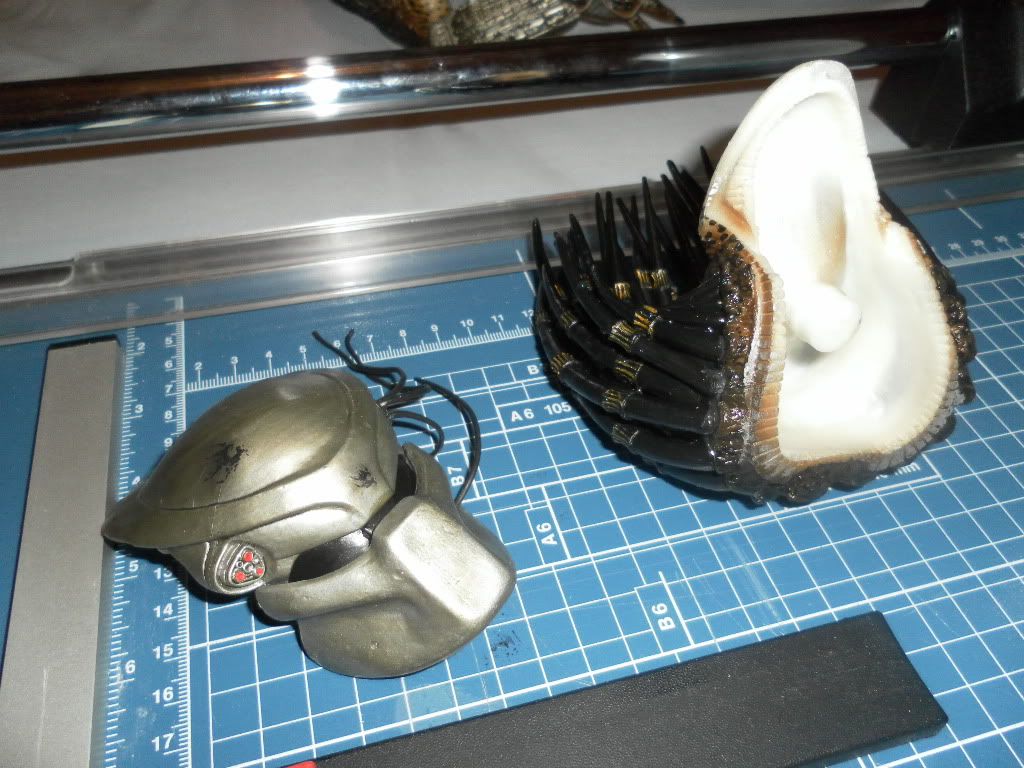
STEP 3] - Remove the mask from the head.
Start at the top/back of the mask and just slowly pull it off from the head.
If it feels like its too hard to pull off, use a small flathead screwdriver to pry a small opening to the top/back of the mask and place it in the boiling water again for 2-4 minutes.
Then try to slowly pull it off again.
And by the way, dont worry if it looks like youre bending it out of shape - it will turn back to its original shape like magic!
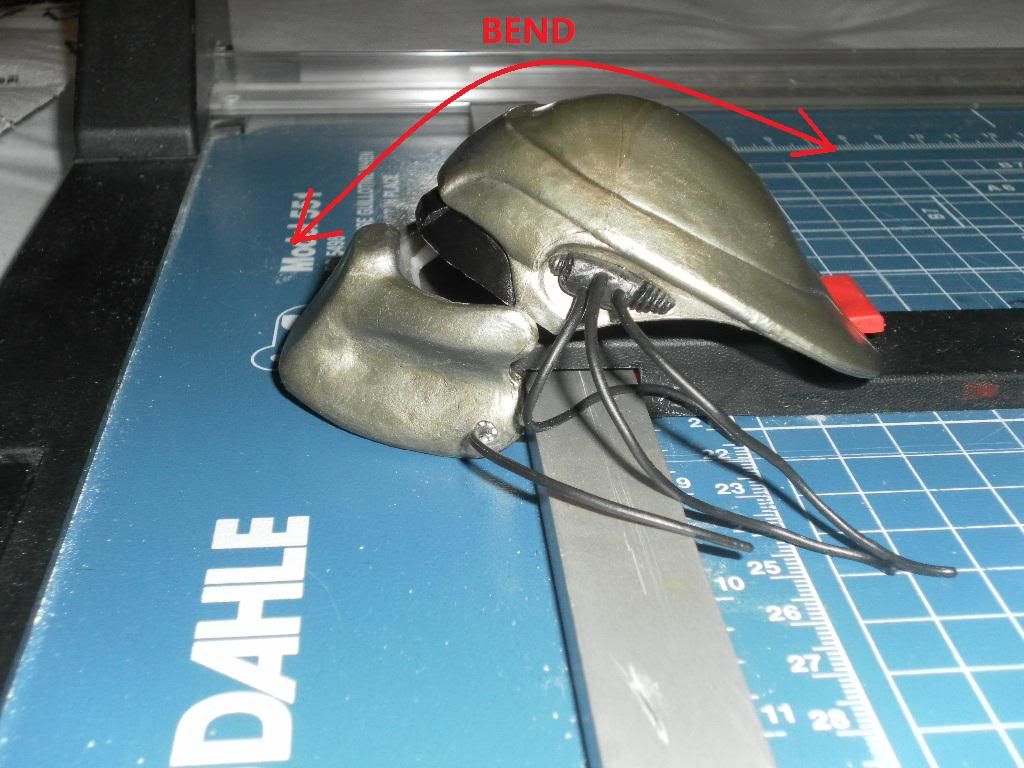
STEP 4] - Seperating the mask into 2 pieces.
Just slowly bend the mask with your hands/fingers until it seperates into 2 pieces.
Before doing this step, I recommend boiling the mask for another 4 minutes in the jug of kettle water.
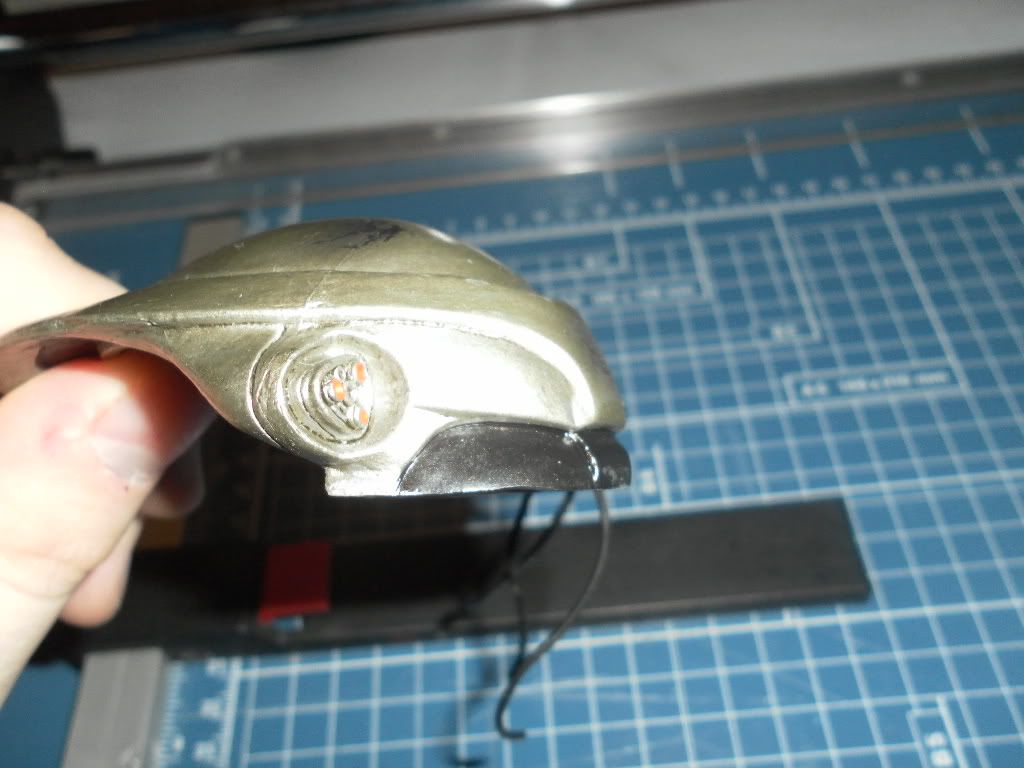
STEP 5] - Shaving the 2 mask pieces(top piece and bottom piece).
Use a sharp knife like an Xacto knife and make sure you are using a brand new blade.
I also recommend boiling the mask pieces just before you attempt to cut them.
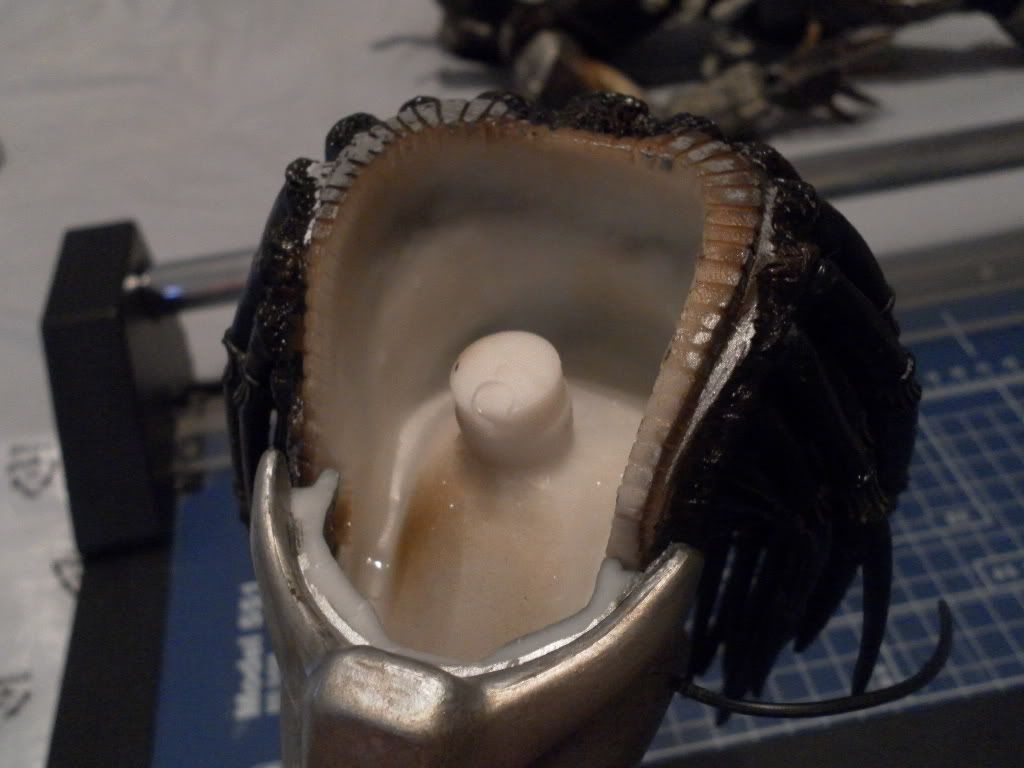
The bottom piece is easy to do - just shave it all the way down to the natural ridge area(shown in the above pic)
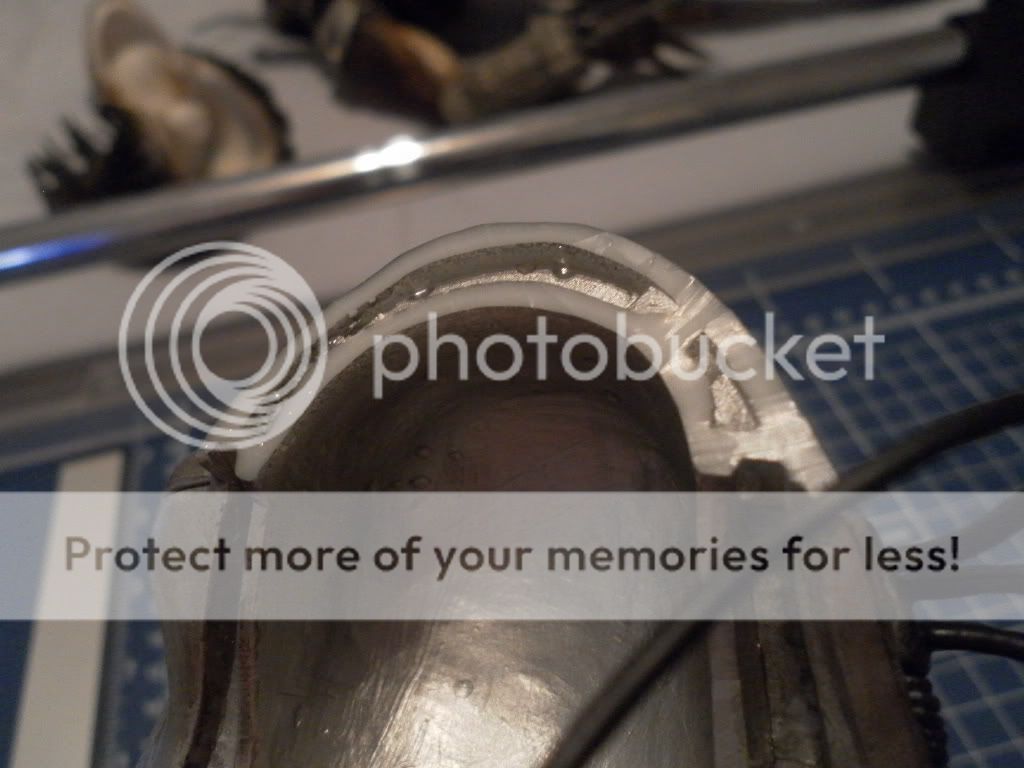
I cant really explain how much to shave off the top piece.
Just use trial and error and you'll be fine - shave off a little, check to see how it looks, then continue on shaving more off until youre happy with the size of the gap.
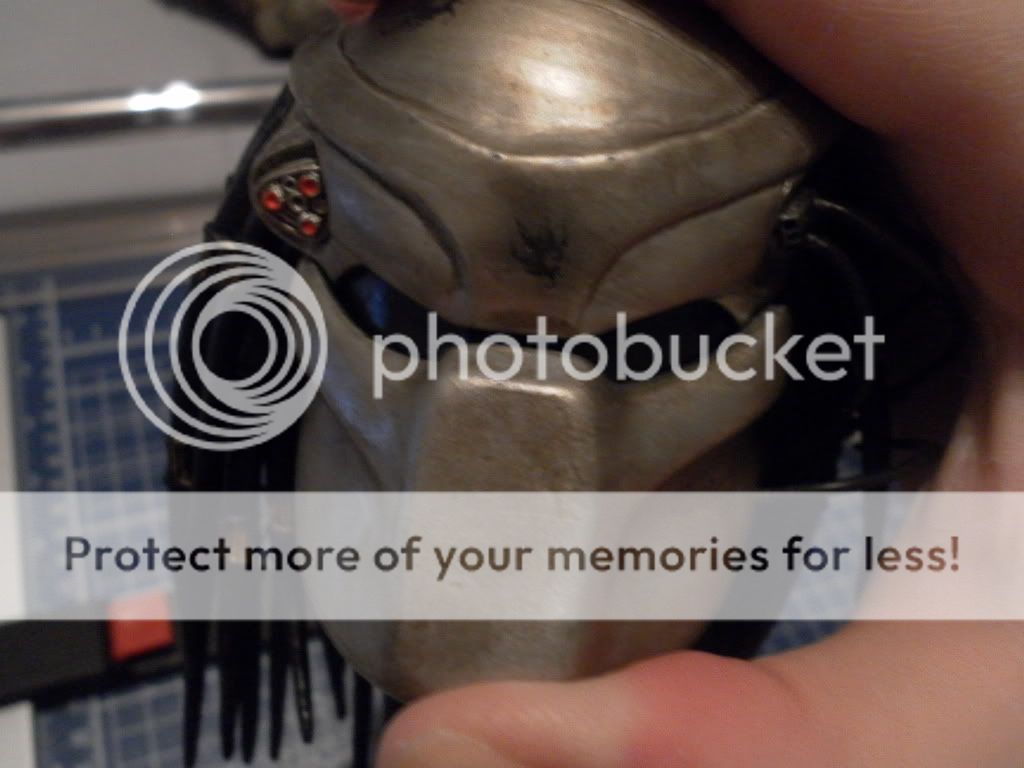
Pics of the top piece after shaving -
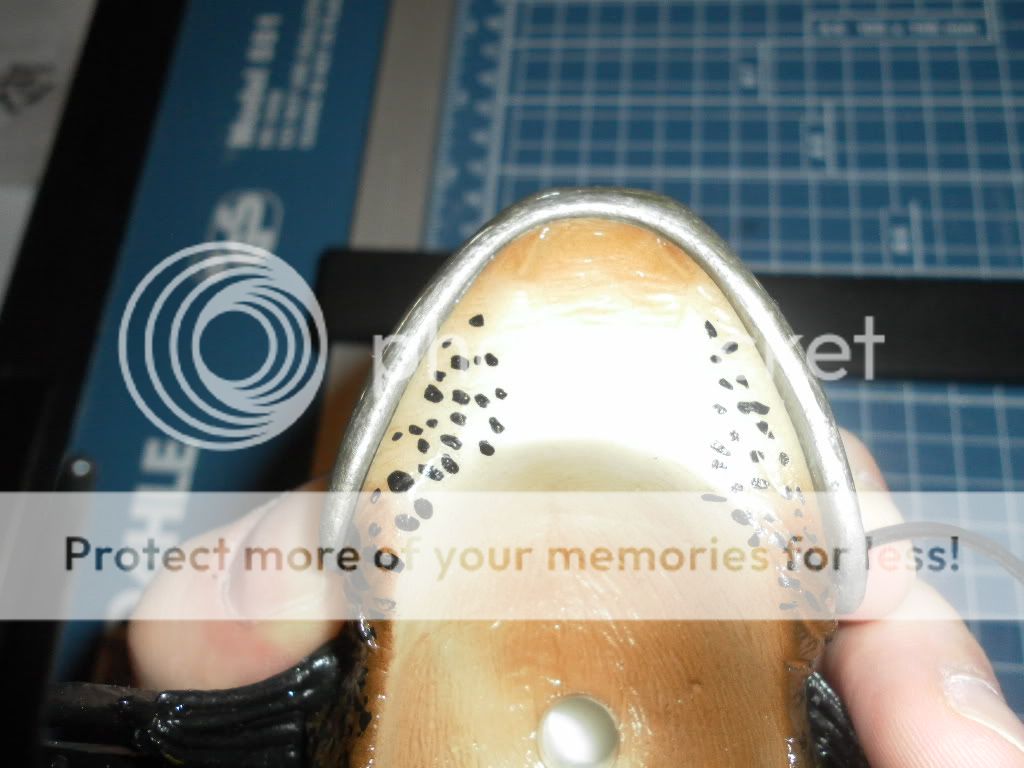
STEP 6] - Gluing the mask back onto the head.
First, I glued the bottom piece to the head.
Make sure you fit it into the original grooves of the head for its perfect fit.
You will now have this -
Then glue the top piece onto the head.
But this time you have 2 options -
Option 1] - Glue the top piece back on, avoiding the original groove lines.
This is quick and easy to do but it wont be as perfect looking from the side view(barely noticeable though).
Option 2] - Shave away the original grooves on the head and then glue the top piece on.
This takes longer to do but will give a better look from the side view.
Ive left my top piece unglued for now because I will be doing the visor mod later on.


")