


jacksparrow900
Freaked Out
- Joined
- Dec 20, 2009
- Messages
- 109
- Reaction score
- 17
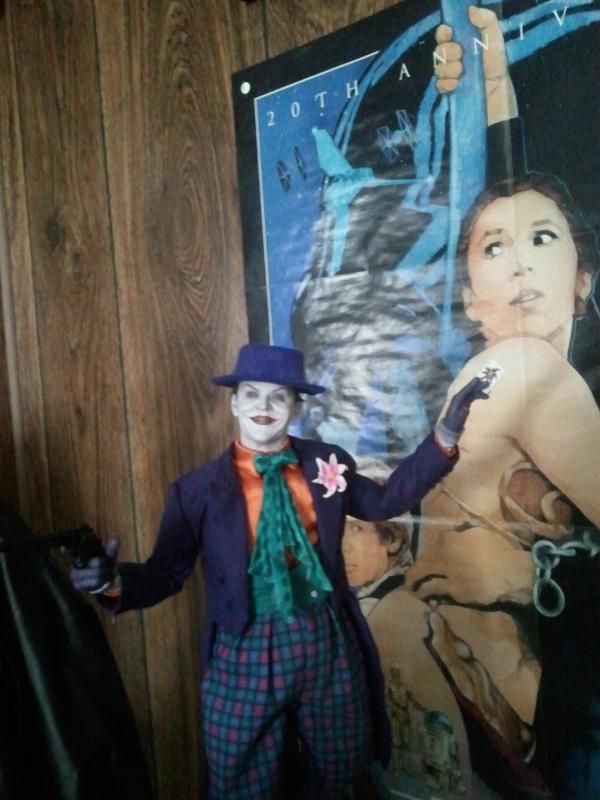
When Hot Toys released their DX Joker Figure one thing that bothered alot of people was the fact that the hat brim was not wide enough. I decieded that it was time to tackle this and share it with those who would want to achieve a better looking hat.
The things you will need are Elmer's Glue, container of water,scissors or xacto knife either one will work and a steamer.
So I did a trial and error with a mockup to see if it will hold up and use Caution because you might end up ruining the original hat that came with the figure.
I tested the mock up on his head to see what direction I was heading in.
What you want to use is a piece of felt I used craft felt that's 2mm thick it's perfect for this scale.
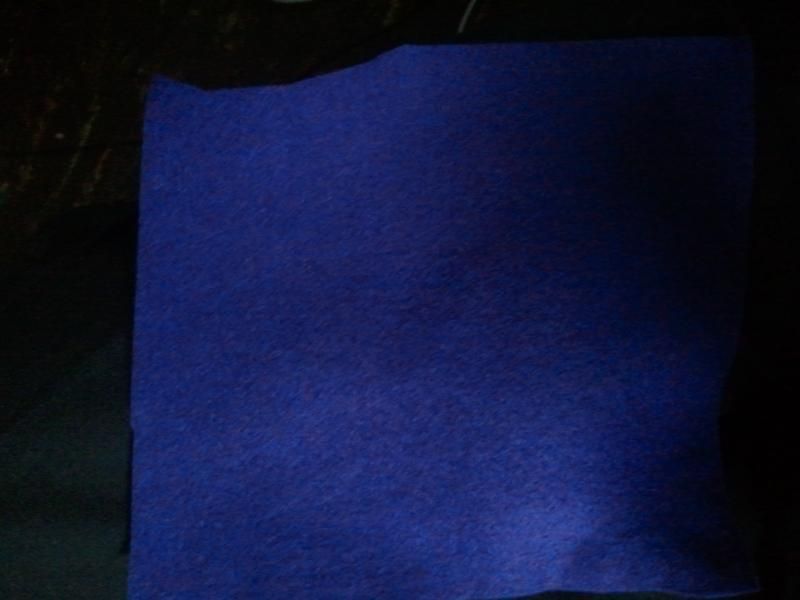
Just eye what you want to cut since it doesn't matter right now
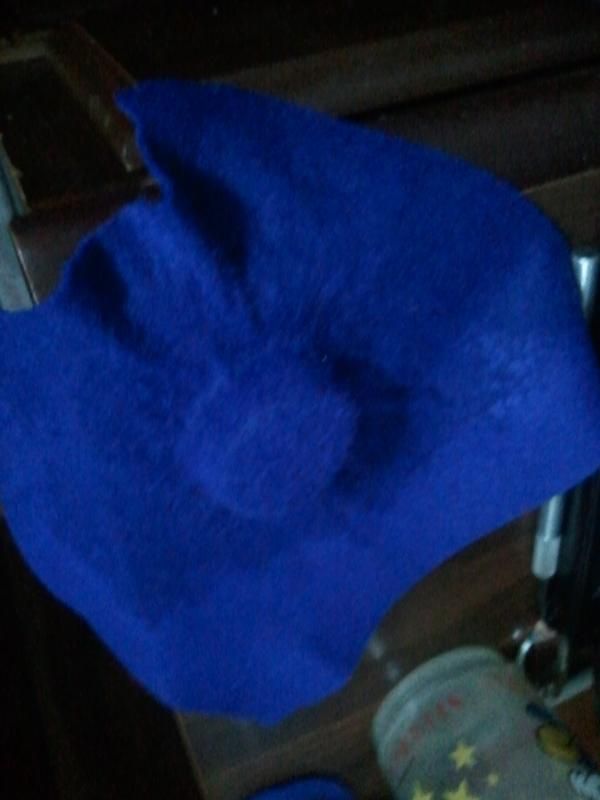
Use the steamer like you would to shape a hat but make sure you remove the ribbon from the hat and place the piece of felt on top of the hat and begin to push the felt around the original hat working it and pressing and stretching the felt. The felt will bunch up as you press down on the felt. This step is really important that you work on it you want to get as close to the original. If you feel you've worked enough to achieve the shape if you see any of the felt close to where you will be making you cut in the end take a rubber mallet and lightly bang the felt to smooth out those wrinkles. I DON'T RECOMMEND USING AND IRON IT DISTORT THE PLASTIC IN THE ORIGINAL HAT. Now just let it sit and dry.
more to come
The things you will need are Elmer's Glue, container of water,scissors or xacto knife either one will work and a steamer.
So I did a trial and error with a mockup to see if it will hold up and use Caution because you might end up ruining the original hat that came with the figure.
I tested the mock up on his head to see what direction I was heading in.

What you want to use is a piece of felt I used craft felt that's 2mm thick it's perfect for this scale.

Just eye what you want to cut since it doesn't matter right now
Use the steamer like you would to shape a hat but make sure you remove the ribbon from the hat and place the piece of felt on top of the hat and begin to push the felt around the original hat working it and pressing and stretching the felt. The felt will bunch up as you press down on the felt. This step is really important that you work on it you want to get as close to the original. If you feel you've worked enough to achieve the shape if you see any of the felt close to where you will be making you cut in the end take a rubber mallet and lightly bang the felt to smooth out those wrinkles. I DON'T RECOMMEND USING AND IRON IT DISTORT THE PLASTIC IN THE ORIGINAL HAT. Now just let it sit and dry.

more to come


") You are the true custom maker! I hope freaks here supporting each other is the best thing to do especially when somebody share their knowledge to build or do something.
You are the true custom maker! I hope freaks here supporting each other is the best thing to do especially when somebody share their knowledge to build or do something.


