HT AvP:R 1/6 Wolf Predator Image Thread

Collector Freaks Forum

Help Support Collector Freaks Forum:

This site may earn a commission from merchant affiliate links, including eBay, Amazon, and others.
i wish you the best. i haven't tryed putting mine together yet, i've checked it out, it looks alright. i'm going to wait till i get the cleaner wolf to assemble mine.or decide which to assemble, or if i'm going to keep both.

Thanks. I'm hoping they'll let me exchange it. I'll keep my fingers crossed.
 
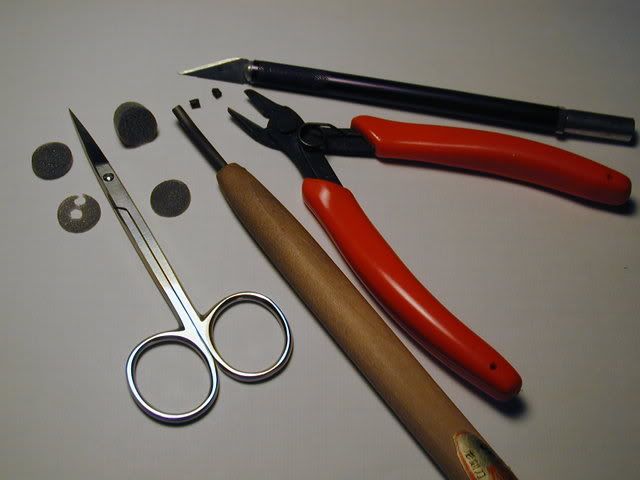
Okay, here's a brief tutorial for anyone who wants to fix Wolfie's cannons. You'll need a few basic tools for the job, I added pics of the ones I used as examples.

With a sharp edged tool, carefully split apart the lower end of each cannon mount arm. You just have to open it enough so that you can pop the ball-ended part out of the socket. (There's a plastic pin molded inside one side of the socket, which goes through the ball). Be patient, and watch your fingers!

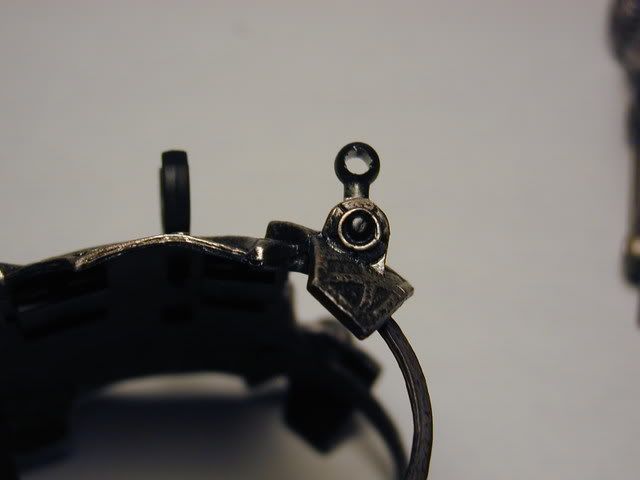
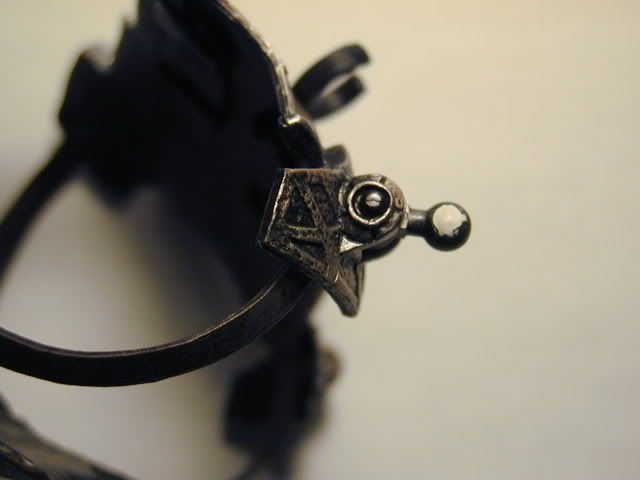
You'll end up with two ball-ended pieces with holes through them, still attached to the armour. (Pic 3.) Fill both of the holes with epoxy putty and set them aside. Cut the plastic pins out of the sockets of the cannon arms. Smooth the inside of the small cup-like space on the pin side of each piece.

Cut a small piece of foam or other "spongy" material and shape it to fit inside the other half of the socket. (I used small pieces of polyurethane foam to fill the insides of the sockets. You'll need to use something similar to create a small amount of tension against the ball, or the joint will be too loose.) Add a drop of super glue to the little foam pad and glue it in place, making sure it's centered in the shallow hole. (Pic 6.)

When the putty is hard, sand it smooth and test fit everything. Add more foam as needed, and when you're satisfied you have the correct amount of tension inside the joints, carefully glue the ends of cannon arm halves together again. Press the sides of the joint firmly together until the glue sets up. Touch up the paint as needed and you're good to go!

1. From top to bottom: X-acto knife, sprue cutters, small half-round woodcutting gouge, surgical scissors, and polyurethane foam pieces.
ModTools1.jpg


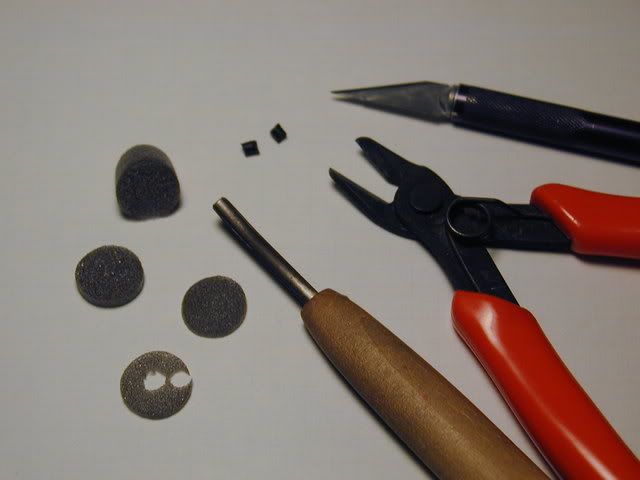
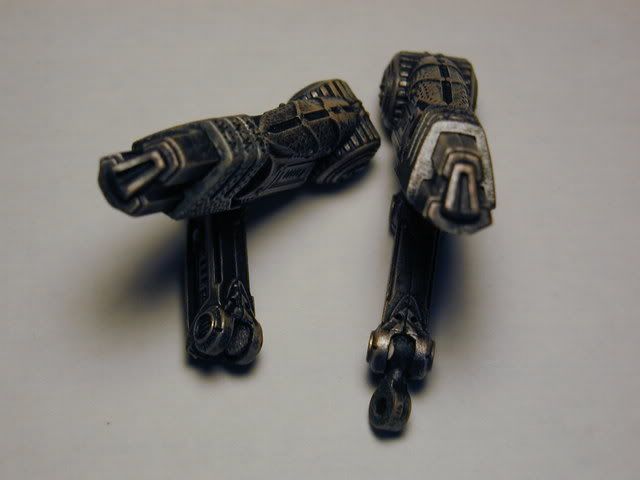
2. Close up of tools. Note the small bits of black plastic that need to be removed from inside the sockets at lower ends of each cannon arm.
ModTools2.jpg


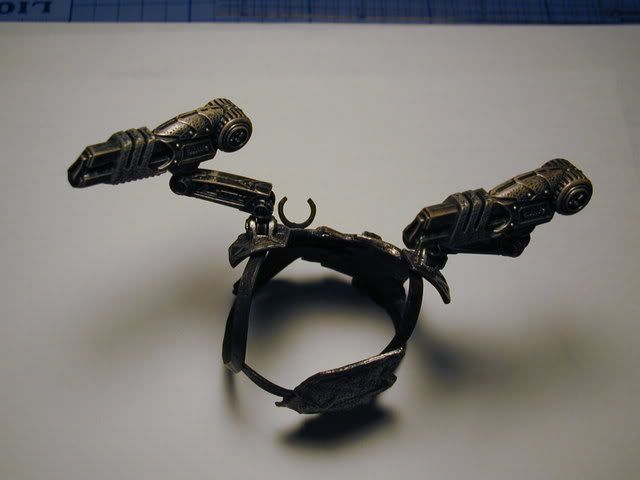
3. Armour with mount base complete, cannon arm removed.
BallJointBase.jpg


4. Ball joint piece filled with Milliput epoxy putty.
BallJoint-Filled1.jpg


5. Ball joint on mount base filled with putty.
BJointBase-Filled.jpg


6. Left: Socket of cannon arm w/foam insert. Right: Completed ball joint assembled in arm.
NewBallJoint2.jpg


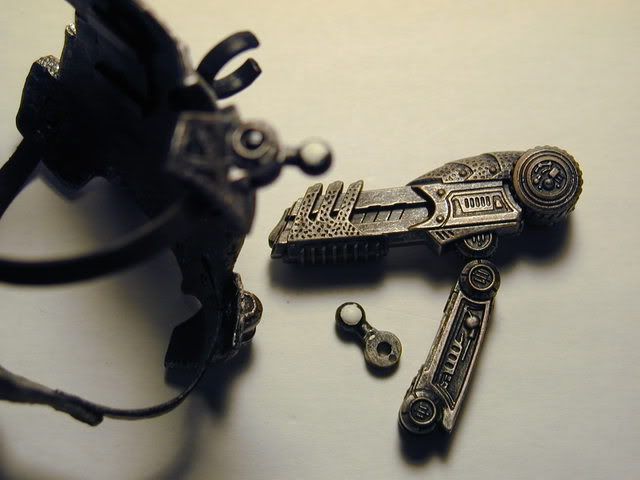
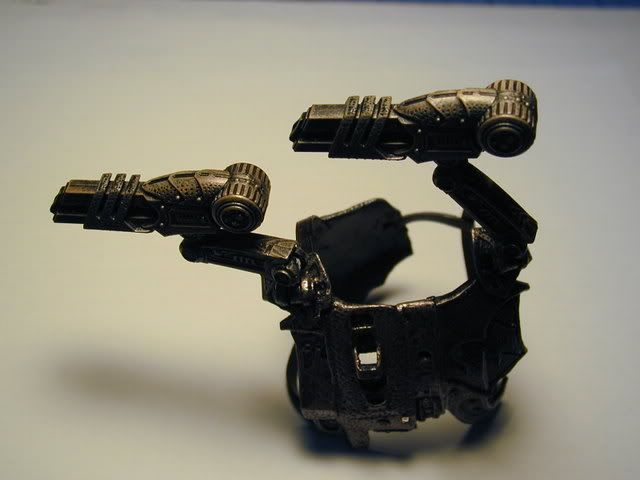
7. Modification completed. This mod allows for complete original articulation of cannon with added lateral rotation of the mount arms.
ModDemo5.jpg


8. Wolfie's cannons can now articulate like they were supposed to!!!
ModDemo1.jpg


ModDemo4.jpg
Just wanted to add my thanks as well for this tutorial...it's just as simple as it seems. Was actually pleasantly suprised it wasn't any kinda headache at all. :)
 
Good to see this is working out well for you guys. Luckily, Hot Toys made it pretty easy by leaving the ball joint intact and simply changing it into a hinge joint. I hope the new Wolf variant will have the same set up!
 
I really don't understand this part of the tutorial:

"(...) carefully glue the ends of cannon arm halves together again (...)"

:monkey2
 
I really don't understand this part of the tutorial:

"(...) carefully glue the ends of cannon arm halves together again (...)"

:monkey2

He's talking about the straight piece connected to the bottom of the Plasma cannon with the socket that the new ball piece fit's in.
Look at the cannon on the left, notice where the little circle of foam is located at the bottom of it's lower arm?
NewBallJoint2.jpg

That's the socket to the ball joint. What you have to do is split this piece a little so you can squeeze the new ball piece into the joint for a tight fit. And once you have the right amount of foam in this piece for that tight ball joint, you have to glue the two halves of this arm back together to keep this ball joint tight.


Brilliant solution Mudshark! I'm going to definitely give this a try someday.
 
It's a great tutorial. I'm having problems splitting the lower arm apart to remove the ball joint. Practically the first step, right after "You'll need a few basic tools for the job.". :lol :lol :lol It's true. That makes it even funnier. :lol
 
Goddamn I'm stupid :monkey3 Finally got it, had to read it like 4 times :lol

Getting my wolfie this monday, so I wanted to make sure I understood everything as I feel this mod is a must-do :monkey1

Thanks mudshark and screaming metal :joy
 
Screamingmetal, thanks for explaining that better! :cool:

Creecher, I added that bit about the tools as an afterthought, having no idea what other people might try to use for this! :lol
Golden Rule: "ALWAYS use the right tool for the job!" Didn't want anyone to end up slicing their hand open, or worse, ruining the piece! :monkey4

Prying the lower arm apart was actually the toughest part for me, too. You just have to carefully work the edge of your knife into the glued seam from underneath (so as not to mar the plastic), and then slowly push it farther into the crack until the two halves separate enough. A slight twist of the blade should widen the crack enough so you can use your other hand to slip the ball gizmo out of the joint. Just take it slow and easy! :lol

Kovach, once you have the piece in hand it'll be much easier to understand what you have to do. If you have any other questions, feel free to ask! :D
 
Thanks Mudshark, for confirming I was on the right track, but seeing how easy everyone was saying it was, and how difficult a time I was having, I thought I was doing something wrong. I did read your warning, and you'll be pleased to know I didn't slice myself. I stabbed my finger instead. If only my blood had been green. Now I know what must be done, that sucker is coming apart. Ummm, tomorrow, when my fingy feels better. :lol

This mod is a must.
 
Once again those photos prove how far Hot Toys has gone talent-wise. It's easily one of the best headsculpts they've released yet!
 
Nice photos Maulfan.

For everyone doing Mudshark's mod, use normal glue. I have Krazy Glue that's PURPLE, and it doesn't glue for ^^^^. Well atleast it doesn't glue for me.
 
W00T! I got Wolf :D :chew

I'll post pics later this week after a quick lick of paint and Mudsharks excellent cannon mod! (Thaks for the tip the tip Elder_Predator2!)

Great pics Maulfan!

Nathaniel :)
 
Back
Top