1/6 Scale Blade Runner Spinner scratchbuild (Complete!)

Collector Freaks Forum

Help Support Collector Freaks Forum:

This site may earn a commission from merchant affiliate links, including eBay, Amazon, and others.
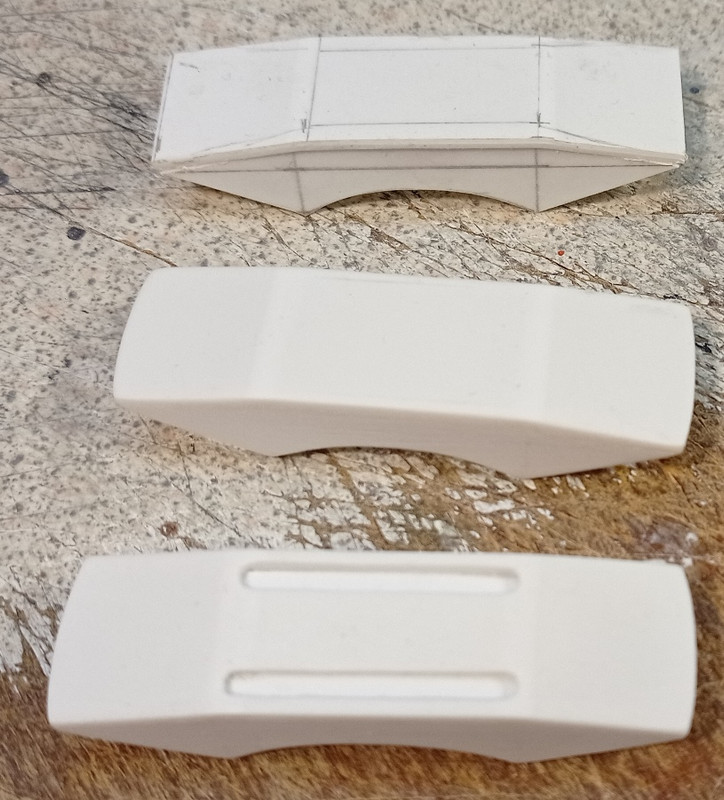
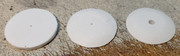
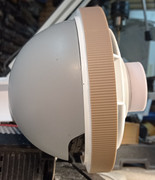
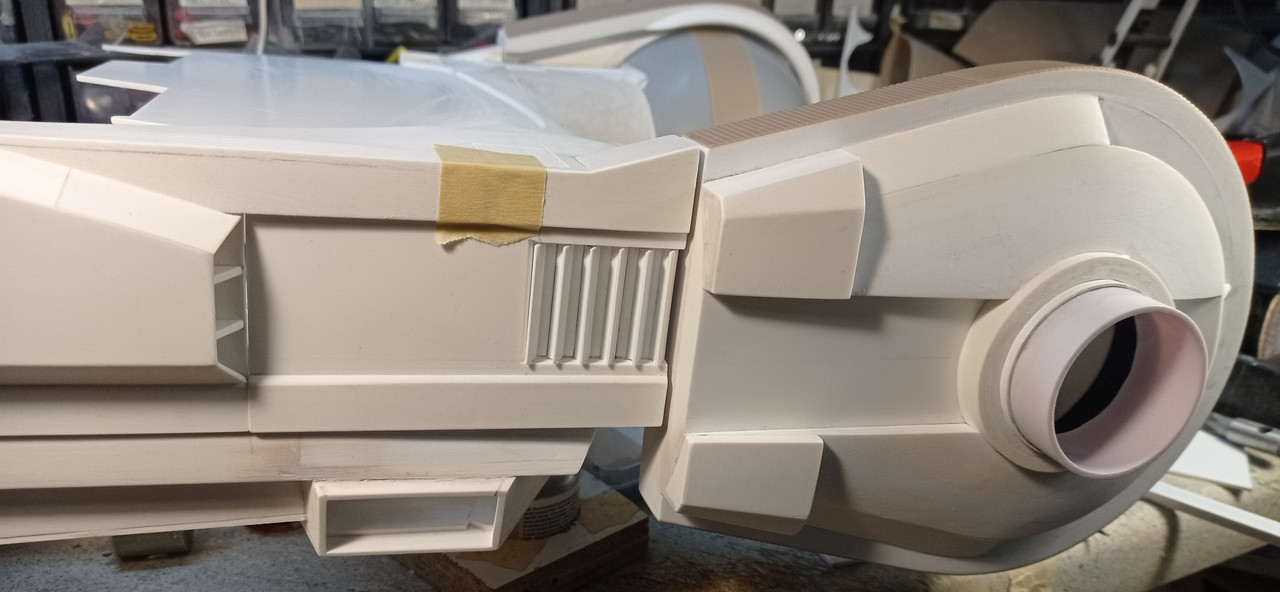
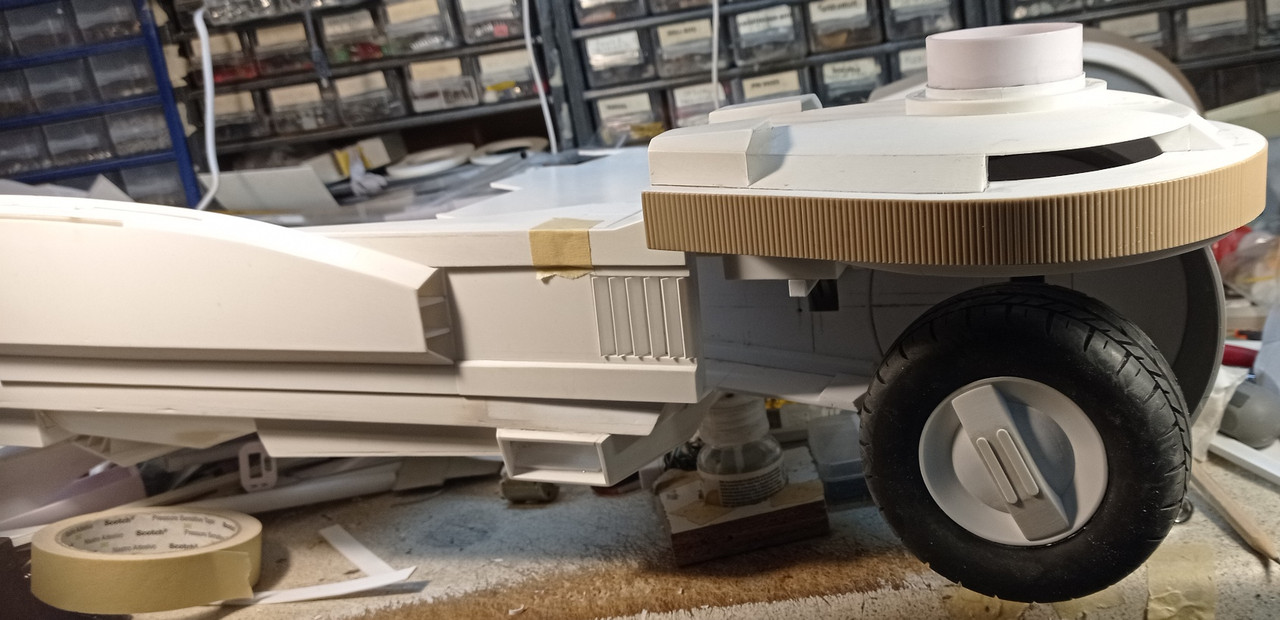
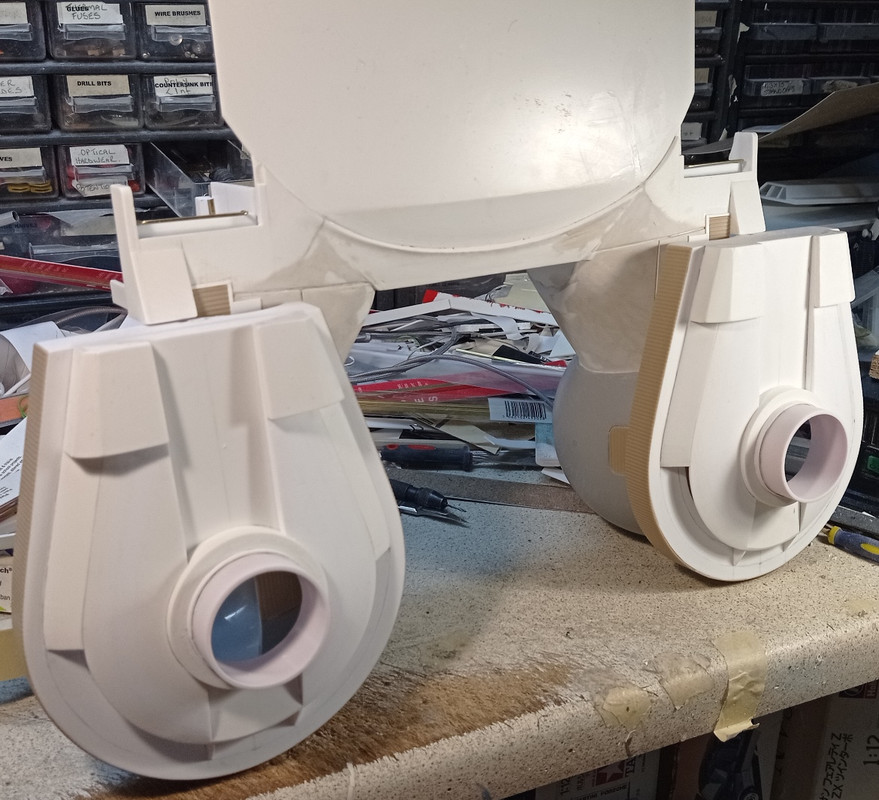
Whilst building the wheel covers, i noticed another error on the Fujimi kit. The horizontal channel on the covers should line up with the channel on the doors. The Fujimi kit sits slightly lower, and also on mine, since i followed the dimensions precisely. Unfortunately, there is no easy way to rectify this, without rebuilding the entire front end, so i'll just live with it.

spin035.jpg


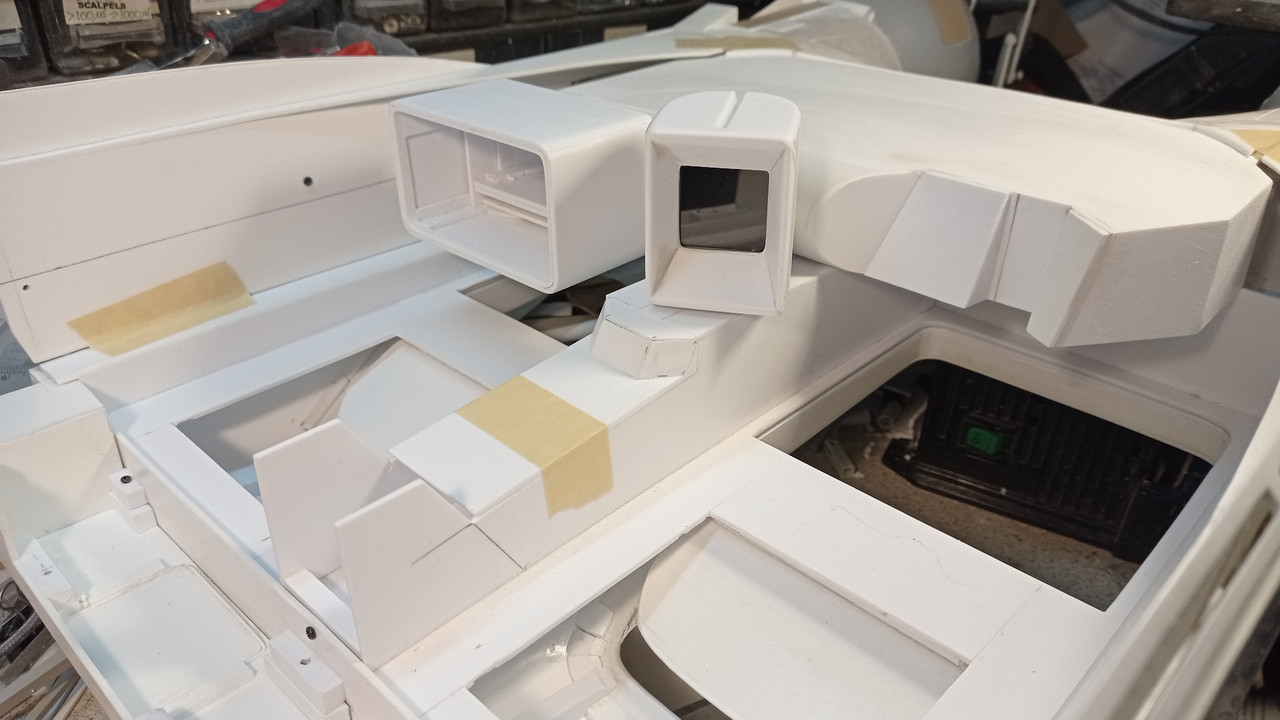
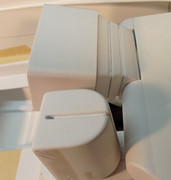
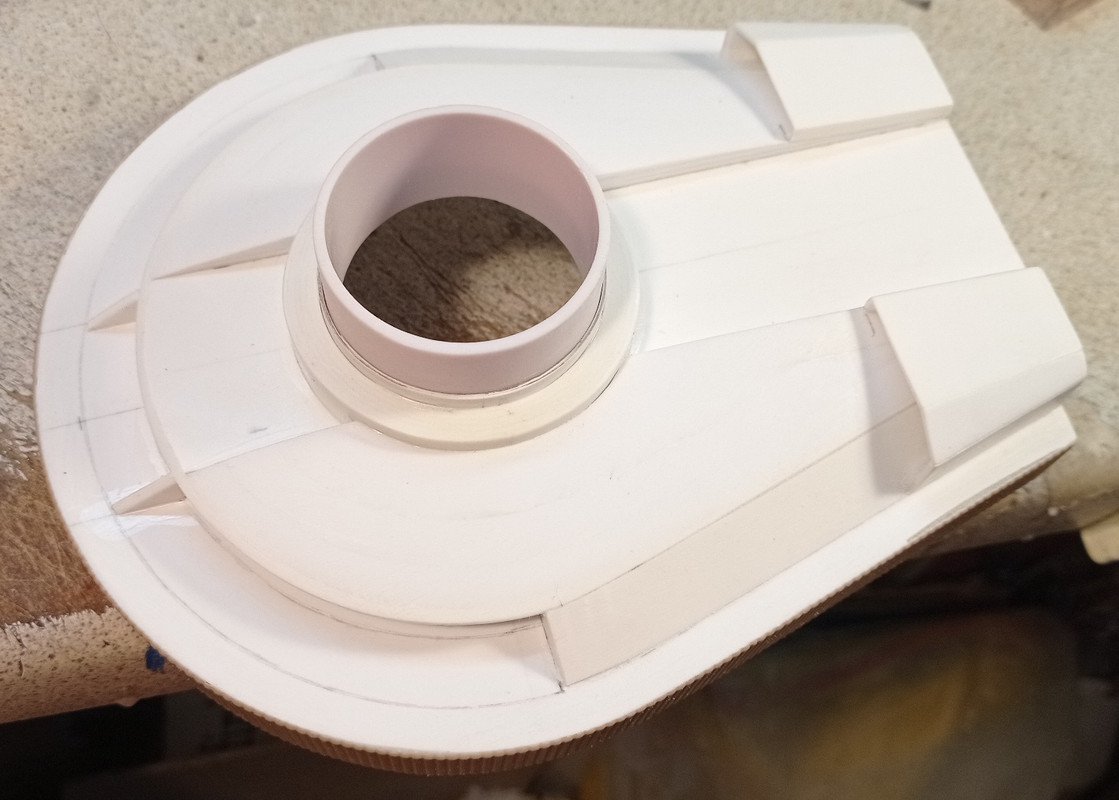
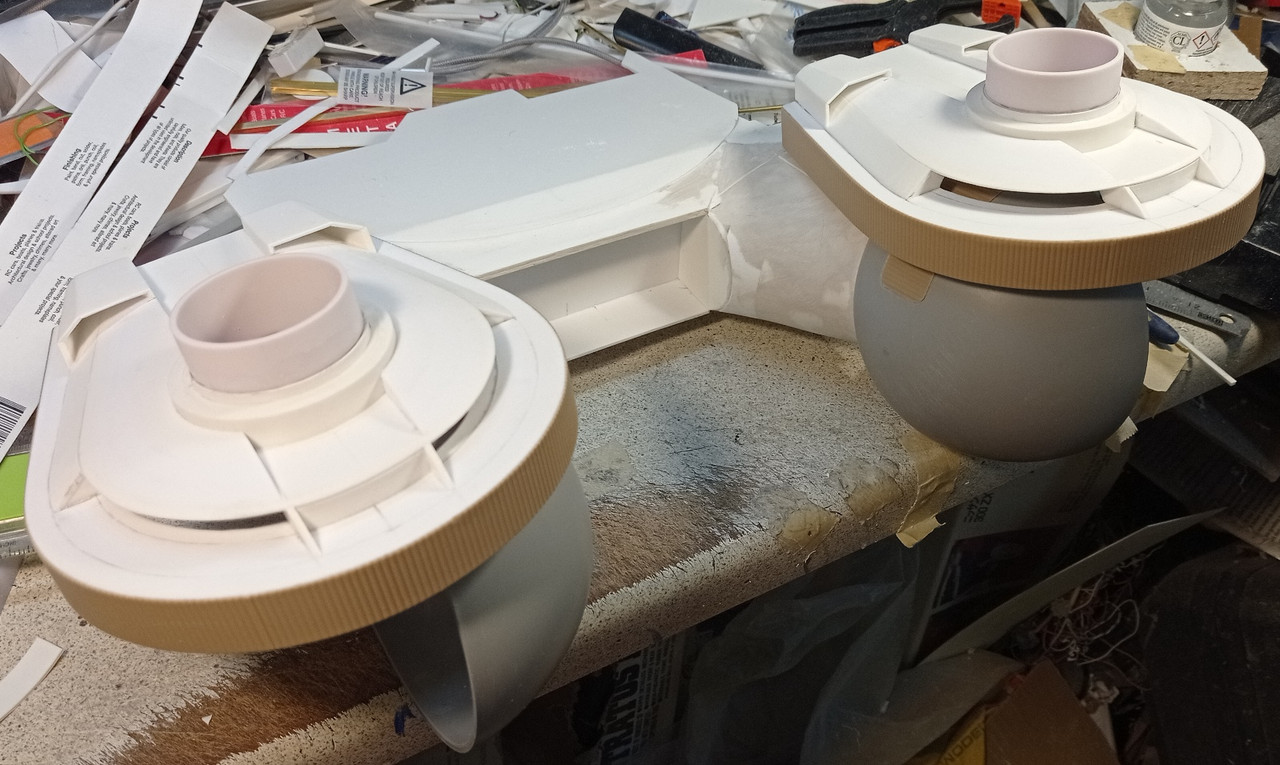
Adding the little airscoops at the back.

spin036.jpg


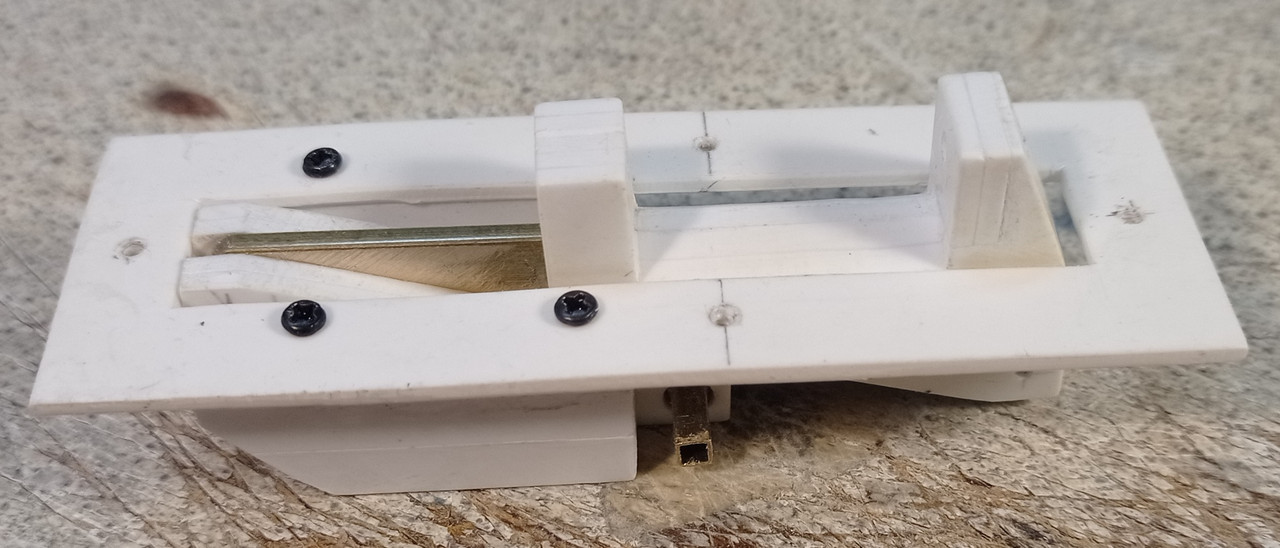
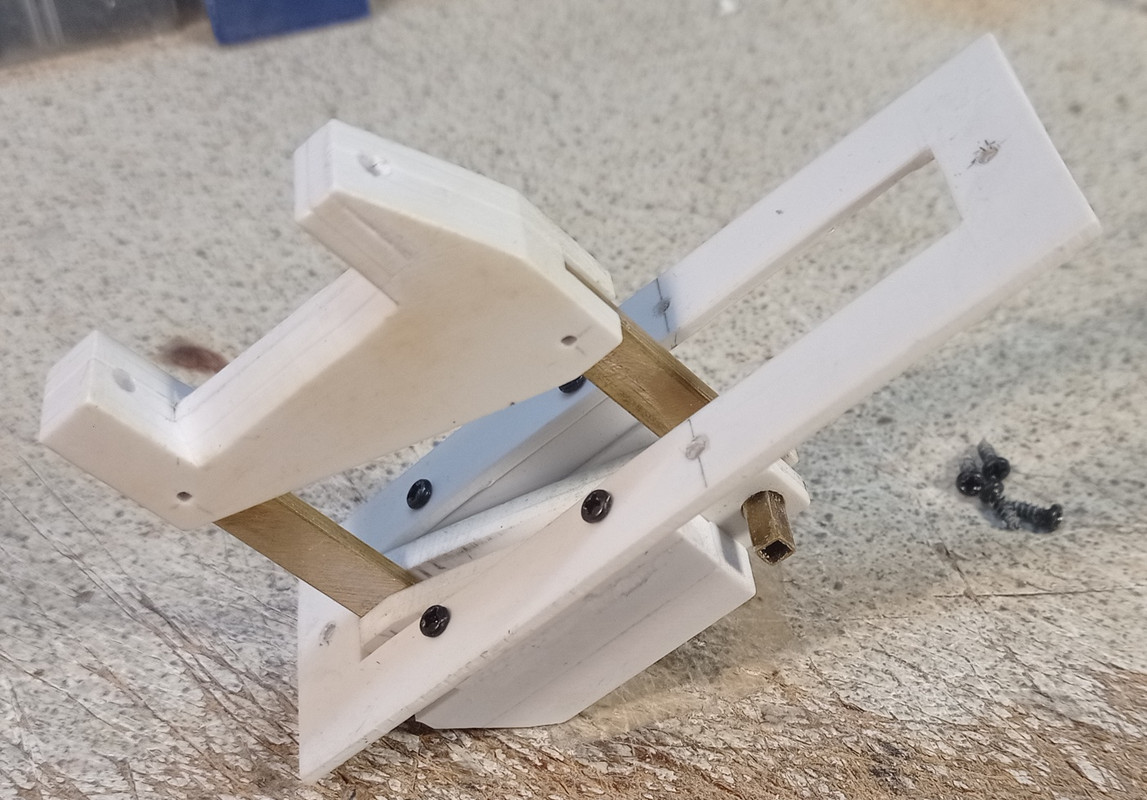
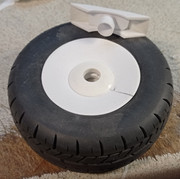
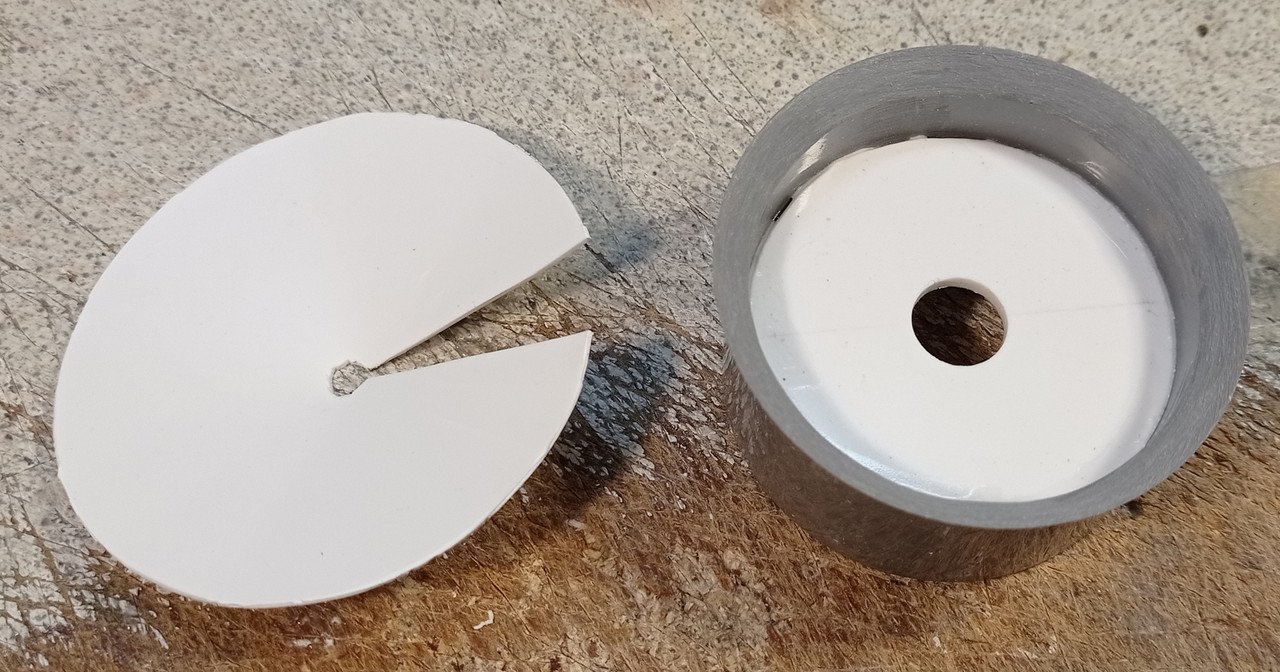
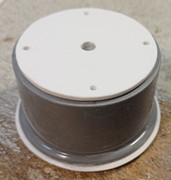
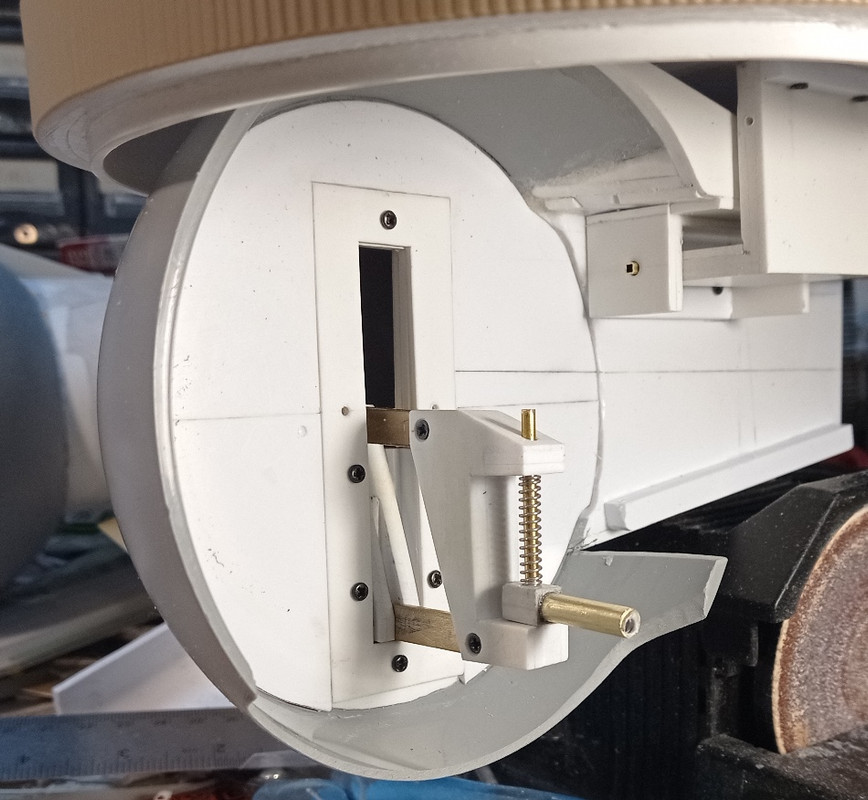
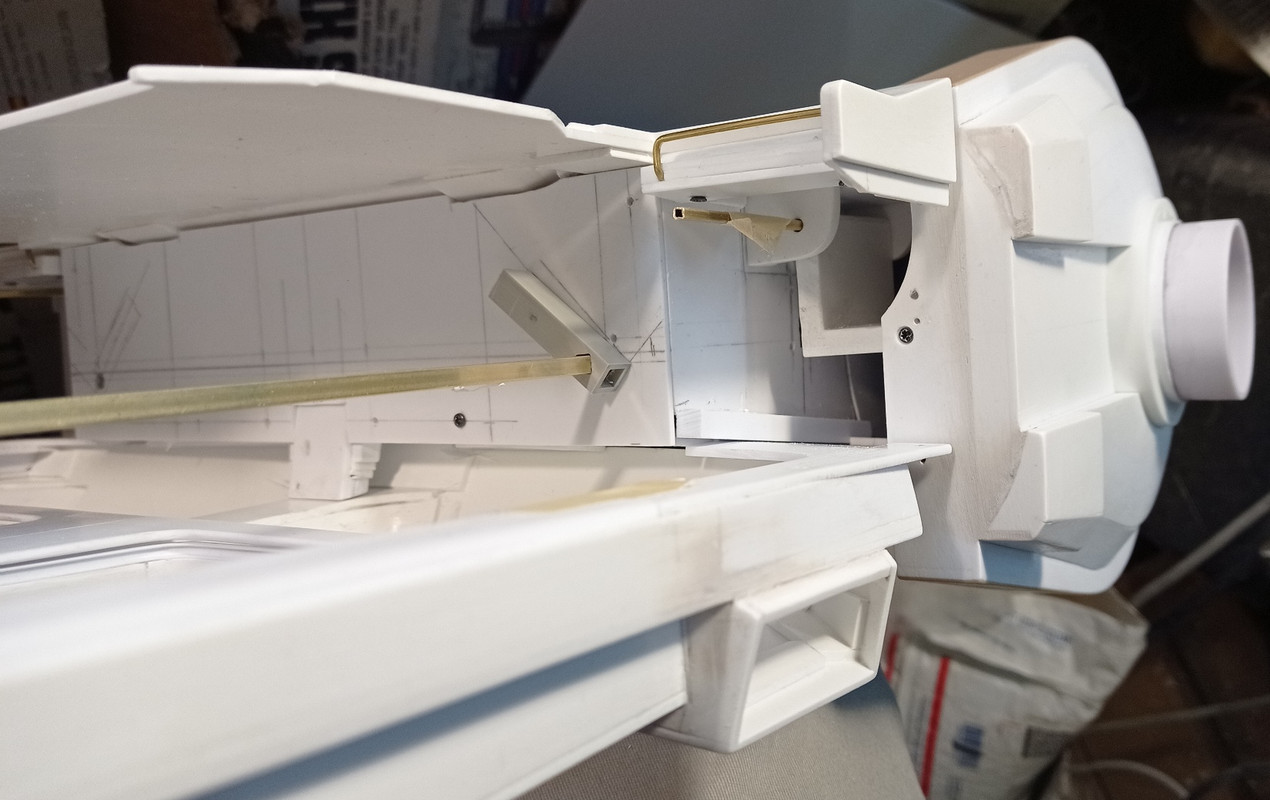
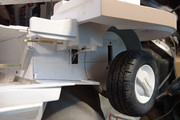
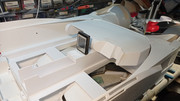
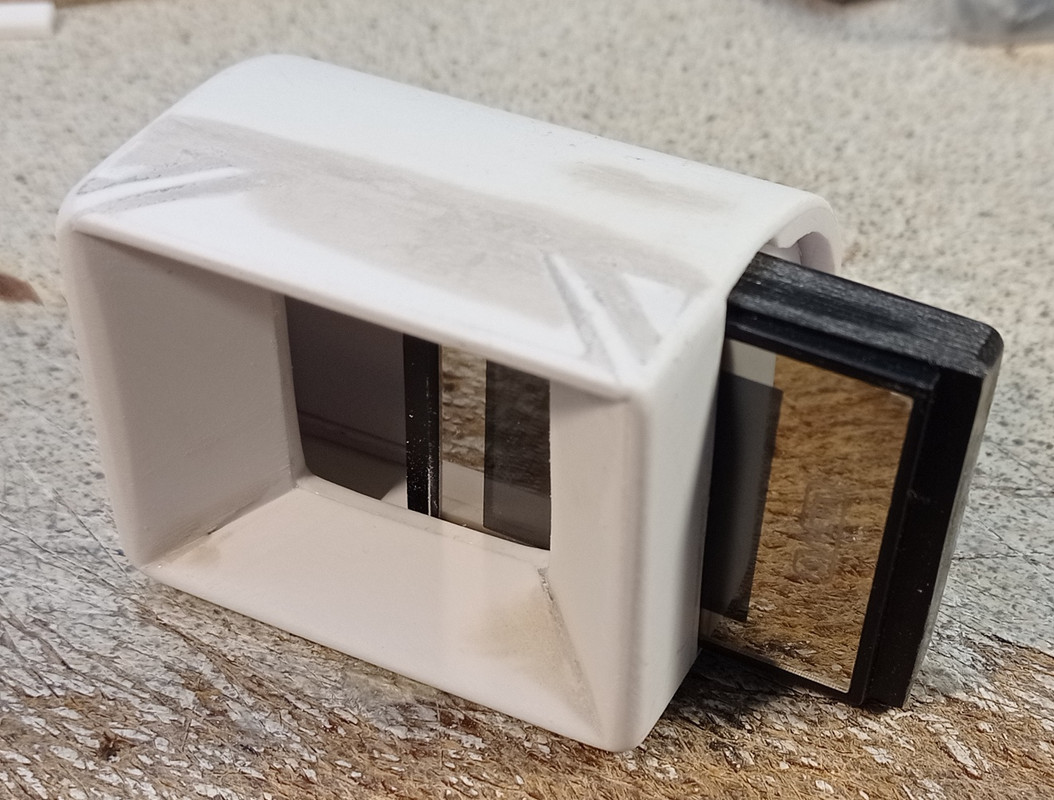
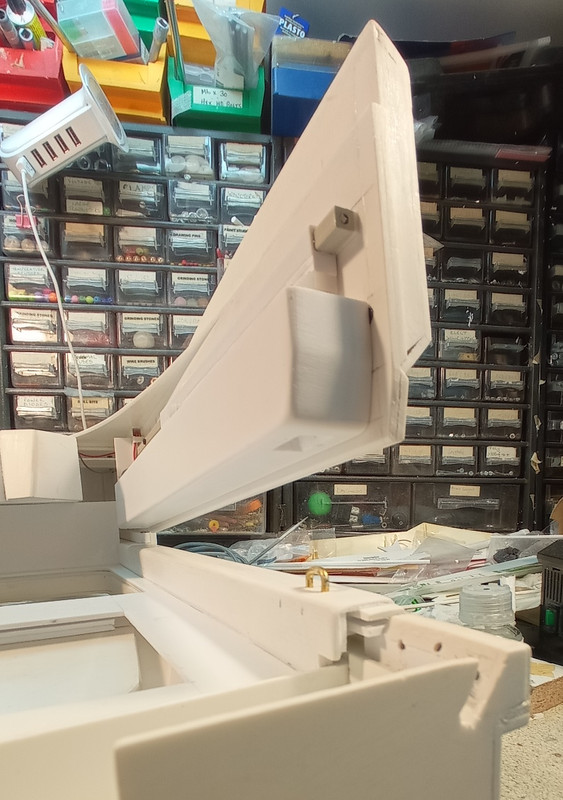
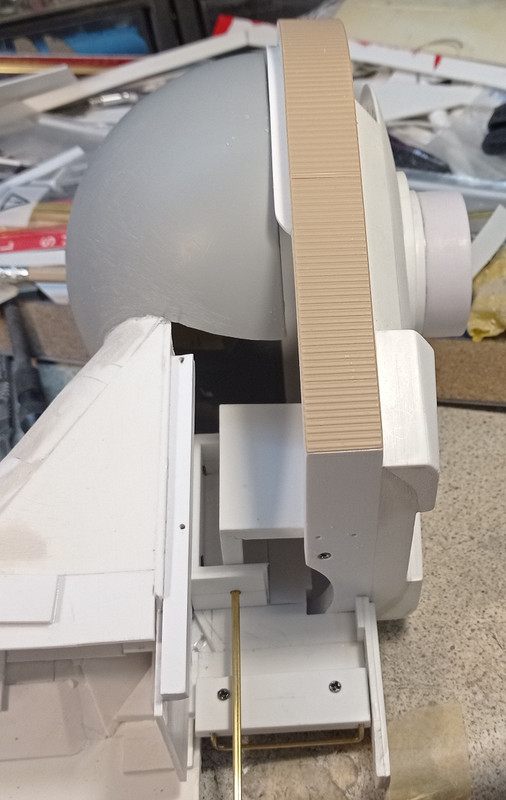
Made the hinge bracket, there is a metal "L" bracket embedded within the plastic for strength. I also cut away some of the inner panel, to give clearance for the dome.

spin037.jpg


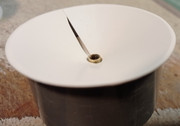
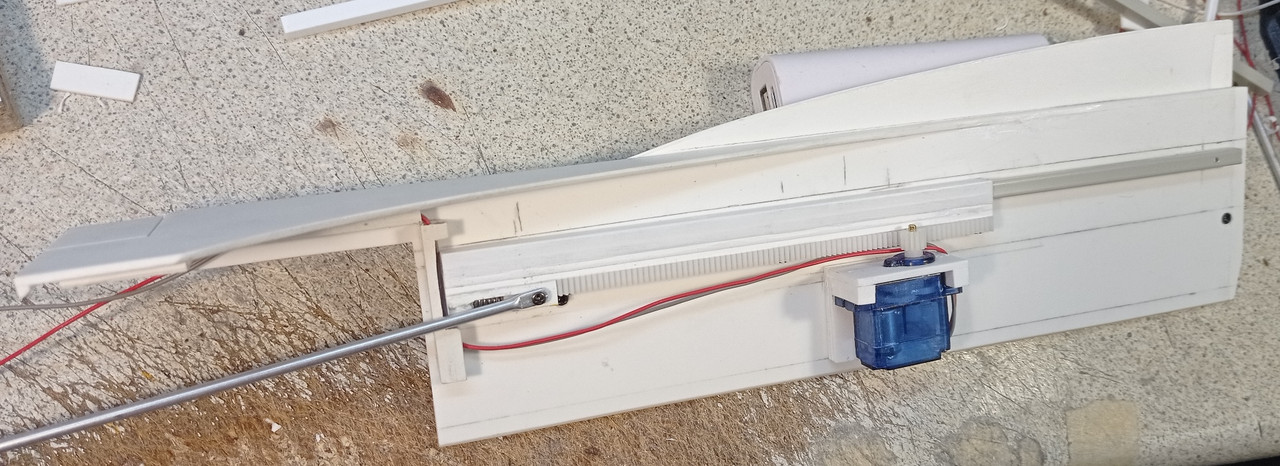
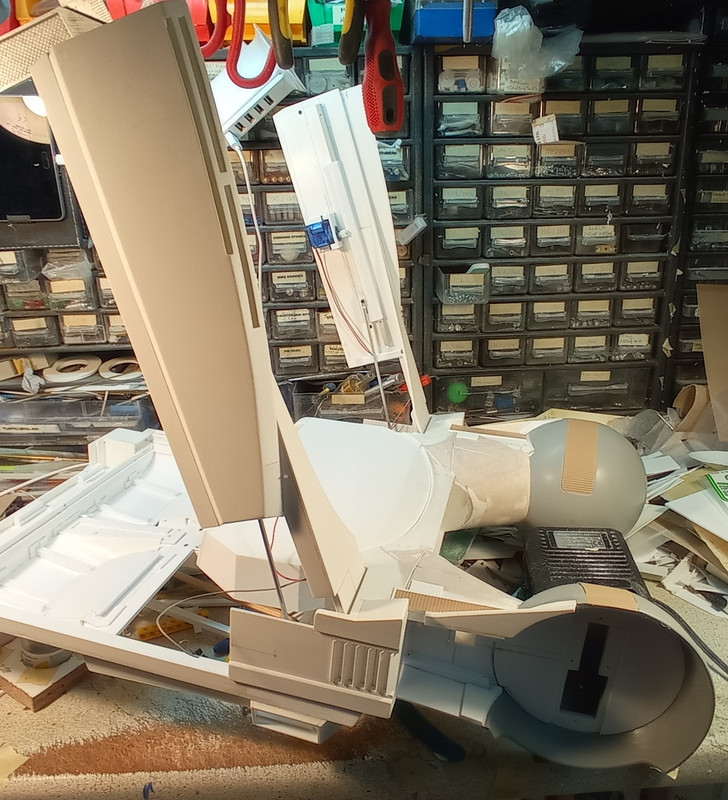
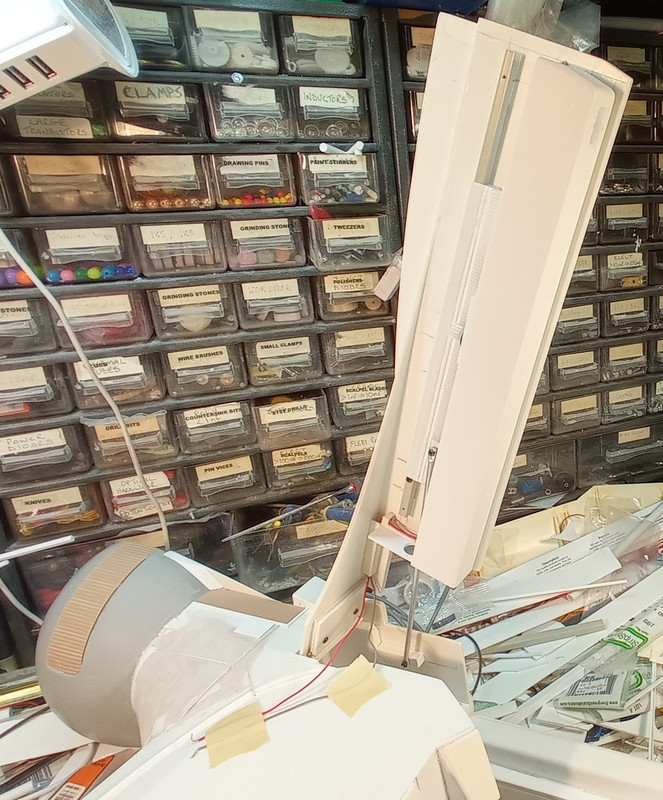
Attaching the cover with a length of brass rod.

spin038.jpg


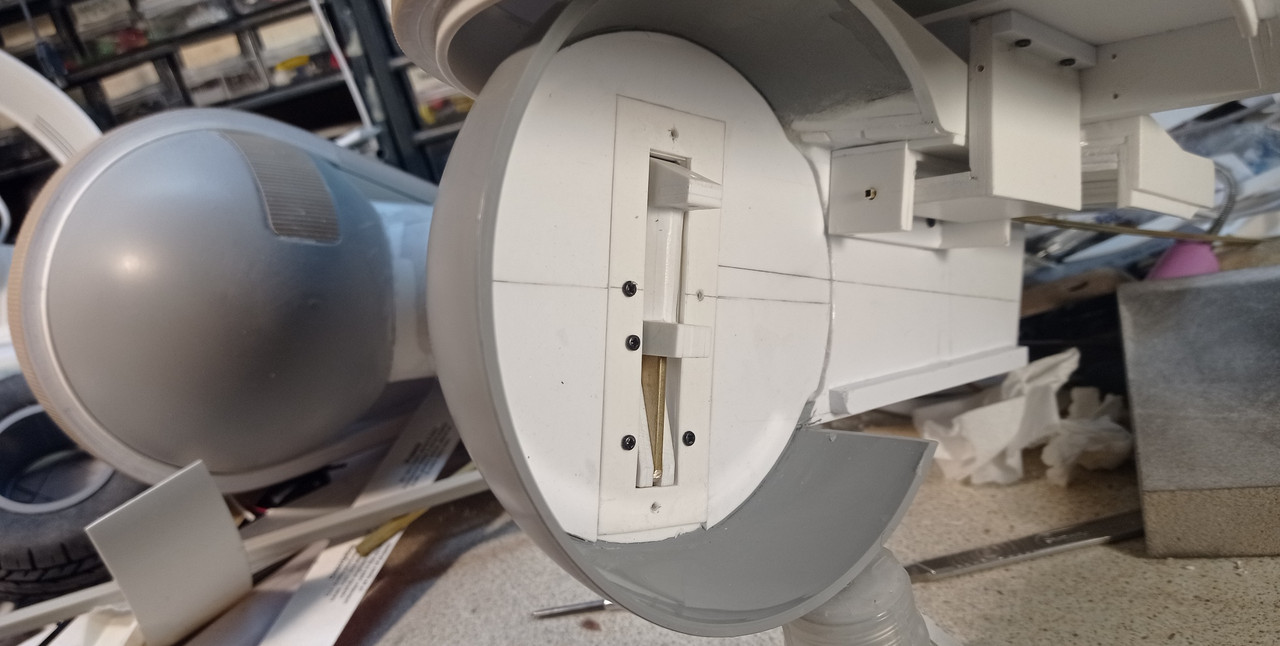
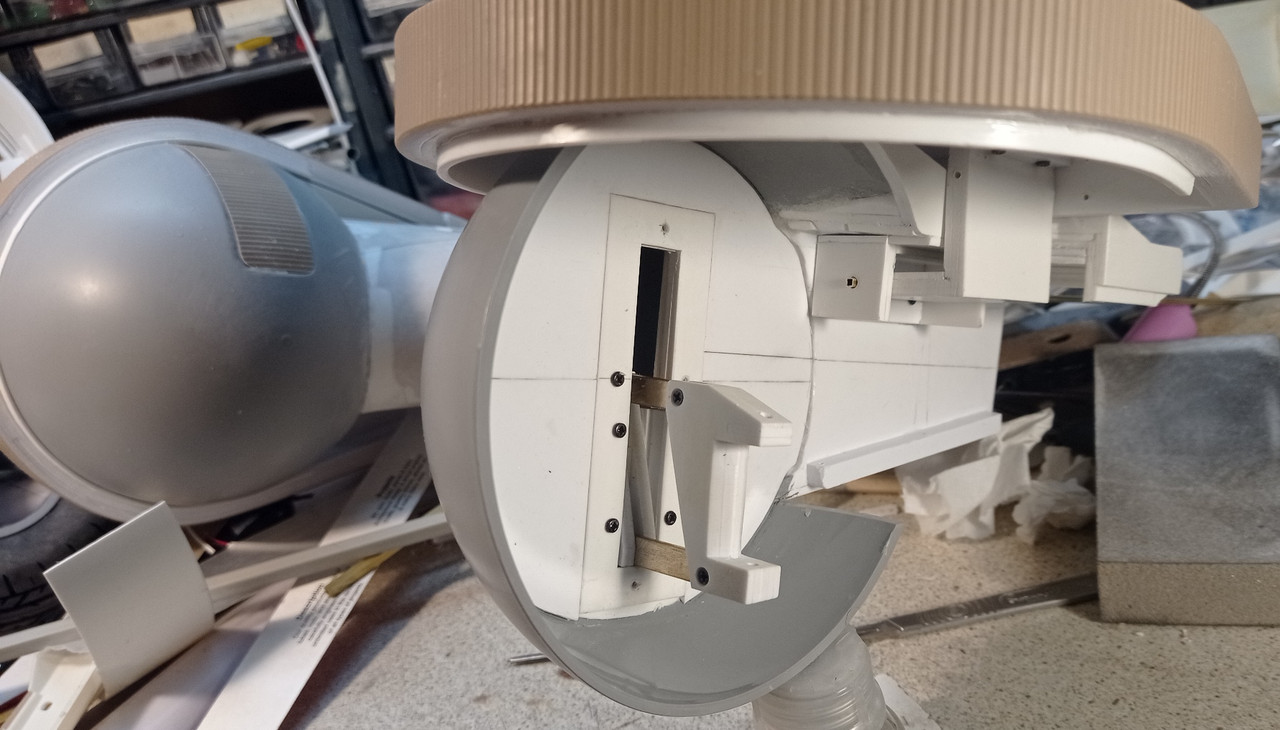
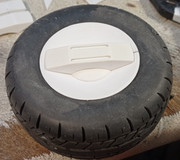
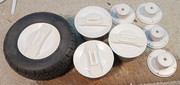
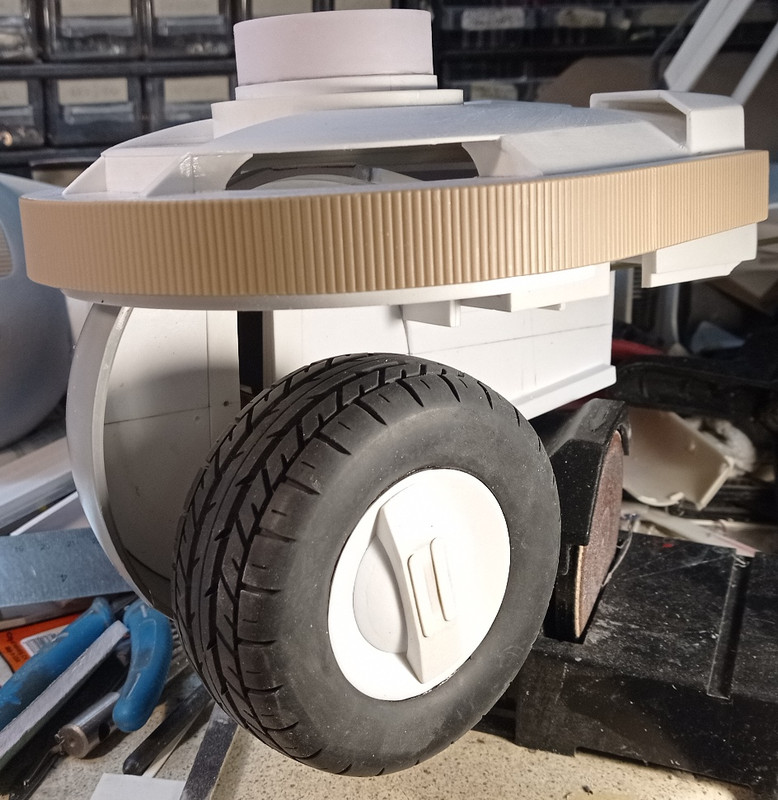
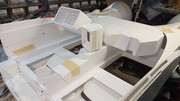
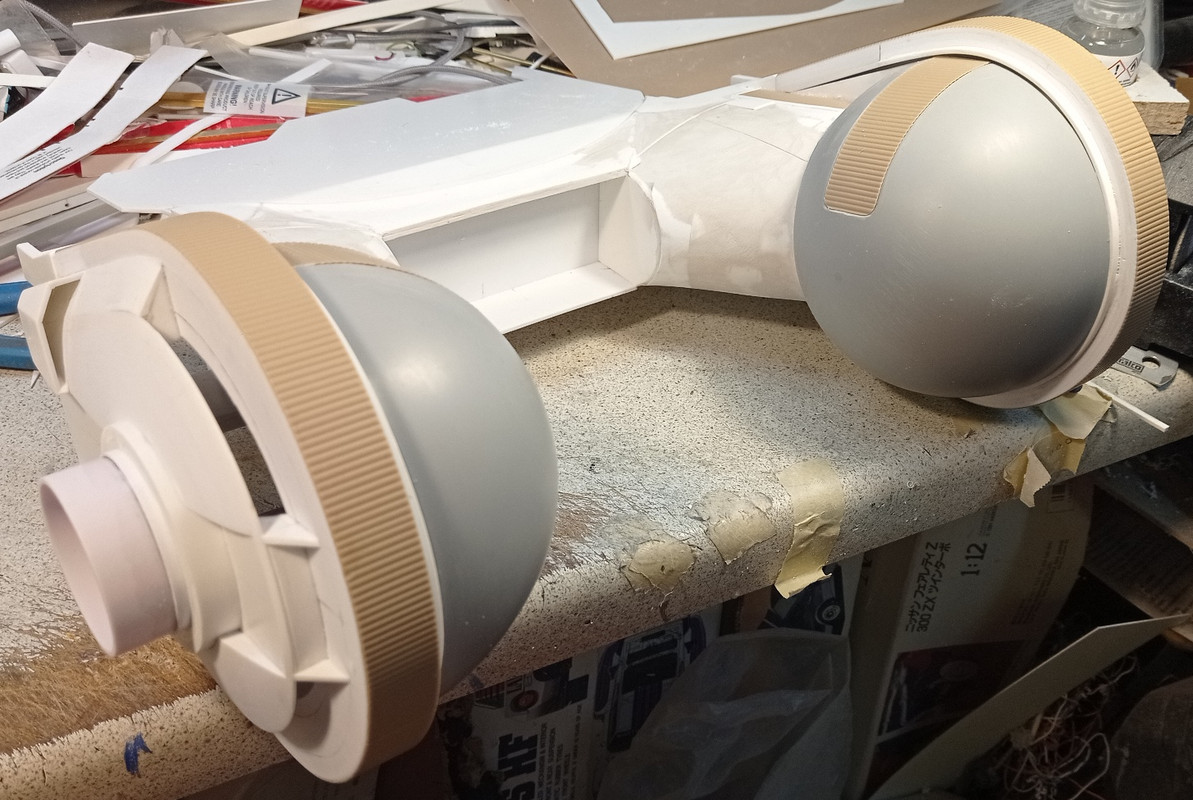
Covers in place. There is still some tweaking needed for a perfect fit.

spin039.jpg


spin040.jpg


spin041.jpg


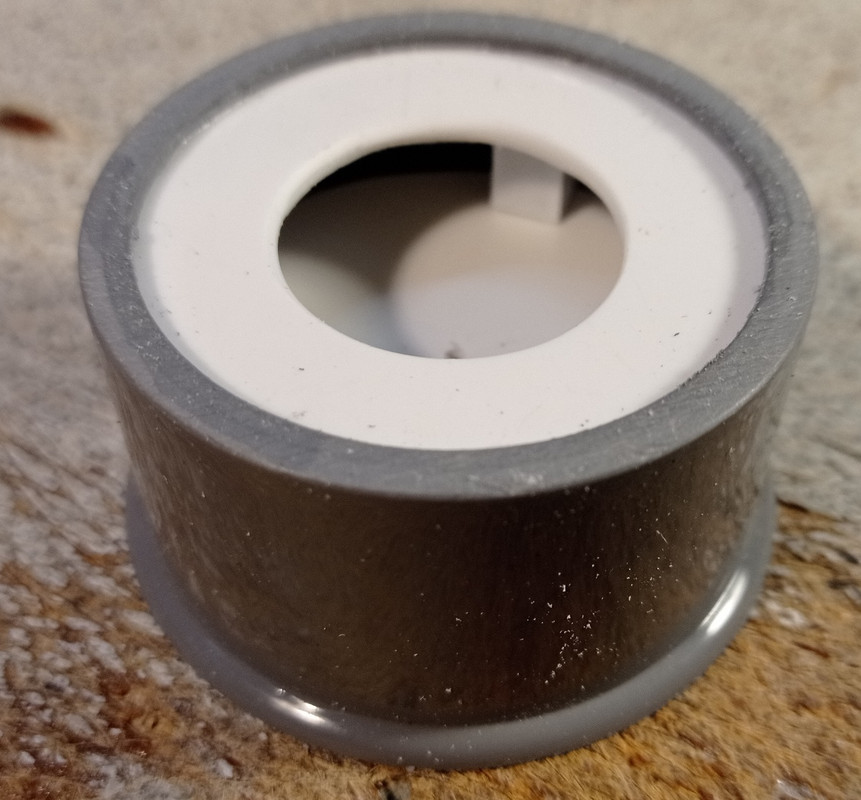
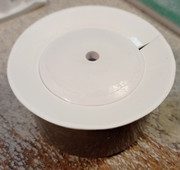
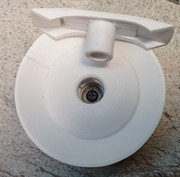
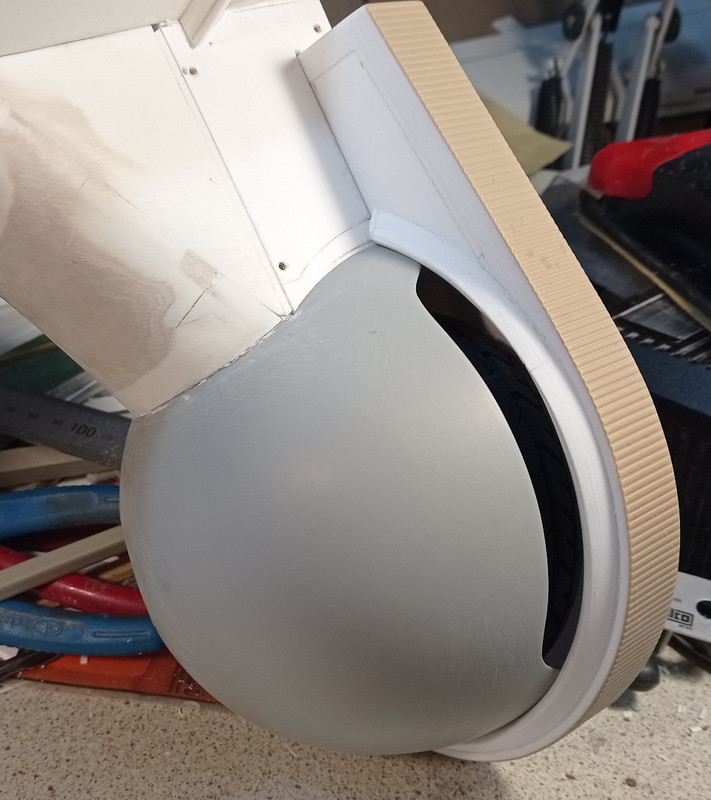
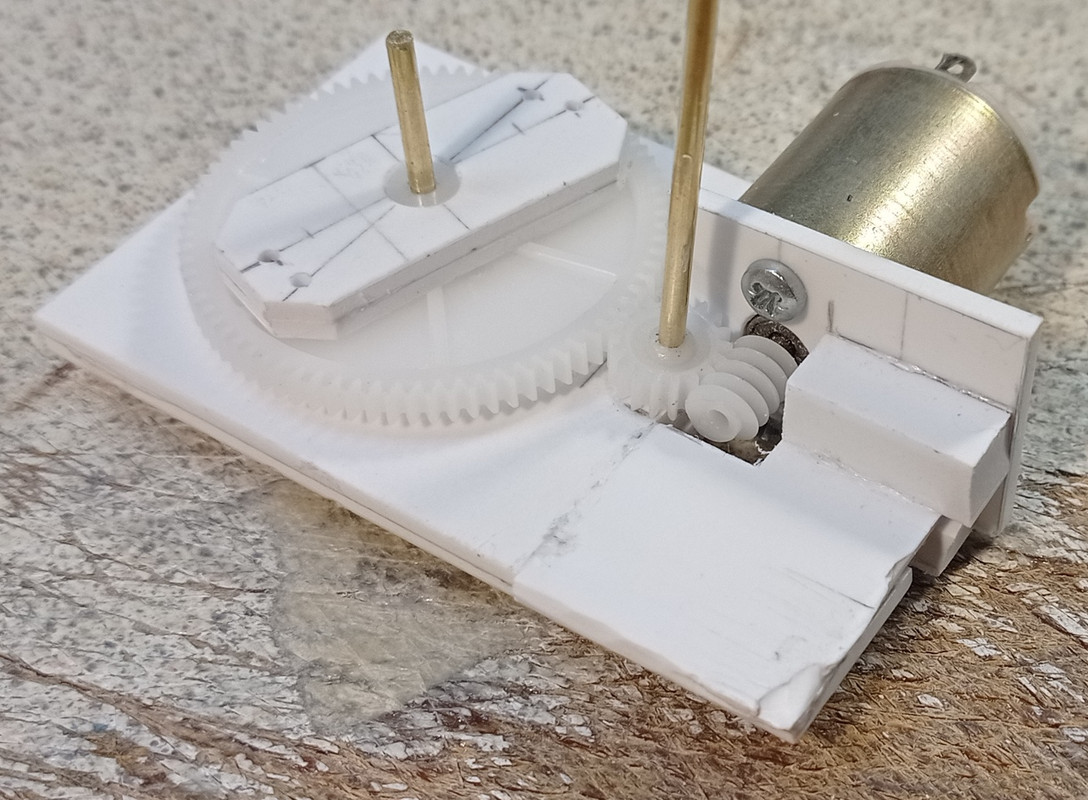
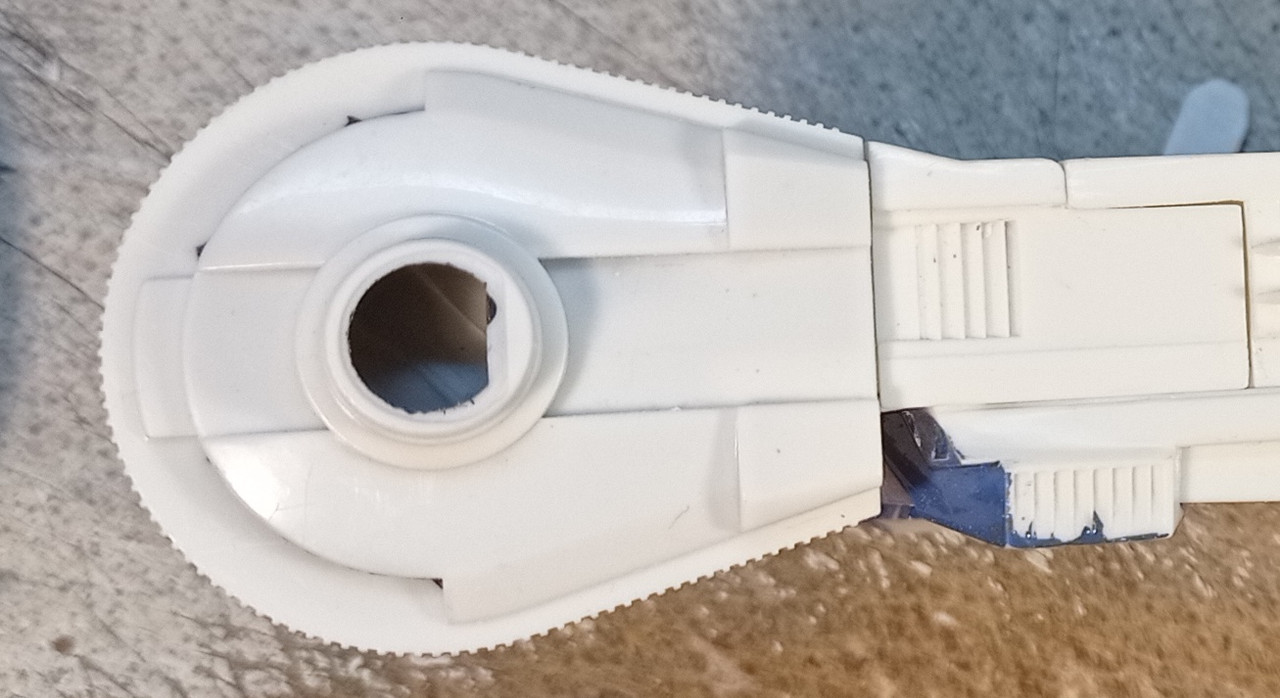
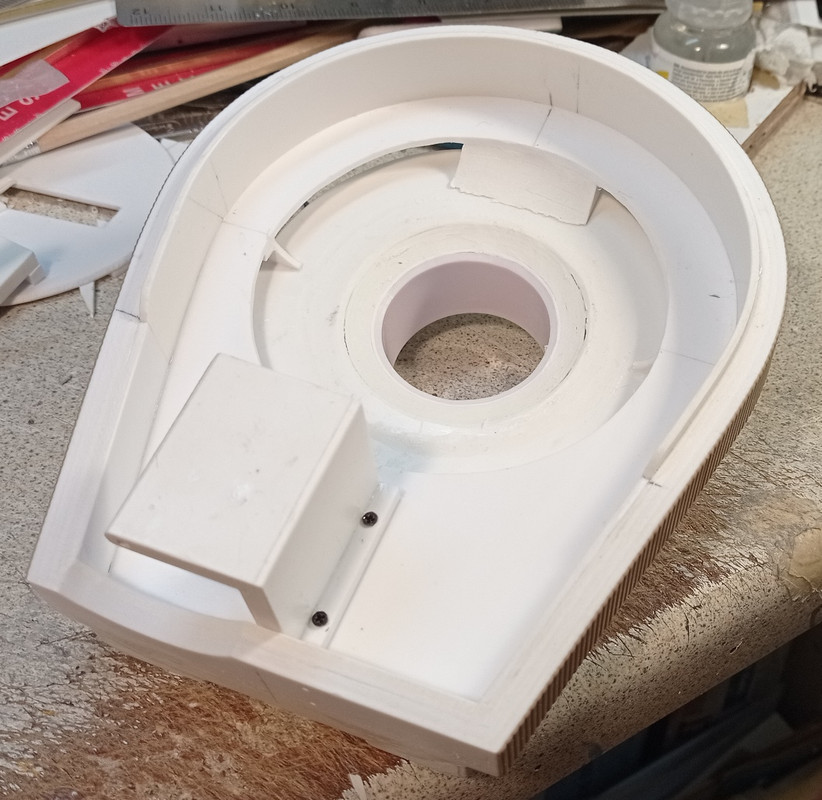
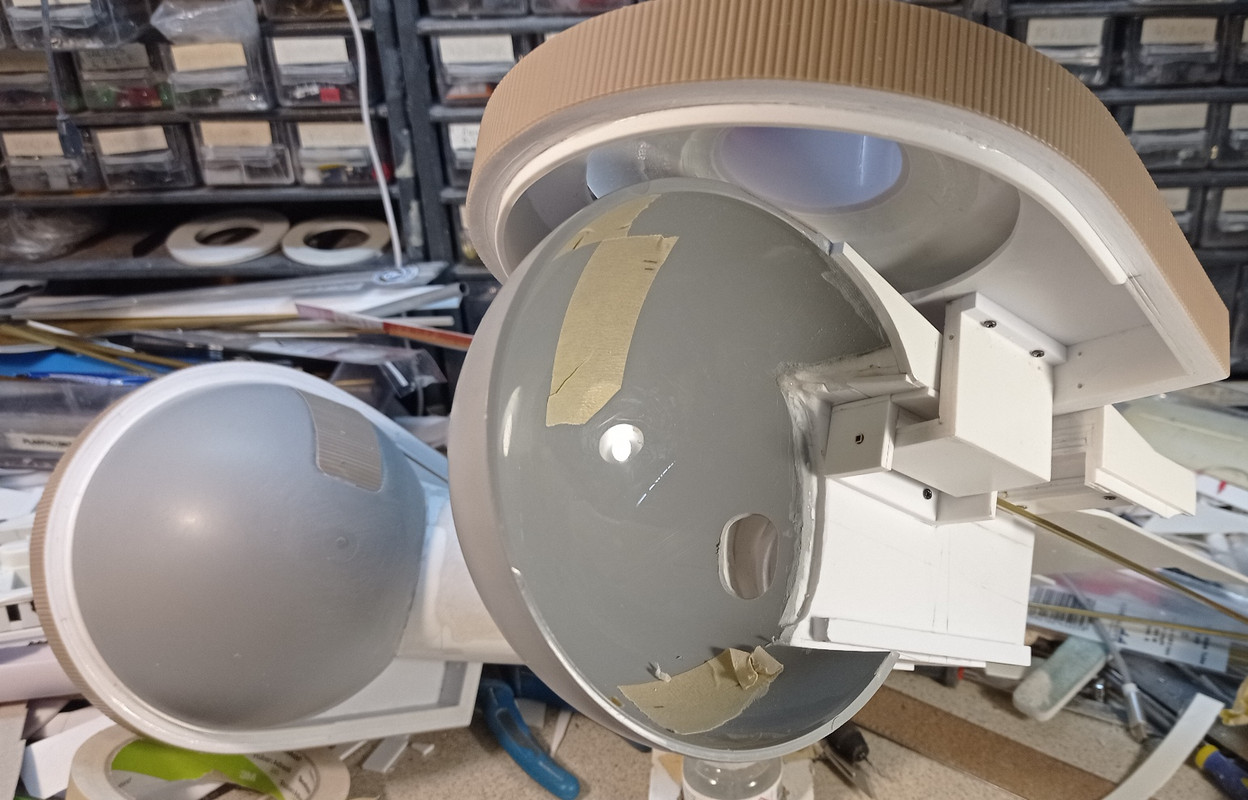
The opening on the inside of the dome, is needed for the wheel folding mechanism.

spin042.jpg
 
Front wheel uprights under construction.

spin043.jpg


Extended. The top arm is connected by a square section brass rod. This will extend rearwards into the dash area, where it will be driven by a servo.

spin044.jpg


Shown installed into the wheel housing. A separate arm will run off the brass rod and push out the wheel cover at the same time.

spin045.jpg


spin046.jpg
 
This is looking incredible Marine Boy, great work! I so wish Joost or somebody would offer up the 2019 police spinner and K’s 2049 spinner. I would get both. I passed on the Blitzway Ecto-1 because as much as I love it, it’s just way too huge for me to display anywhere in my house, but I do have the HT DeLorean time machine, which is about as big as I could go for vehicles and I believe the spinners would be comparable in size to the DeLorean, give or take a few inches.

will continue to watch this thread with great interest. Bravo sir!
 
Each wheel is a heavily modified RC wheel. The spokes are cut away, leaving just a plastic rim on the inside. I used a Dremel to remove the lettering.

spin050.jpg


The new wheel is a 50mm pipe connector, cut in half.

spin051.jpg


Support flanges are built up on the inside. I used the same wheels and methods on the Aston, so this part went very quickly.

spin052.jpg


The outer face is just a cone, glued to the rim.

spin053.jpg


Sand the edge flat.

spin054.jpg


Making the centre dome. Just 2 circles of 2mm plasticard glued together, shaped with a dremel and finished by sanding.

spin055.jpg


Glued to the cone. The brass tube is used to centre it.

spin056.jpg


All the parts complete. I enlarged the centre dome and had to modify the central rib for greater accuracy.

spin057.jpg


The rear hub is screwed into the back.

spin058.jpg


The central rib is a push fit to access the main screw.

spin059.jpg
 
Sorry I didn't see this thread sooner. The wheels on the drivable spinner were mag wheels with covers.

Some of us have done a bit of research on this but never got a model this far.

Great job on this project so far.
 
Front axle made. My original plan was to have functional steering, but the wheel folding mechanism pretty much rules this out. I considered a cable based linkage, but this would have been very sloppy and ultimately not worth the hassle. I'm in 2 minds about keeping the suspension. It works, but does create a bit of wheel wobble.

spin060.jpg


spin061.jpg


The gap on the underside is not too obvious.

spin062.jpg
 
Added some trim pieces on the covers.

spin063.jpg


Linkages for the covers finished. It took fair bit of trial and error to get the wheel and covers to synchronise. The grey arm will connect to the drive mechanism.

spin064.jpg


spin065.jpg


I remade the side vents with the correct number of flaps, 6, not the 4 on the Fujimi kit.

spin066.jpg


Most of the front end now complete.

spin067.jpg


Drive mechanism under construction. 2 rods will connect the large gear to the grey arms. I'm not sure this will have enough torque to operate the wheels. My fall back plan is to use some mini linear actuators.

spin068.jpg
 
Working on the interior. I have to make sure the underside of the dashboard is well finished, due to the large windows in the floor pan. I'm going to make the pilot's controls tilt up, for better access.

spin069.jpg


As i suspected, the drive gear wasn't strong enough, so i'll order some linear actuators. It's a costly expense, but reliability is essential, since dismantling the model for maintenance is a PITA.
 
Last edited:
Are we watching this take shape in "real time"? How do you get so much done so fast?
I'm on holiday right now, so typically spend around 6hrs a day working on it. Enthusiasm for a project is at it's highest during the early stages, so i get best use of my time off.
 
Amazing speed at which you work! I just assume you have a team of Elves helping you.
With the holiday season and some personal "down time", I've been working on some customs myself, but can't comprehend getting this much done.
Bravo to your dedication!
 
Built the dash monitor around the viewer. It's easily removed to power it on. This is much easier than trying to wire it into the car. I'll use the slideshow function to display the images, saves me having to wire buttons into the dash.

spin070.jpg


The monitor can be rotated and is easy to remove.

spin071.jpg


The instrument binnacle lifts out of the way, to make figures easier to get in.

spin072.jpg


I built grooves into the dash, to allow fitting of EL wire later on.

spin073.jpg
 
Installing the motor for the door. I won't know if it's strong enough to lift the door until i can mount and test it.

spin074.jpg
 
Successful test. There's still more weight to be added though.

spin075.jpg


Added the lower trim panel.

spin076.jpg


There is a latch fitted to the door sill. This isn't functional as such, it's there to guide the door into the correct position when closed.

spin077.jpg
 
Back
Top