Transformers repainting and modding thread

Collector Freaks Forum

Help Support Collector Freaks Forum:

This site may earn a commission from merchant affiliate links, including eBay, Amazon, and others.
4uihpv.jpg
 
^^ Dude, that Fallen looks awesome as far as can be seen.

Can't wait to see full pictures of it!
 
has anyone written up a tutorial yet? im mainly just interested in painting all the gray plastic parts to have a metal look.
 
has anyone written up a tutorial yet? im mainly just interested in painting all the gray plastic parts to have a metal look.

I'm fairly new to this myself but this is how I paint them:

1. A black base coat over all the gray plastic I want to make metal looking. I just apply it with a soft brush, not too thick.

2. After the black paint is dry, I drybrush silver on it. I put some silver paint on a harder brush, wipe most of the paint of with some paper towels or cloth. If there's almost no paint coming of when making a normal paintstroke on the paper towel, you can apply it to the Transformer. Just mover the brush rapidly over the black painted area's and it will give the metallic look.
If the metallic look is still to dark, you could repeat this step.

3. I use the same silver and a gold color to highlight certain parts like tubes and gears.

All the paints used are acrylic paints.

By doing this your Transformer will look much more movie-like and less toy-like.

I've painted Ratchet and Ironhide so far. There are some pictures of Ratchet in the beginning of this thread. Ironnhide is coming up very soon, I hope. (don't have a working camera myself, so I'm waiting for a friend of mine to bring his over :eek:)


I'm sure there are other ways to do this, like airbrushing, but for me this works really well and is great fun to do.
So I hope this info is of use to you :)
 
Great thread!
I'm planning to repaint a Leader Optimus Prime myself too, and I was wondering if there are any good HD quality reference pictures of him out there?
 
Here is Seth's how to paint a transformer tutorial.

Materials:
Krylon Satin Black Fusion spray
Non-Acetone Nail Polish remover
A stiff flat headed paint brush. Smaller the better I've learned
Paper towels
The part
Testors Enamel steel
Tamiya Gunmetal
Mineral spirits(to clean your brush)
11jrsid.jpg

(Tamiya not pictured)

Step one:
Thake your part and completely wipe it down with the nail polish remover. To do that you take a paper towel and put some of the remover on it and wipe the part until it looses it's sheen and becomes a dull color. This cleans the part making the fusion adhere better.
eulu10.jpg


Step two:
After you wipe down the part with remover you go OUTSIDE to spray your fusion onto the part. You're going to wanna do this in several light mist coats. It usually takes me around 5 light coats to get it as black as I want it. You can vary that to your liking.
18c3ed.jpg

(first mist coat)
vys0h.jpg

(coats 2-5)

Step three:
Once the fusion has dried, allow at least an hour before painting on it, it is time to drybrush Tamiya Gunmetal onto the part. To drybrush you dip the brush into the paint, bu not very much. Then you get as much paint off of the brush as possible using the rm of the paint cup. After that you take your brush and start painting onto the paper towel back ad forth. The objective to doing that is to remove up to 90% of the paint from the brush. That means that there will be hardly and paint on the brush. Then you take the brush and go back and forth over your part lightly. The point is to highligh the details in Gunmetal, not paint the entire piece in Gunmetal. Clean the brush in water, it is acrylic and acrylic is water clean up.
2afa9v9.jpg

(you can see the paint in the background)
25qxe6q.jpg


Step four:
You are then going to let the drybrushing cure for about an hour before applying the drybrush coat of steel. To drybrush you are going to do the same thing that you did in step three but with the steel colored paint. It does not matter that the paint is an enamel. When drybrushing you are going to want to keep the brush strokes perpendicular to the details. THAT GOES FOR BOTH STEPS THREE AND FOUR. Once you have drybrushed enough onto the part, remember that it is always better to drybrush too little than too much, you can always add, and not remove, open your jar of mineral spirits to clean the brush you drybrushed the steel with. Enamels need to be cleaned with mineral spirits or a type of paint thinner.
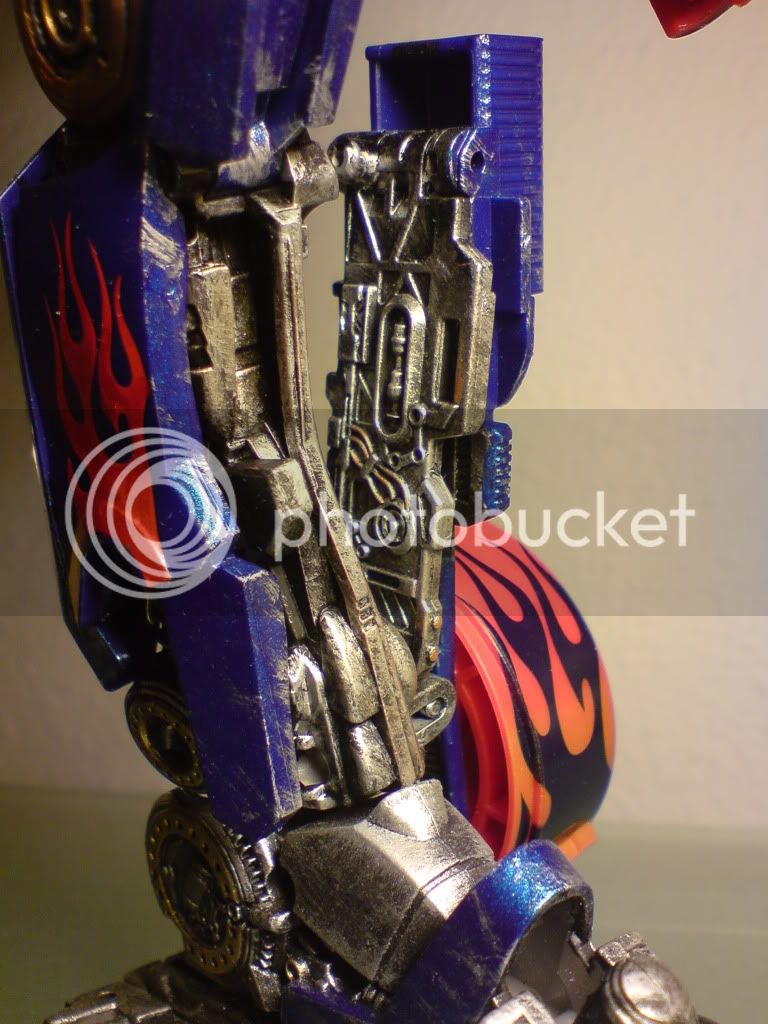
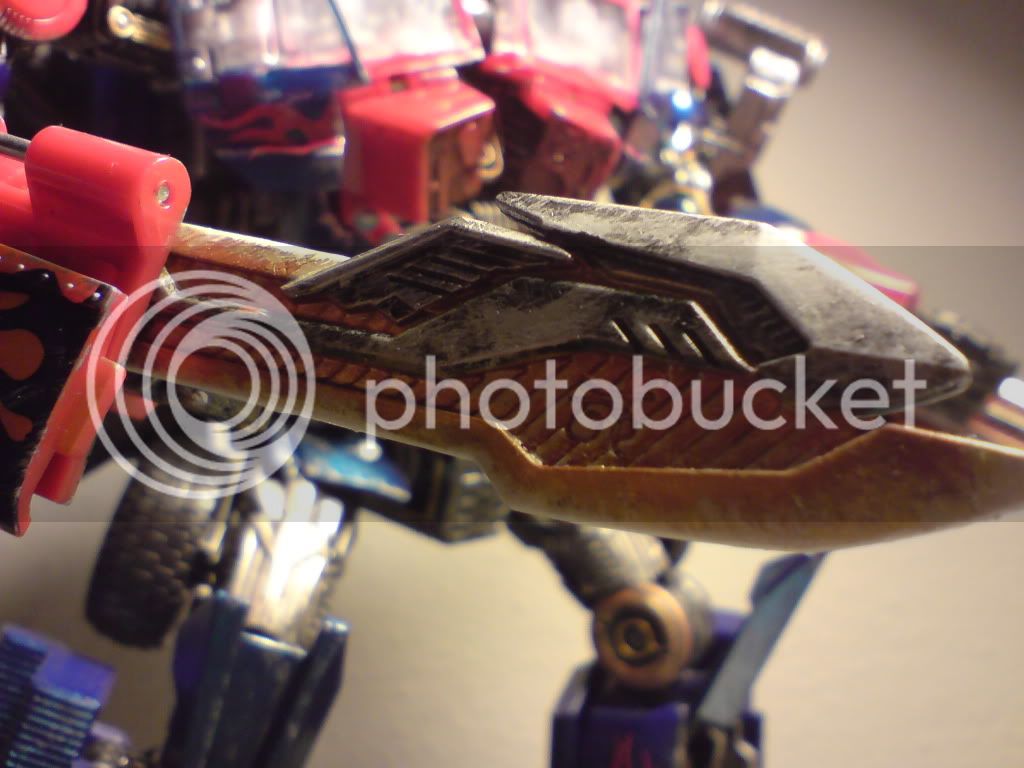
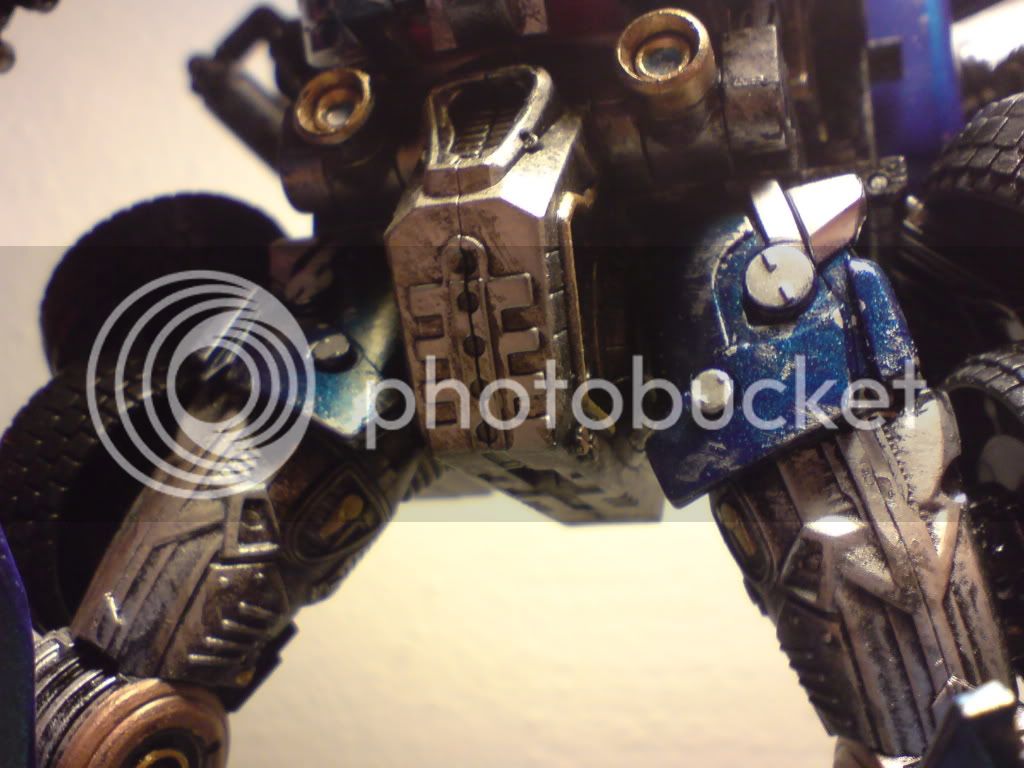
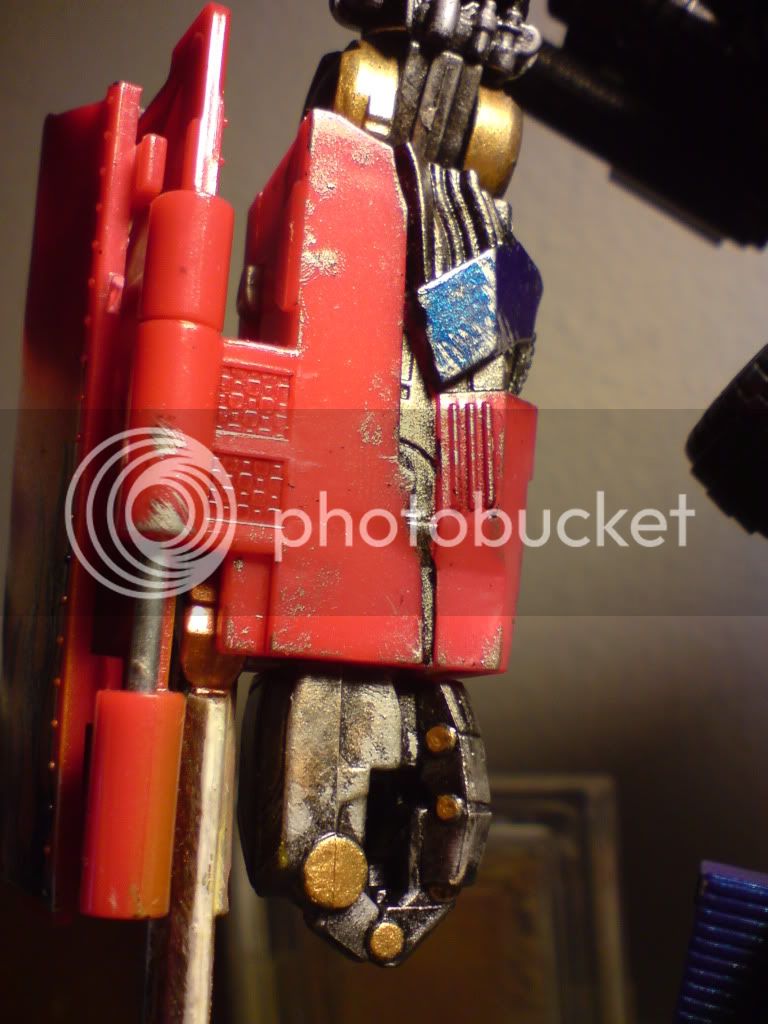
Here is the final result of my tutorial:
99i0ya.jpg
 
Your Sideways looks great dude!!! :rock

And your tutorial is very cool too!!! It's very nice to read about different painting techniques :)
 
Yeah the preview pic you posted of him a couple of pages back looked really cool so far, can't wait to see how he looks all finished!

Besides Ratchet which I already posted here, I also painted Ironhide and Bumblebee. I will have pictures up in a week or two I hope.

I also have Optimus and Sideswipe, but I haven't started on them yet.
 
Here's my WIP on leader class Prime. I figured since the premium edition Buster Prime is gonna be out, might as well scuff this one up real bad like he'd been in a fight. More pics to come.

Enjoy =)


DSC00452.jpg

DSC00448.jpg

DSC00451.jpg

DSC00450.jpg
 
Back
Top