Re: My Agent Venom WIP
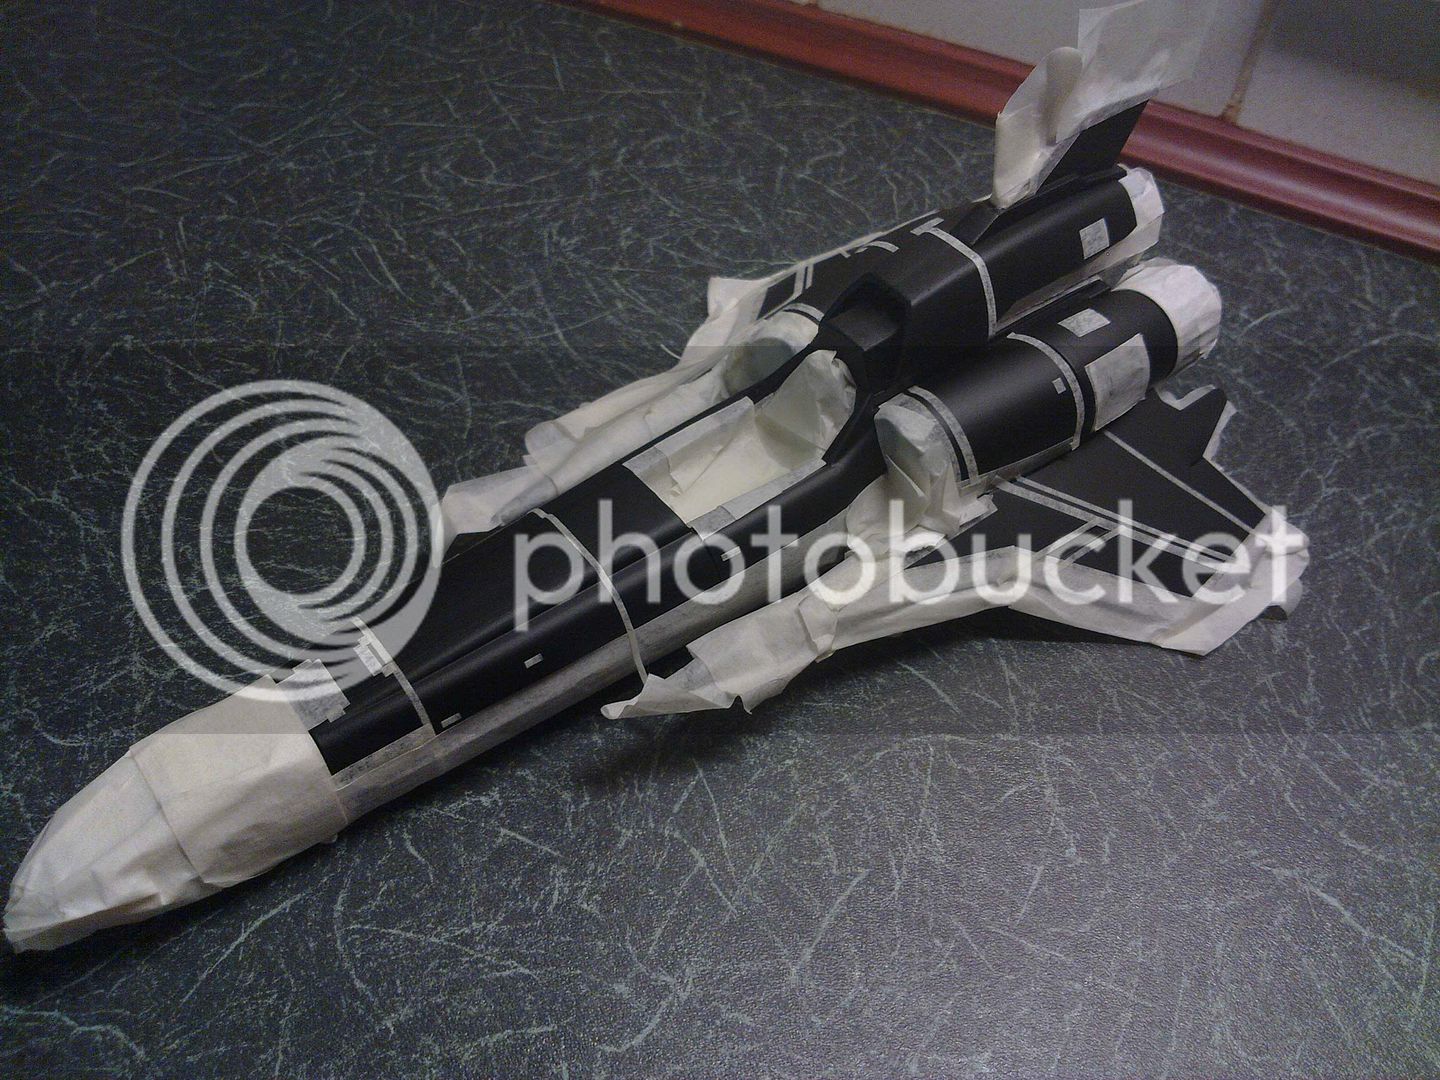
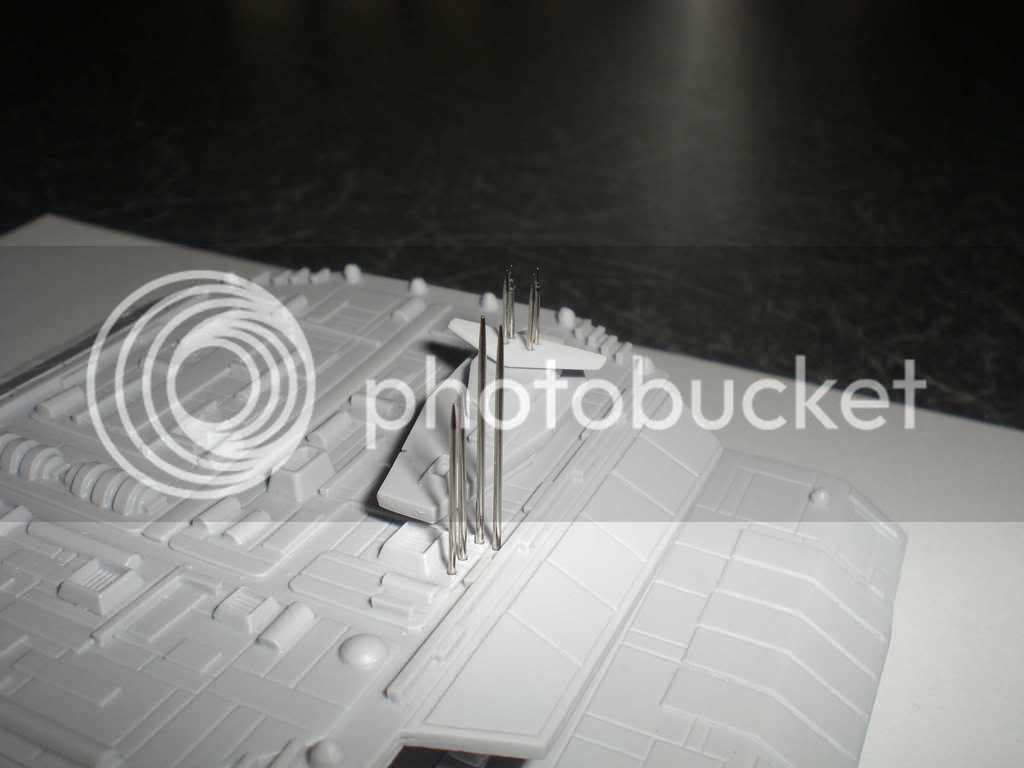
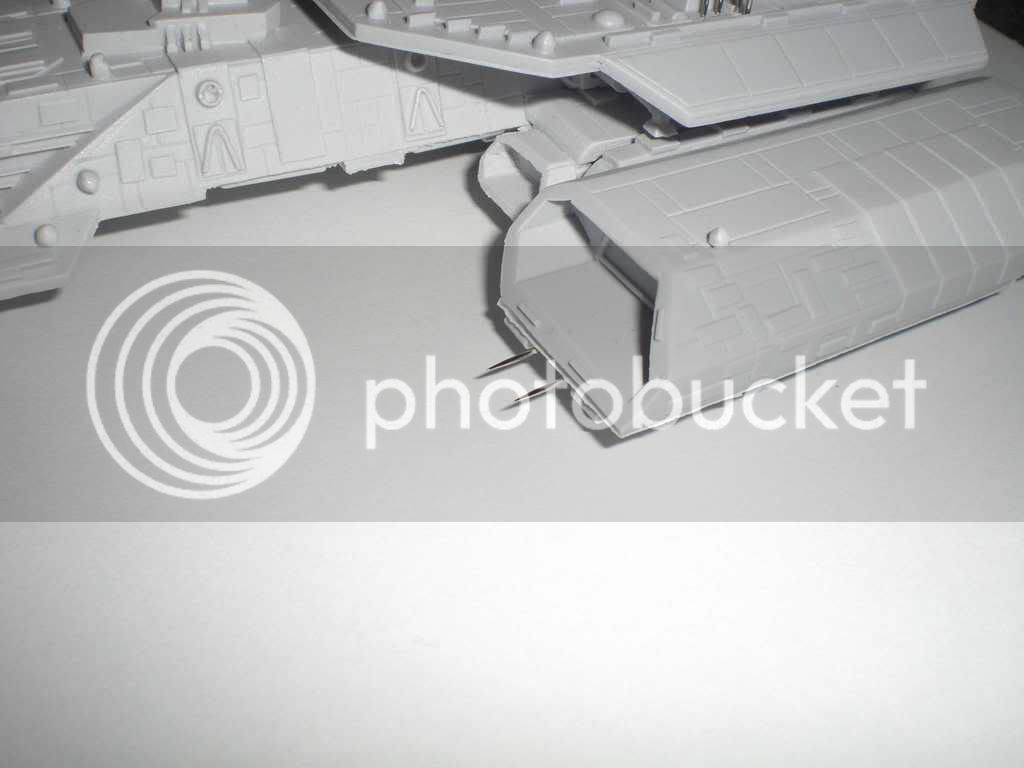
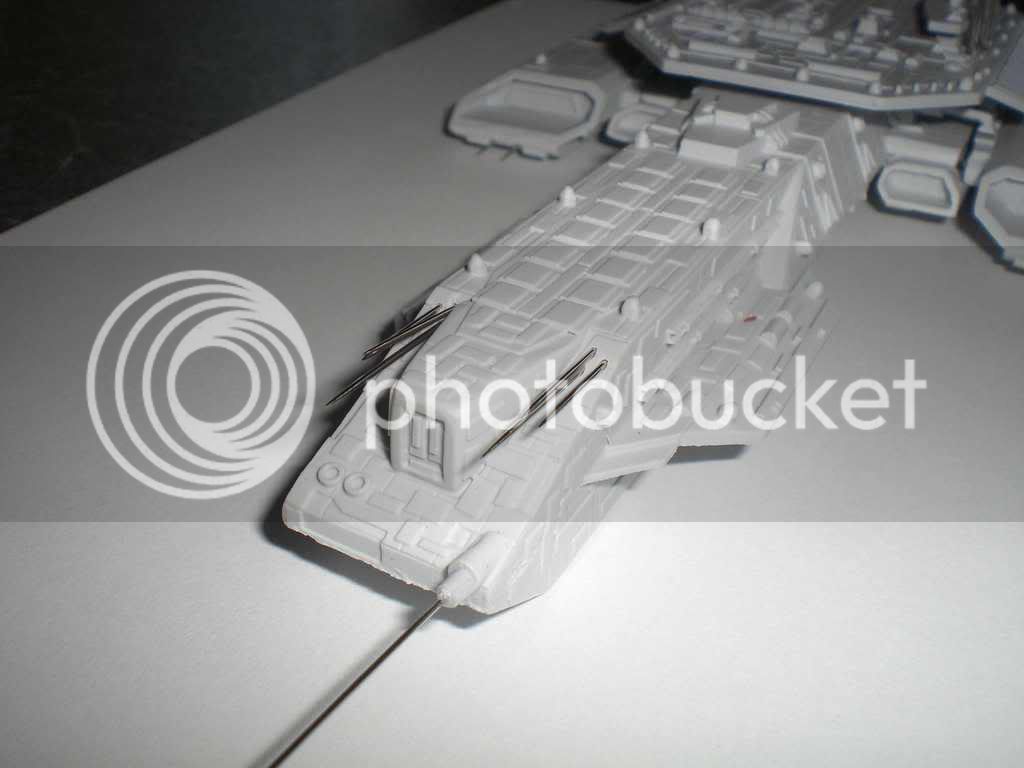
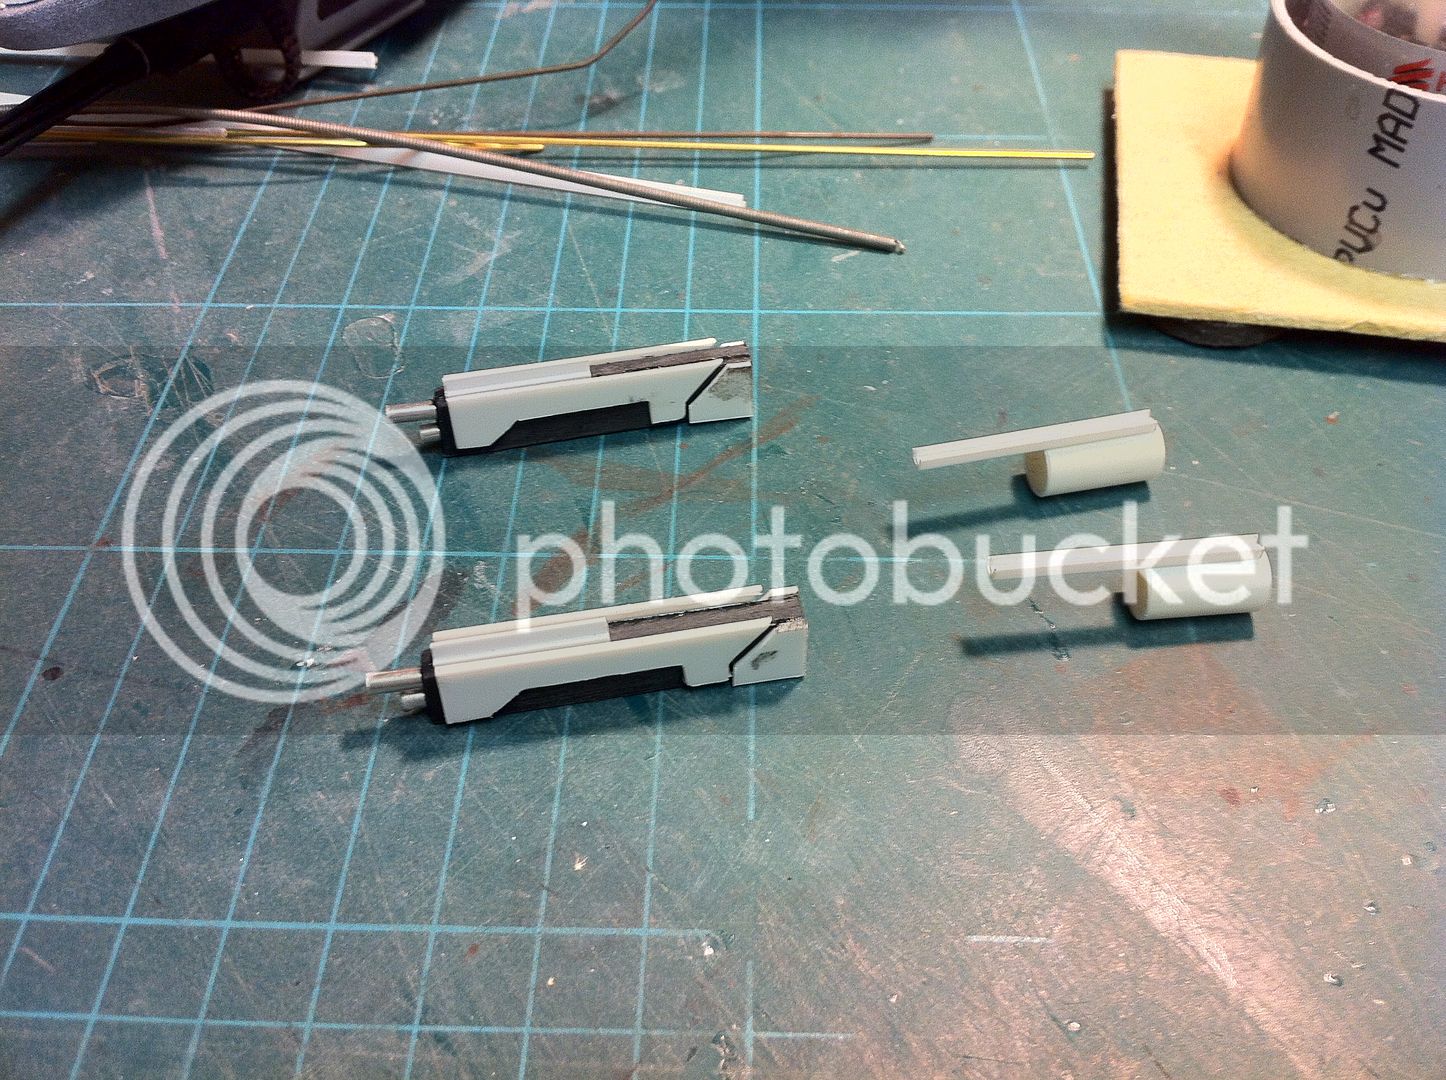
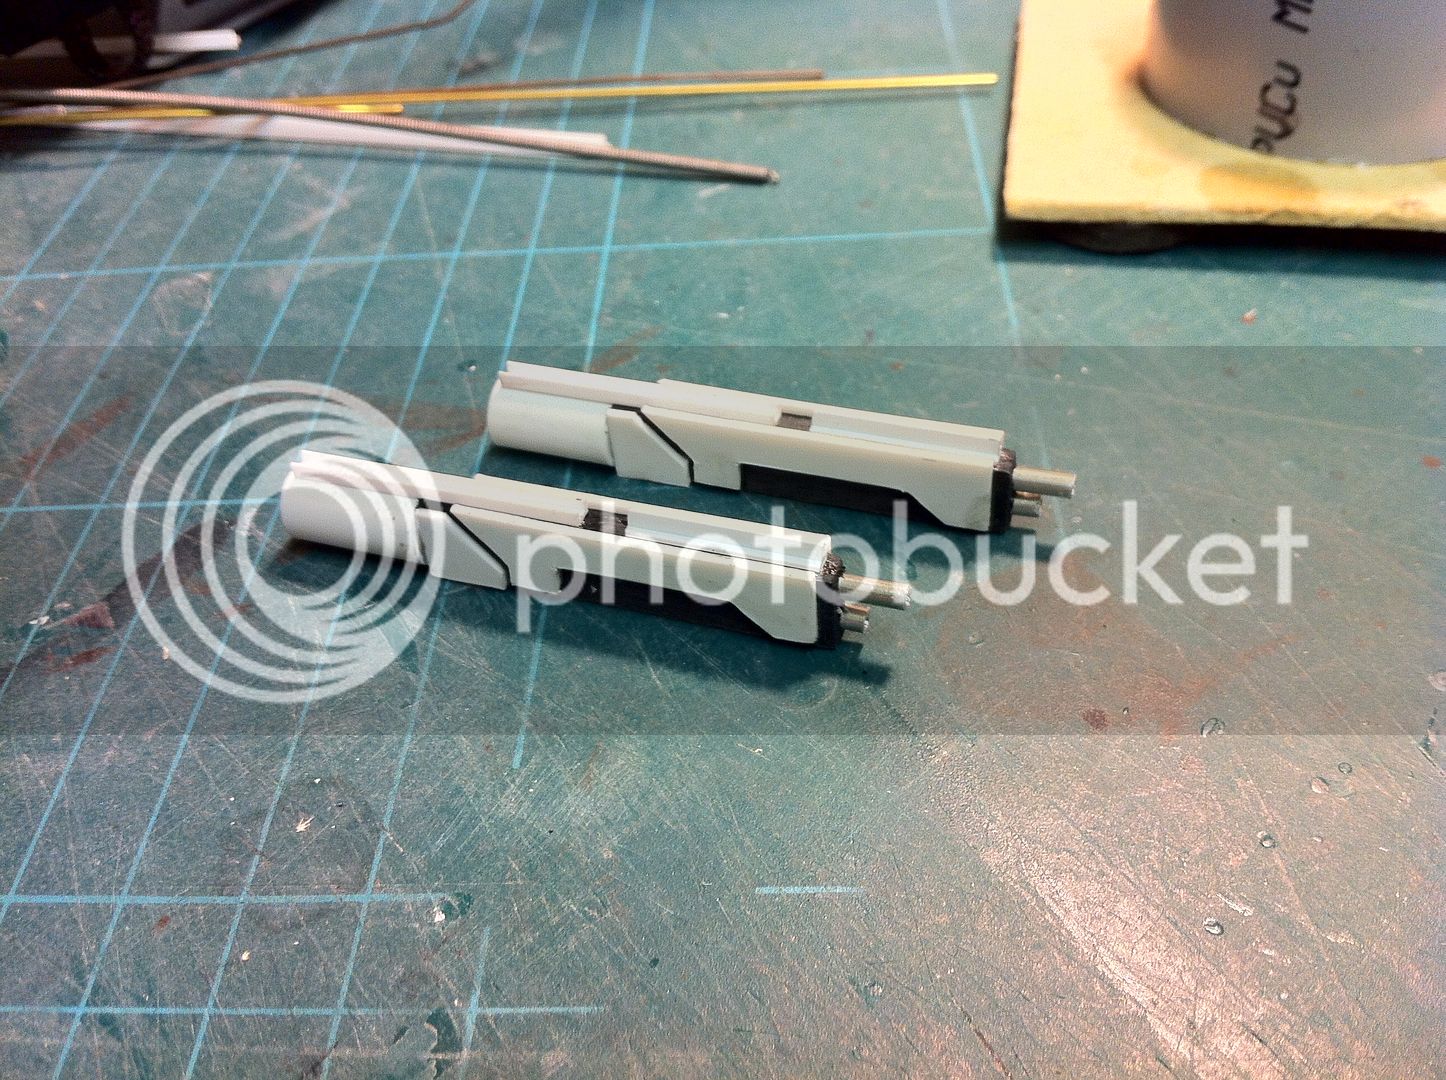
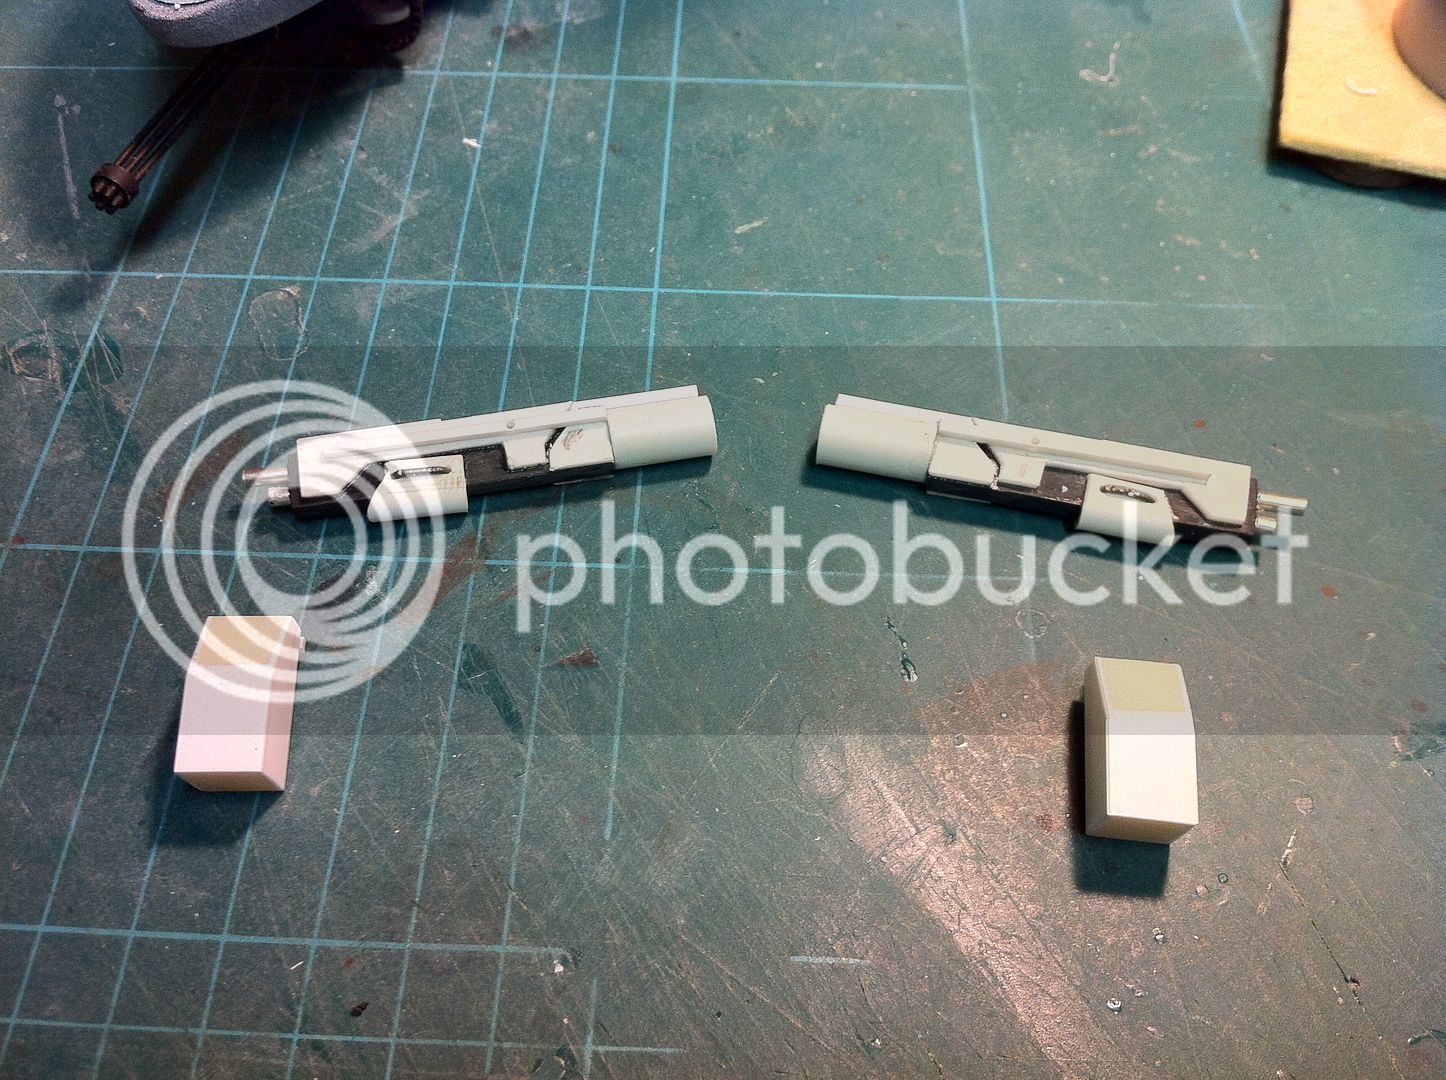
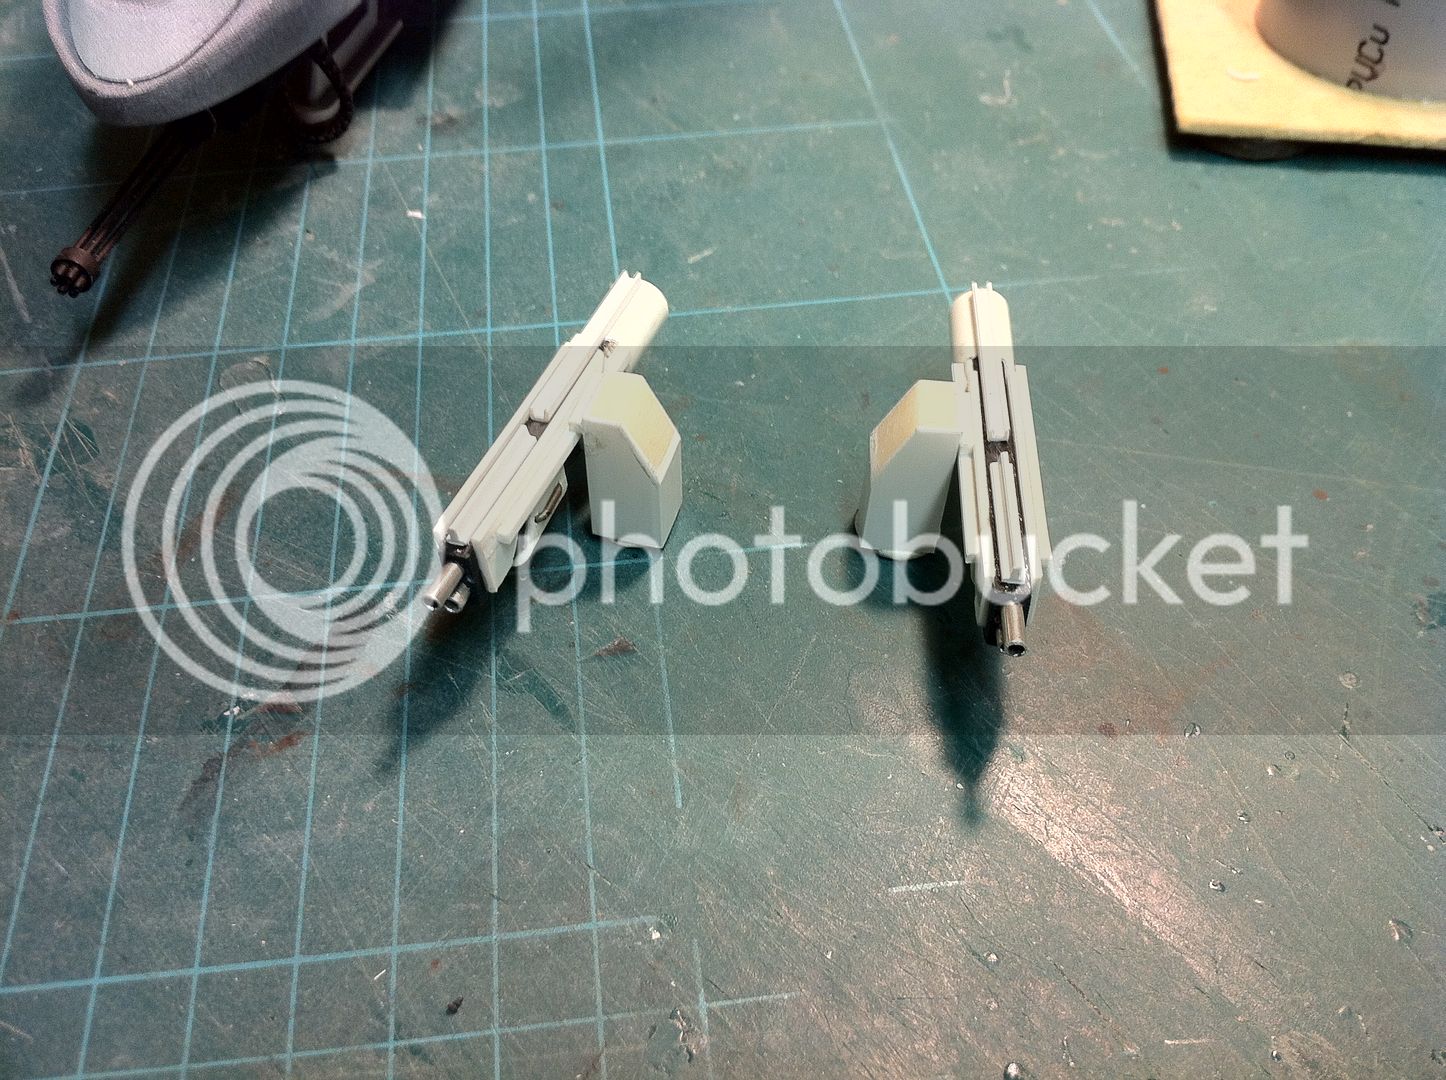
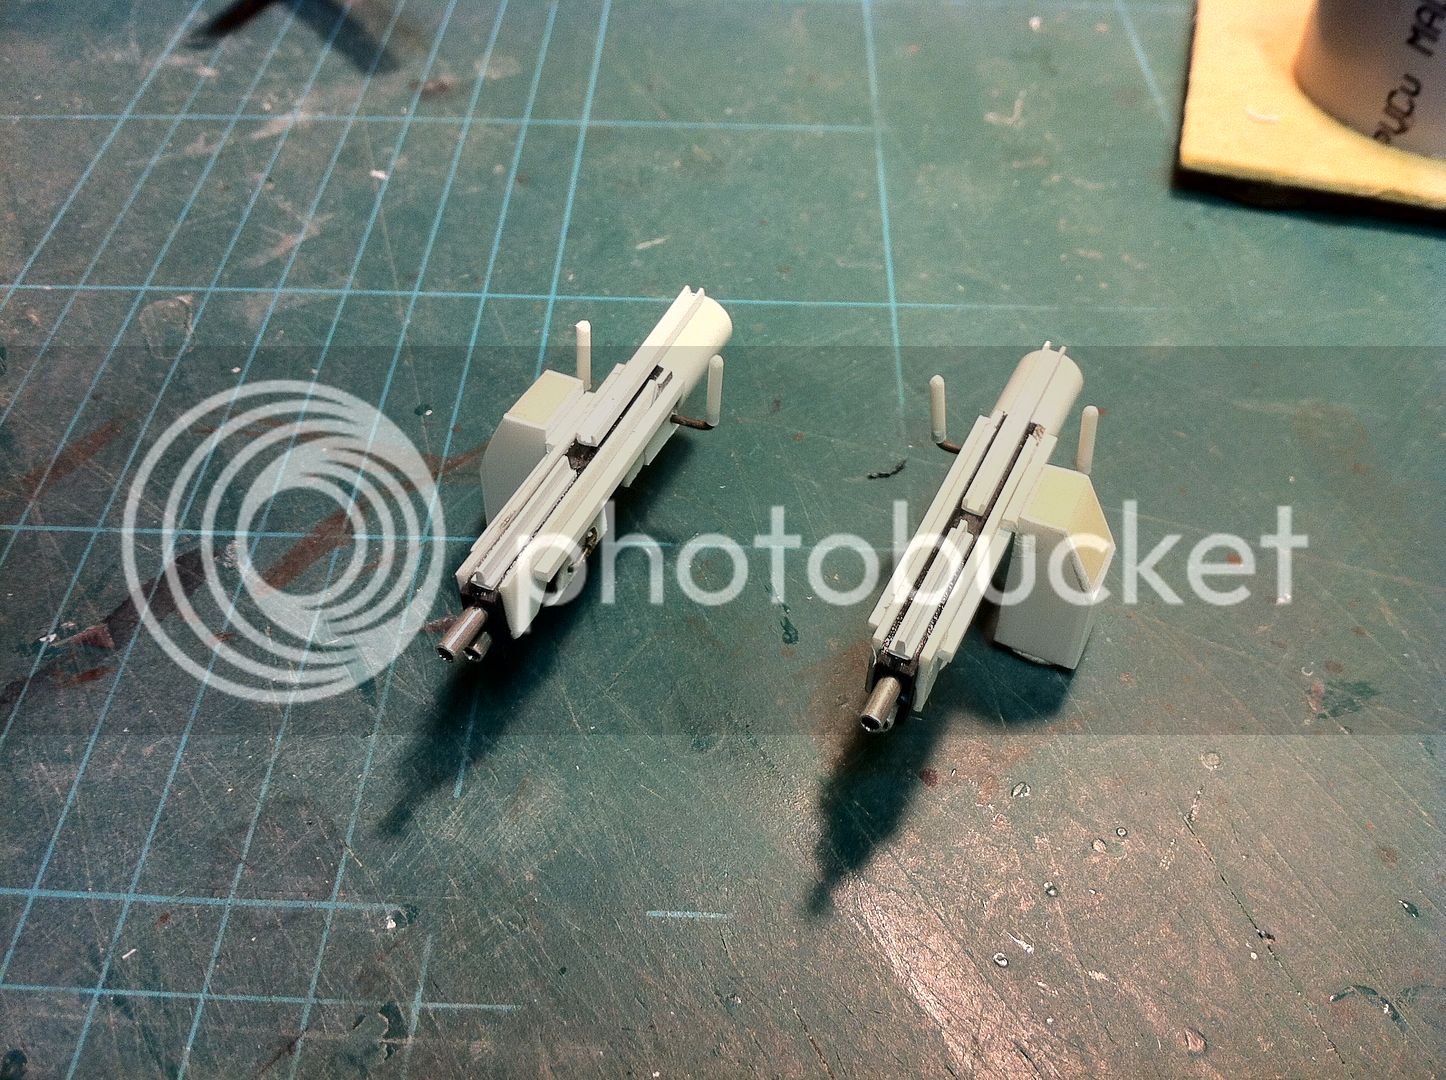
It''s amazing what you can do with a few different shapes and some imagination...
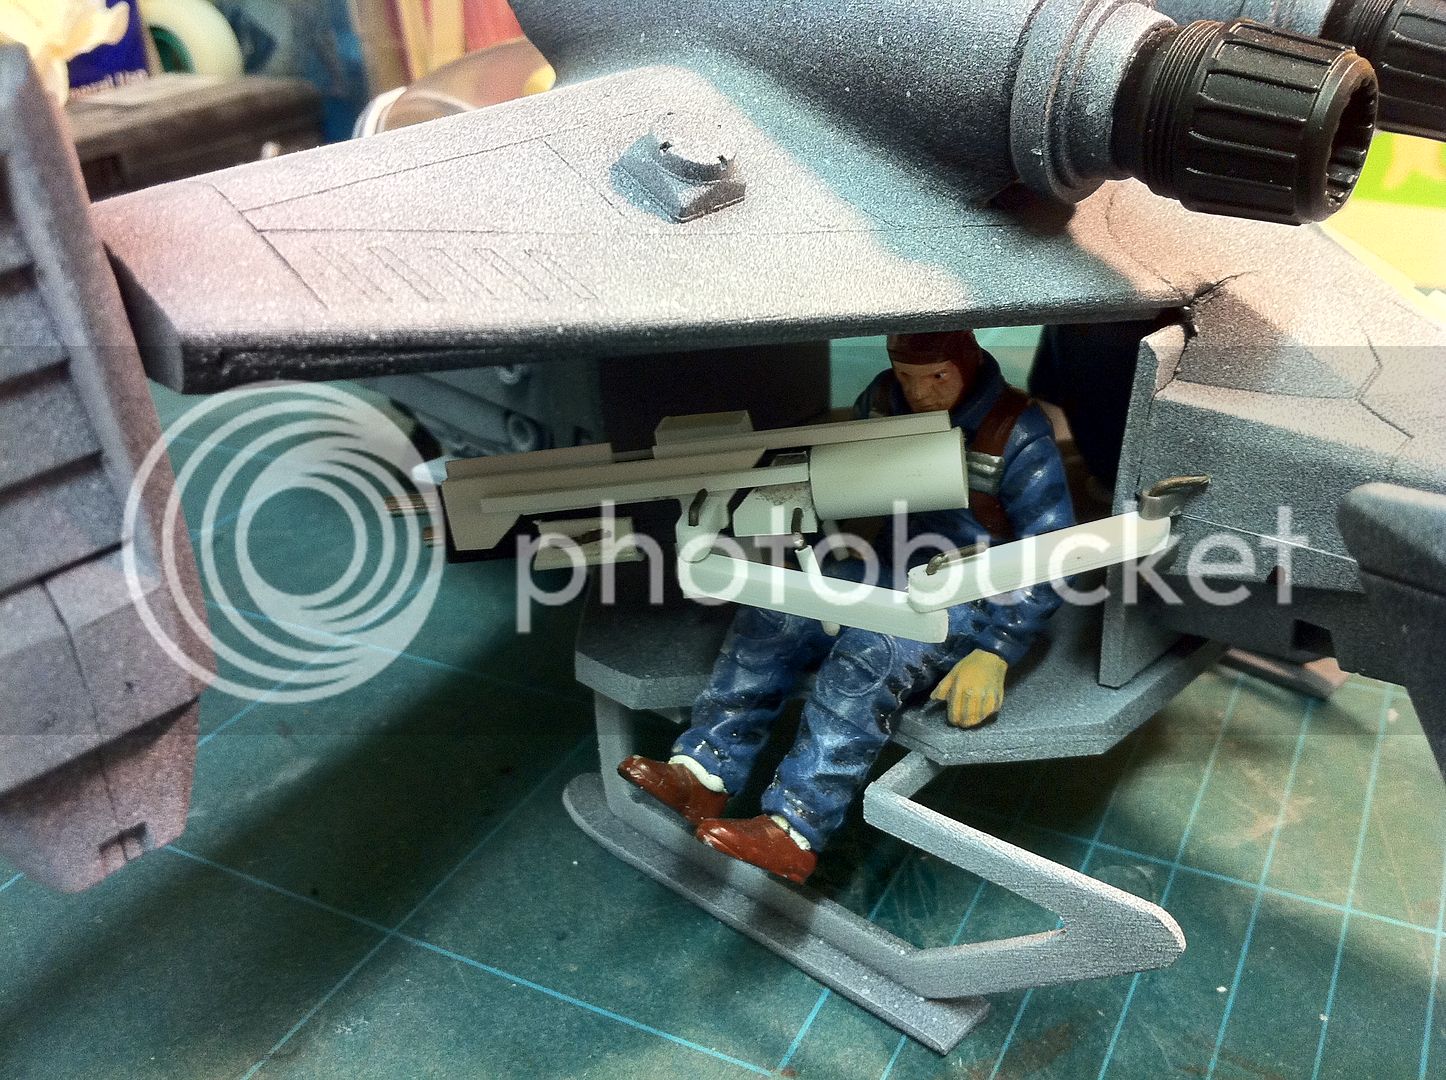
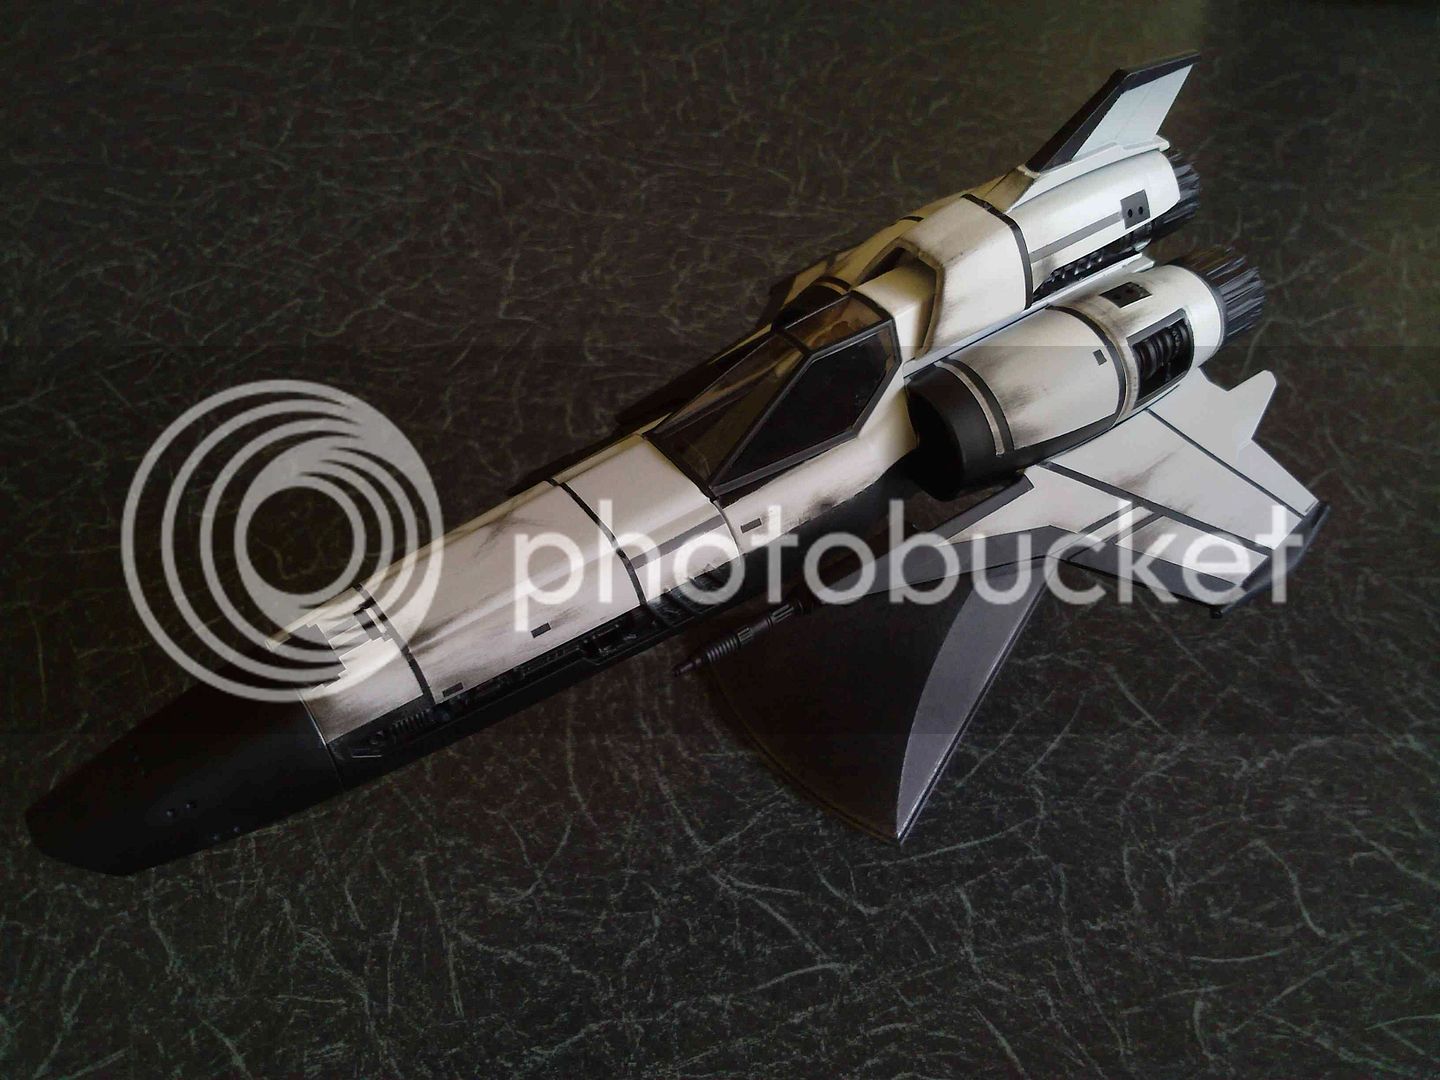
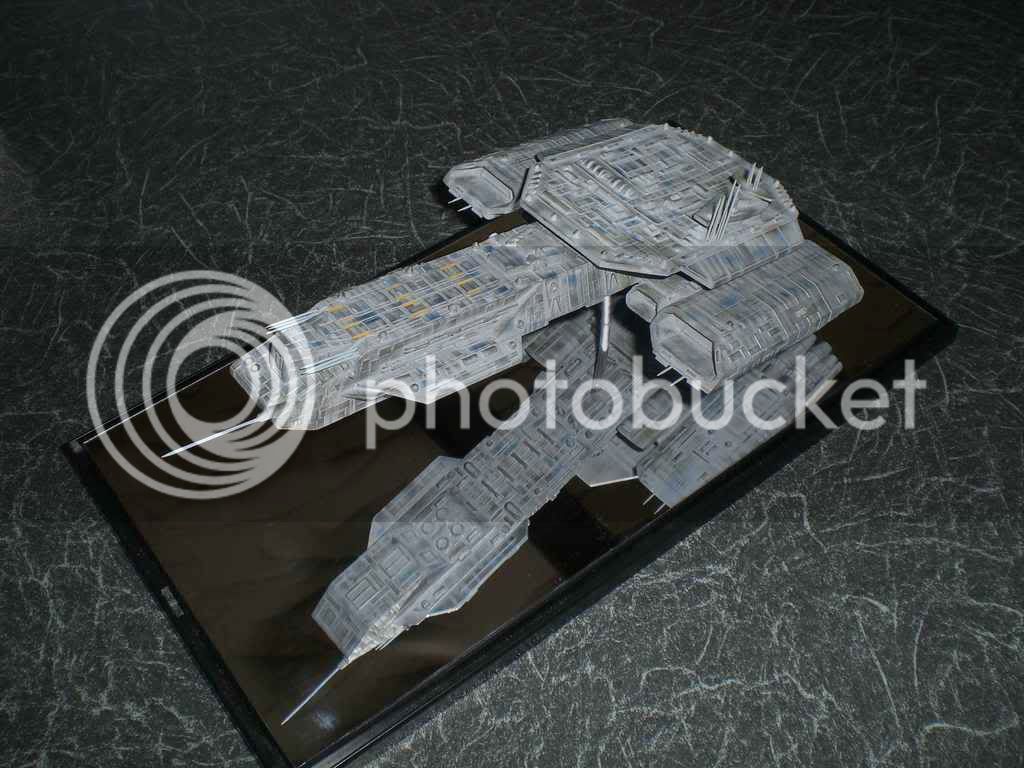
Wow, that is amazing! That snowspeeder and jedi starfighter!
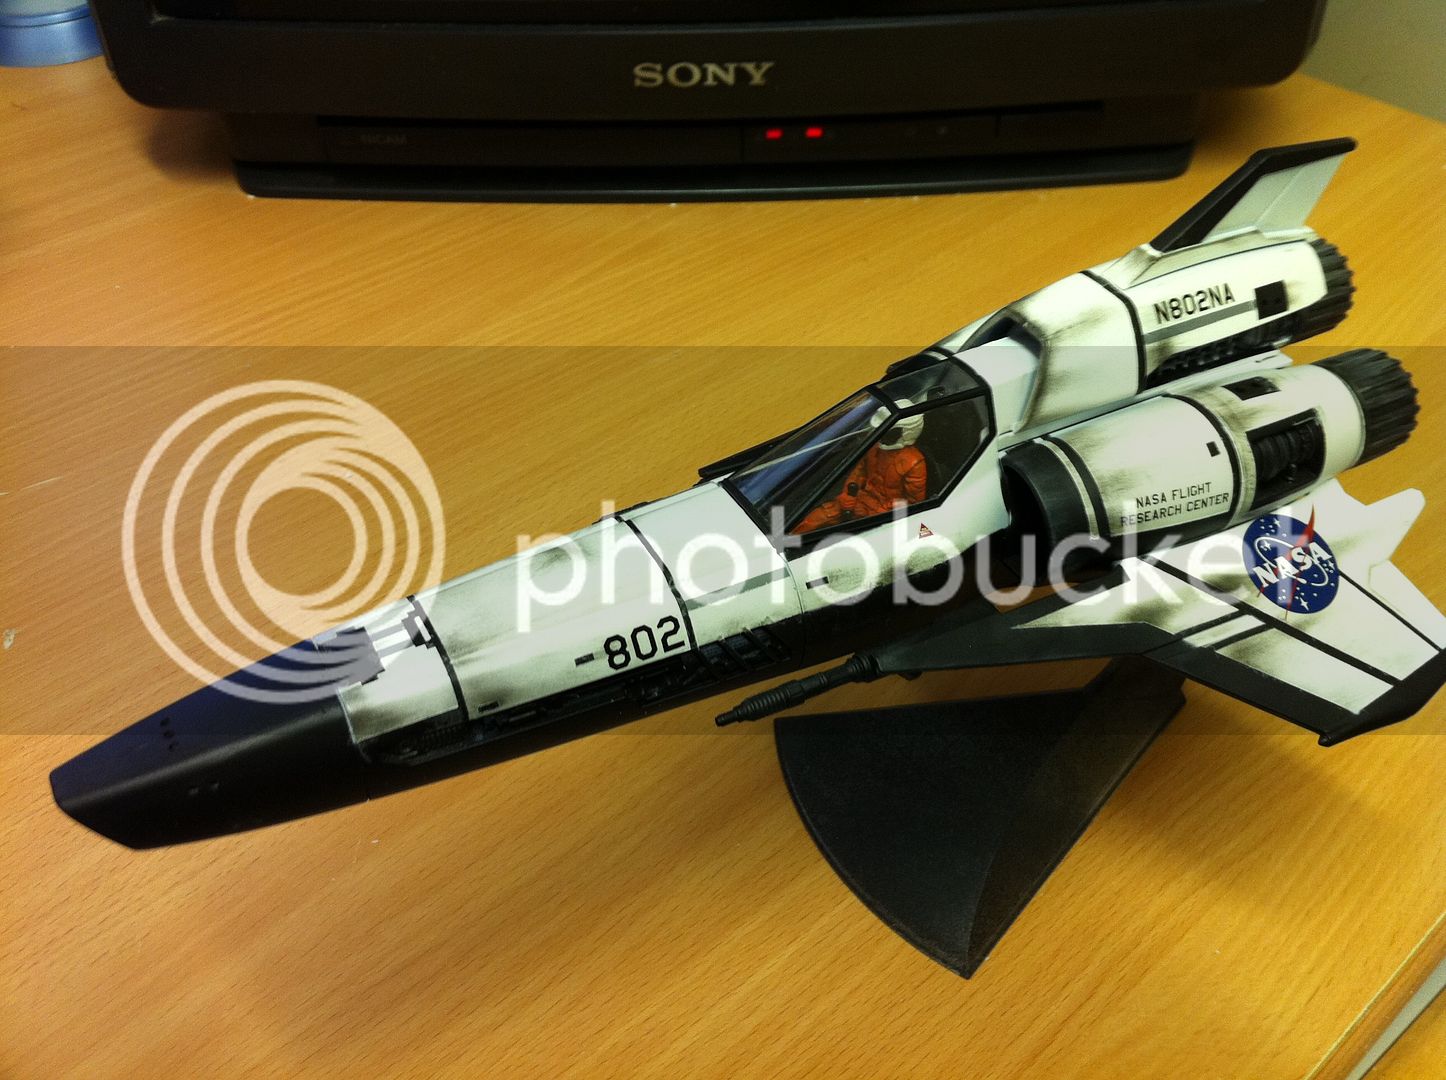
And there are also sticks and tubes from styren of many thickness, not only sheets. And you can find it in many hobby and model stores.
It''s amazing what you can do with a few different shapes and some imagination...


")