Making your HT Pred 1 Perfect!

Collector Freaks Forum

Help Support Collector Freaks Forum:

This site may earn a commission from merchant affiliate links, including eBay, Amazon, and others.
Okay so here's where I'm at and a rundown of changes made.

pred14_notes.png


  1. Helmet reshaped and carved out to correct warping and for it to fit much closer to the face.
  2. Three leather cords added to temple and one to the lower left jaw.
  3. Silver plastic strap from the chest armor to the shoulder was removed, leather strap added.
  4. Black elastic removed from biceps armor and armor attached directly to the mesh suit.
  5. Chest straps replaced with weathered leather straps, additional weathering and film accurate divot added to the buckle.
  6. Plastic belt replaced with a weathered more accurate leather belt.
  7. Plastic pouch replaced with a much more accurate suede pouch.
  8. Leather thongs around forearms weathered.
  9. Weathered leather thongs added around knees.

Check out my flickr for a number-less version of this photo in multiple resolutions: https://www.flickr.com/photos/dedguy/3711508528/

edit: Damn, forgot to mention I also dullcoated the leather part on all the hands.
 
Now THAT is what I call an EPIC post.

Absolutely fantastic Dedguy!!!! When I have time, I definitely plan on doing a few of these mods on my Predator.

What else are you thinking of doing to him? Putting in lasers in his mask? :)
 
Naw, I'd never use 'em. Not really a fan of light up stuff as it's only worthwhile for pics and I can just photoshop that in pics. Only two things I'm thinking of doing at the moment. Adding the straps for the kneepads to replace the elastic and replacing the string for the skulls with leather cording. I could repaint the inside of the mouth but at the moment I don't really like displaying it without the mask so that's not a high priority. Anything anyone else can see to change?

Right now I'm working on repainting the Gatling gun that came with the WWR Deep Powder Bramble I have. Never was a fan of the white frosting paint on it.
 
Only thing I can think of on your Predator is to maybe weather the material under the belt. Oh wait, and maybe painting the elbow joints to match his skin tone?

Outside of that, your figure looks perfect.
 
Any progress on your armor repaint SilentSurfer?

Not anytime soon. I have some commission projects to finish for other people first including a life size Predator 2. I'd hate to be posting all kinds of my own stuff here while people are waiting on their stuff.

Besides, I'm waiting to get my second P1 to use to replace my P2 body, and I'll do full repaints on both figures and post them.

I love the mods you've made, and I will be including them on my figure as well as quills on an alternate head and on the body.
 
I was gonna say, doing body quills would be awesome. Not something I'll do though. Would be hard with the P1 head and body I would thing as there's sculpted quills already there.
 
dedguy..................perfect & thanks for the tutorial. im going to save this & get around to the mods at some point.......just not right now, want to enjoy the pred i've been waiting on for a little while longer before i mod him....:D
 
I posted these mods in the photo thread but it might be better suited in this one.

I finally got around to opening my Ex Predator this last weekend.

I was disappointed with the wires and plug for the LED being permanently attached to the battle damaged mask and the non lighting "clean" mask. In the process of plugging in the connector to the backpack, one of the wires broke. HT must have used the cheapest wire available, so I decided that it was upgrade time.

I found some wire at work that was in a two pin connector that was the same dimension as the cheap wires but the inner wire was thicker so worrying about breaking the wires is no longer an issue. Plus the new connector grips the wires through the insulation so there is no solder that can break from pulling the connector out.

p1030221y.jpg


I thought that would be a huge improvement....but I didn't stop there since I would have to attach the new wires to the old wires somewhere.

I thought about removing the old wires and rewiring the new wires through the mask and soldering them to the led but I didn't like the permanently attached wire and connector already. So after a lot of thinking and trying different things I figured out how to make the power cables removable at the mask. The wires and LED inside the masks stay there but the outer wires now disconnect from the mask for easy removal. That means no having to remove the connector from the back and having to worry about breaking the thin wires anymore. You just have to plug the wires into the holes in the mask! It took a day of thinking and several hours of monkeying around to get it together and working but I am happy with the results. I figure it is more movie accurate that way as well.

p1030202b.jpg

p1030215j.jpg


Since I also didn't like having the regular mask without an LED light, I found a red one at work and soldered the stronger wire to it. The LED isn't as bright so I will have to source a new one and redo it in the future.

p1030228.jpg

p1030225m.jpg

p1030223r.jpg


I still have to color the wires black and add the other "hoses" to the mask.
 
Kick ass way to do the wire swap. Bravo. Much more accurate in the approach. The only thing that would make it more perfect would be to run the wires from the battery pack through the shoulder mounting, and out of the two little circles next to the big oval shape with the line through it.

Come on, you can do it.
 
I don't have this figure... (lack of money lol)... but I love this thread! :rock :rock :rock

it's like living all my customising dreams and plans through you guys :D
 
The mods in this thread look amazing! Sorting out that mask makes him look 10 times better.
 
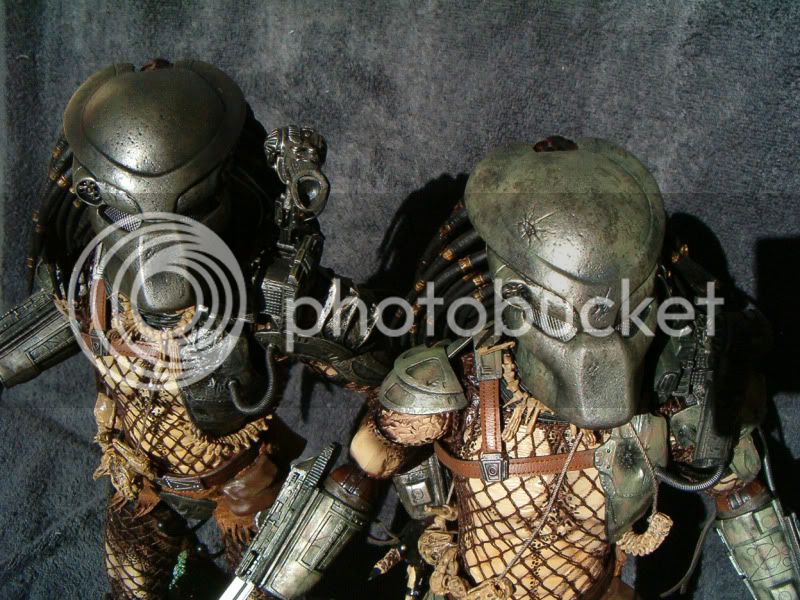
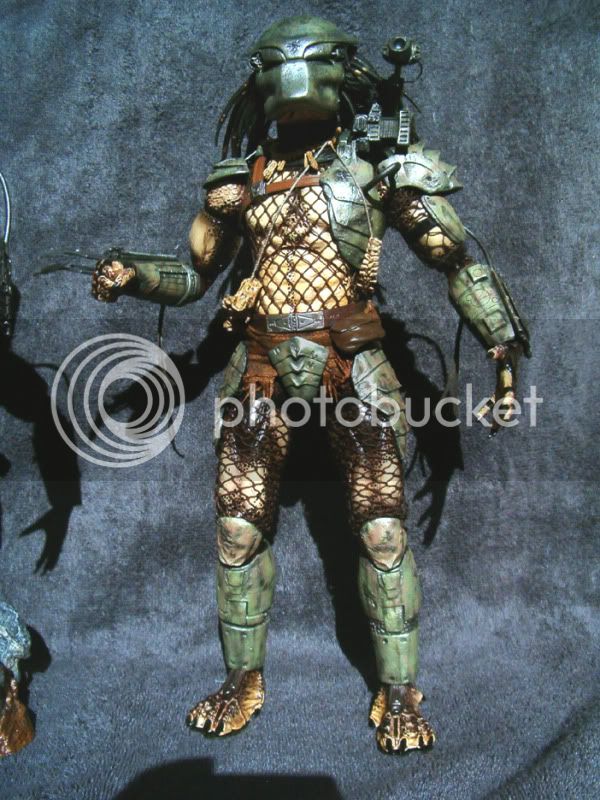
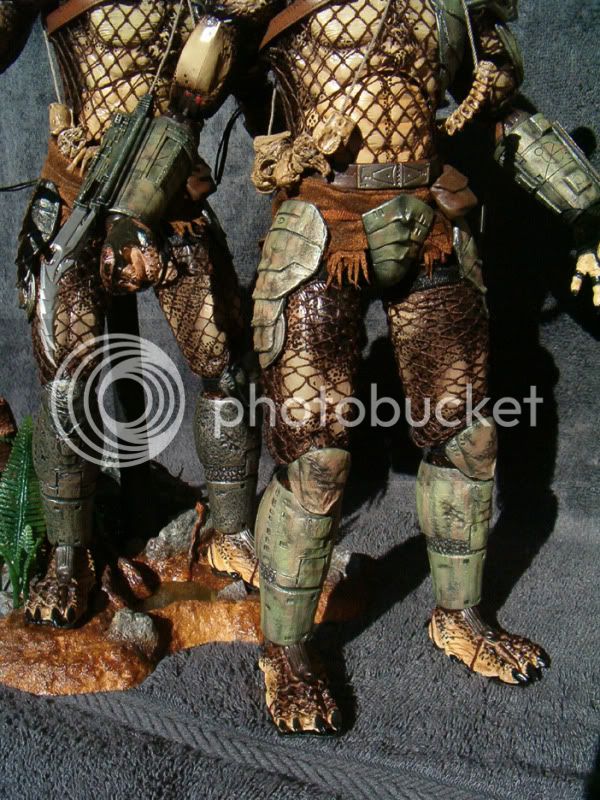
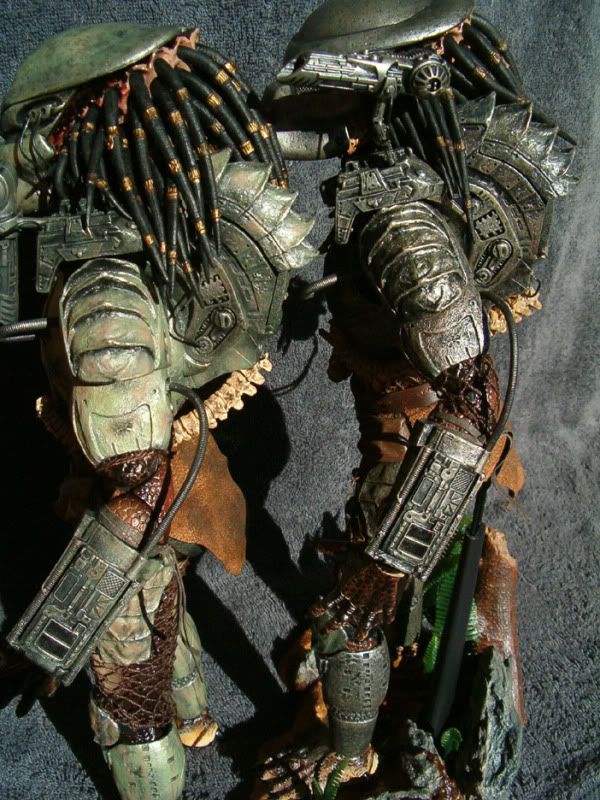
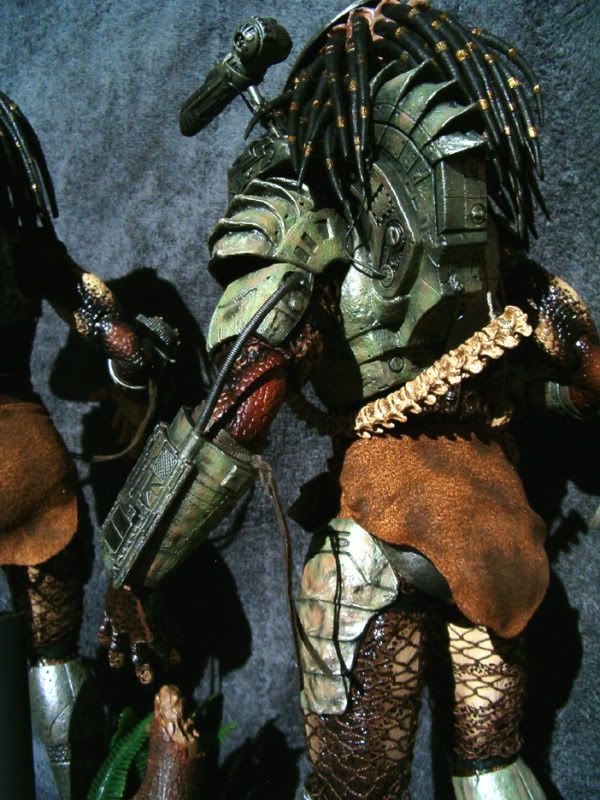
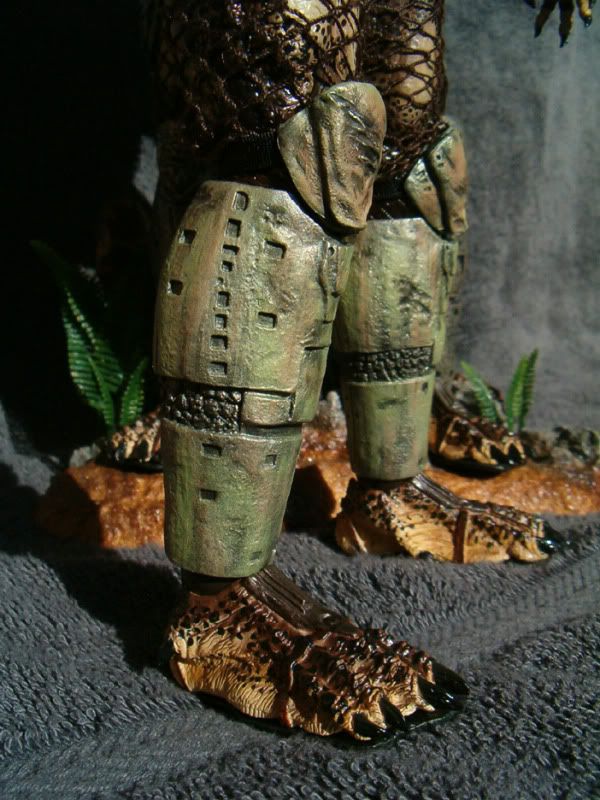
Alrighty boys and girl (there must be at least one here, right), as promised I've done the camouflage repaint to the Pred armor. Following are some side by side pics with my Exclusive Pred, and my second Pred (which I got just for parts for customizing and improving multiple Preds) wearing the armor from GODZILLA95's Pred that I painted up for him like I am soon to do with mine.

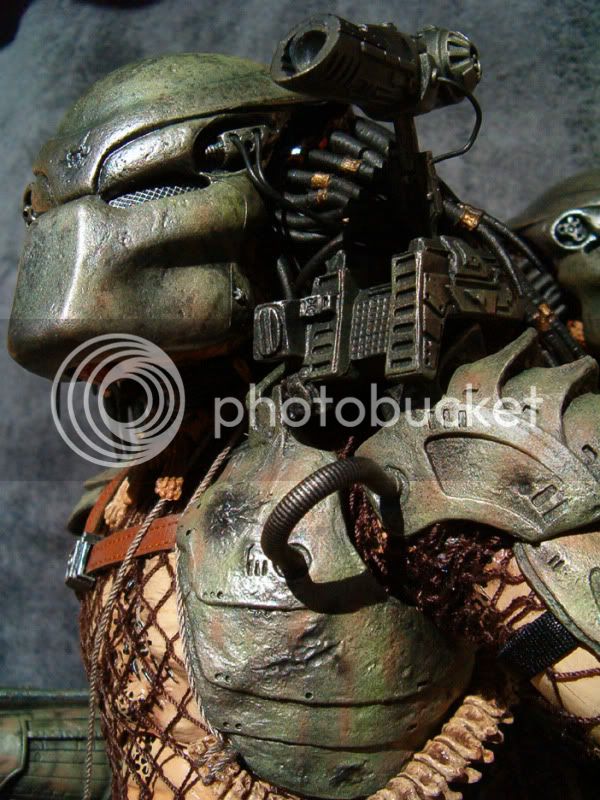
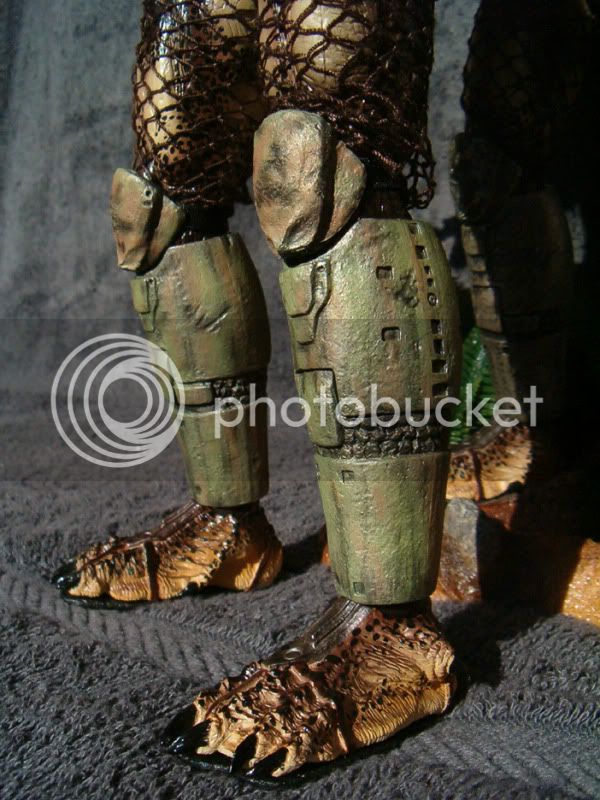
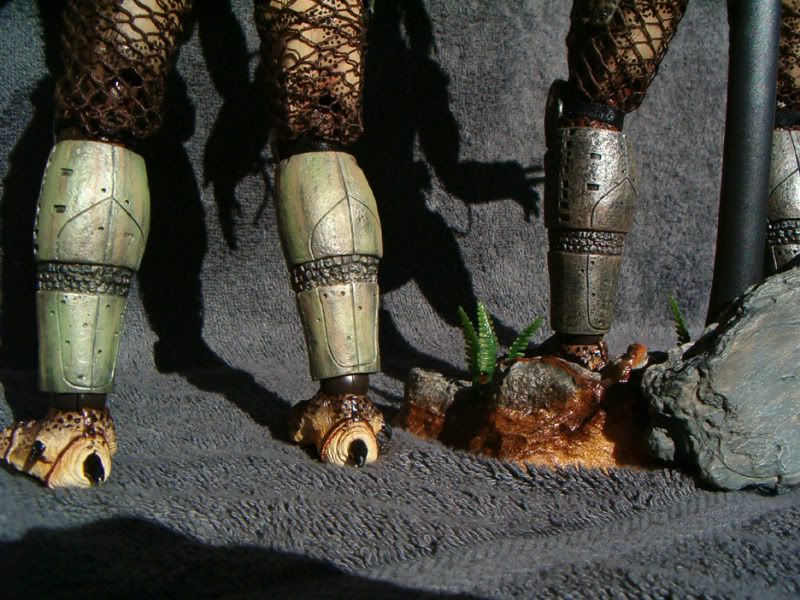
Quick tutorial: I gave the entire armor a light once over with silver to get rid of all the black wash, went over that even lighter with a little green mixed in (I wanted to preserve the metallic look), started doing light camo randomness with straight green and brown, added blast marks in black along with other depth enhancing camo, switched from airbrush to paint brush, and added whatever color solidifying and extra details I thought appropriate.

I love the way this turned out. In some of the pics it looks like I glossed over the camo, but the armor is very matte. Because I did the camo in such a way, it allows the metallic silver underneath to catch the light (especially sun light as in the following pics) which makes it look glossy. In person it looks metallic, not glossy at all.

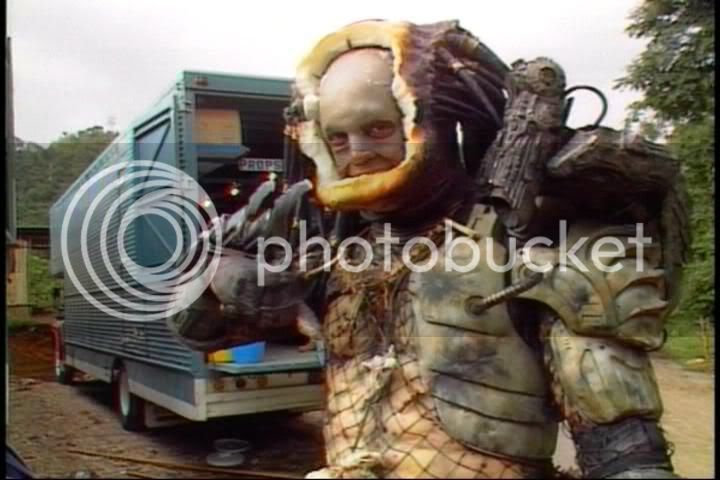
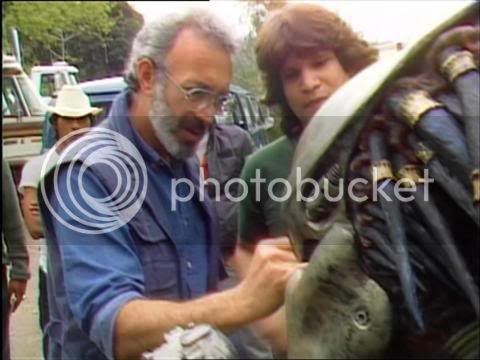
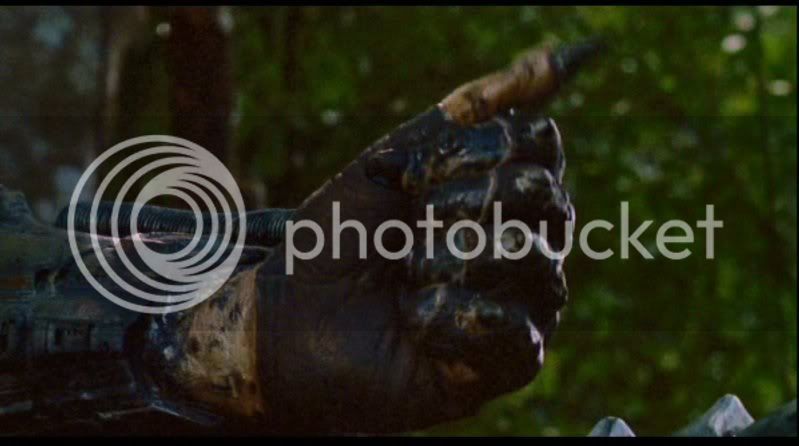
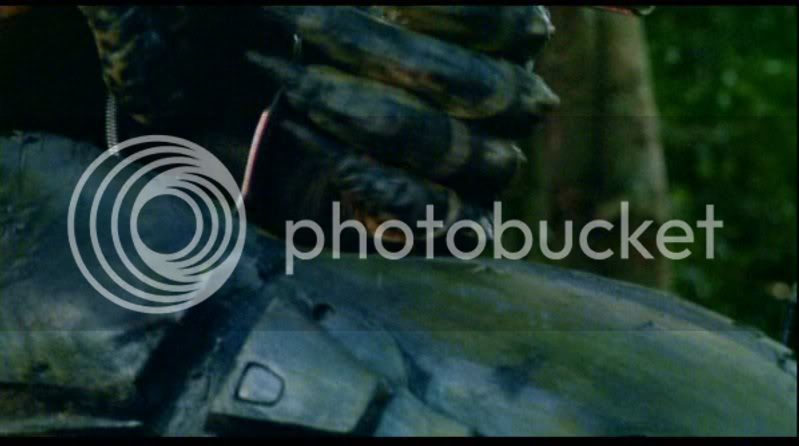
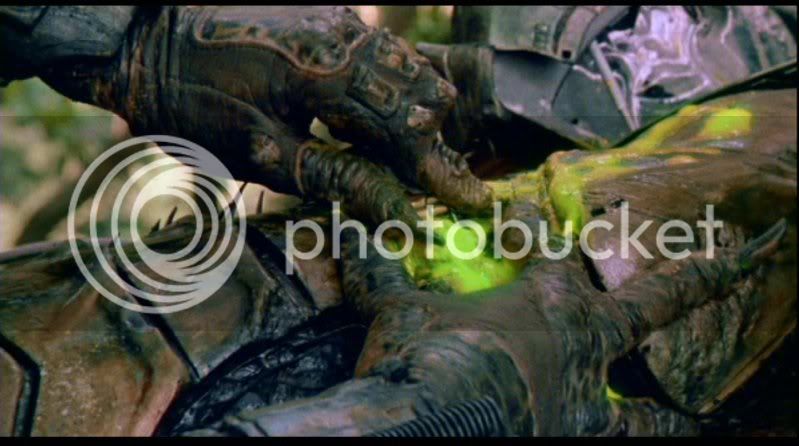
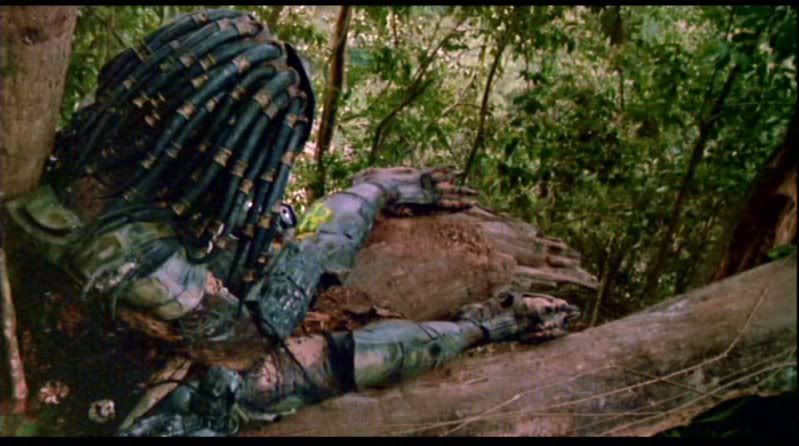
First, here are the pics I used for reference:

PDVD_012b.jpg


PDVD_021.jpg


Predator_09.jpg


Predator_11.jpg


predator_se_disc2-27-1.jpg


Predator_16.jpg


Predator_17.jpg


pred-shins.png


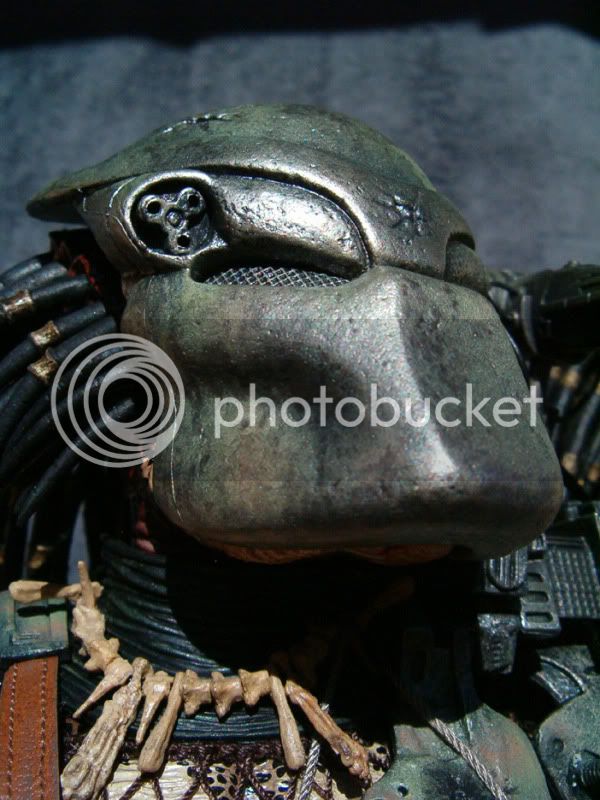
And here is the Pred armor to end all Pred armor. When I do mine, I will be doing all the mods in this thread, as well as quills for an alternate head and a full body repaint Steve Wang style. When I do my mask though, I will be painting the blast marks on the Ex mask where they are carved into the original for even more screen accuracy. I'll also be adding blood to his left leg.

Badass.jpg


Helmets3.jpg
 
Back
Top