You are using an out of date browser. It may not display this or other websites correctly.
You should upgrade or use an alternative browser.
You should upgrade or use an alternative browser.
Hot Toys - Back to the Future - 1/6 DeLorean Time Machine
- Thread starter Fan
- Start date

Help Support Collector Freaks Forum:
This site may earn a commission from merchant affiliate
links, including eBay, Amazon, and others.
Stealth V3teran
Super Freak
finally got one 
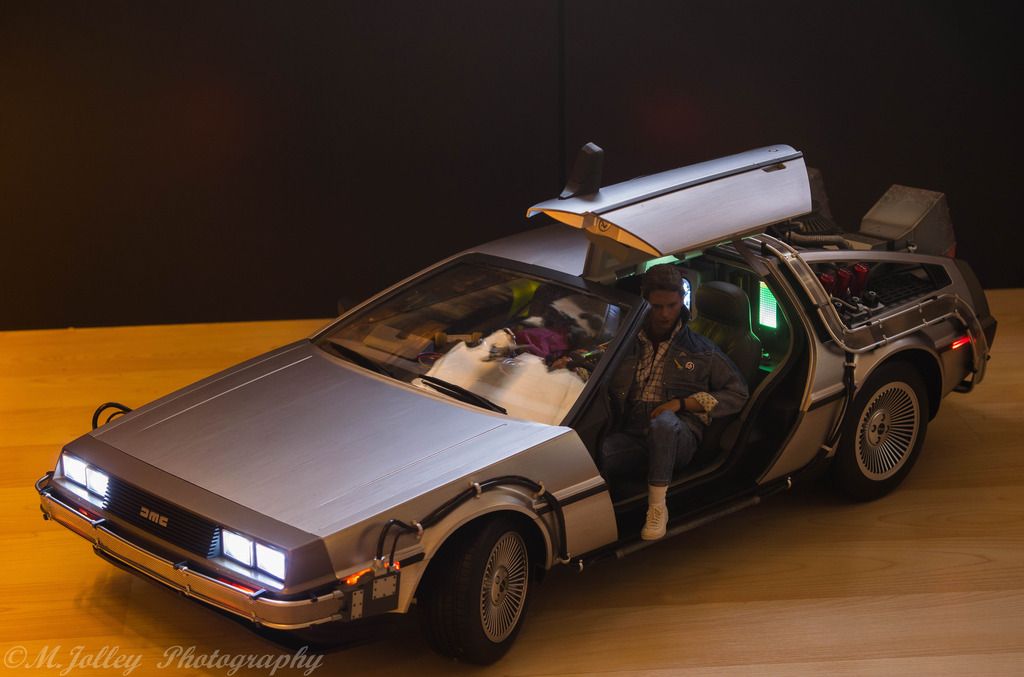


SP1772
Super Freak
- Joined
- Apr 10, 2015
- Messages
- 259
- Reaction score
- 4
Went to a hobby shop today to get the Testors clear matte coat spray for the decals I purchased off here. The guy asked what I was working on... I explained. He suggested applying a clear coat spray, then the decal, then a drop of decal solvent, then a clear matte coat spray. Anybody else use this method? I'm super paranoid trying all this different stuff on a $700 model without knowing for sure that it works.
julien1652
Just a little freaky
- Joined
- Apr 8, 2016
- Messages
- 4
- Reaction score
- 0
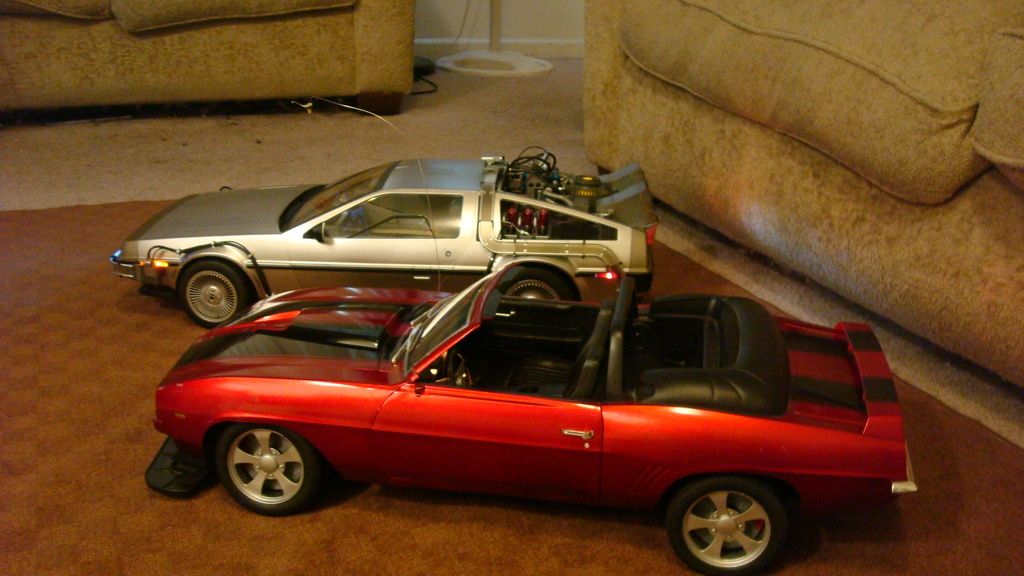
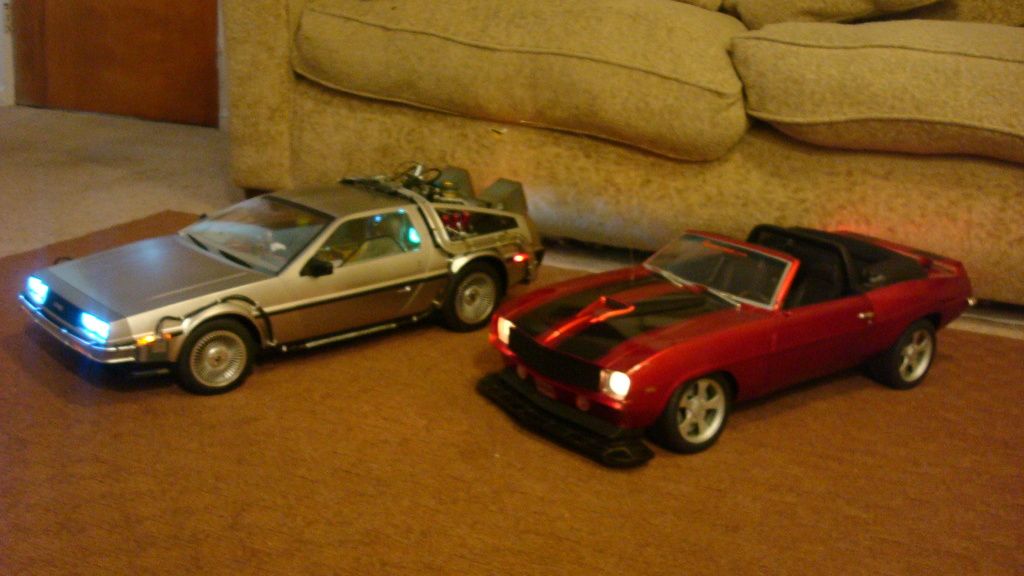
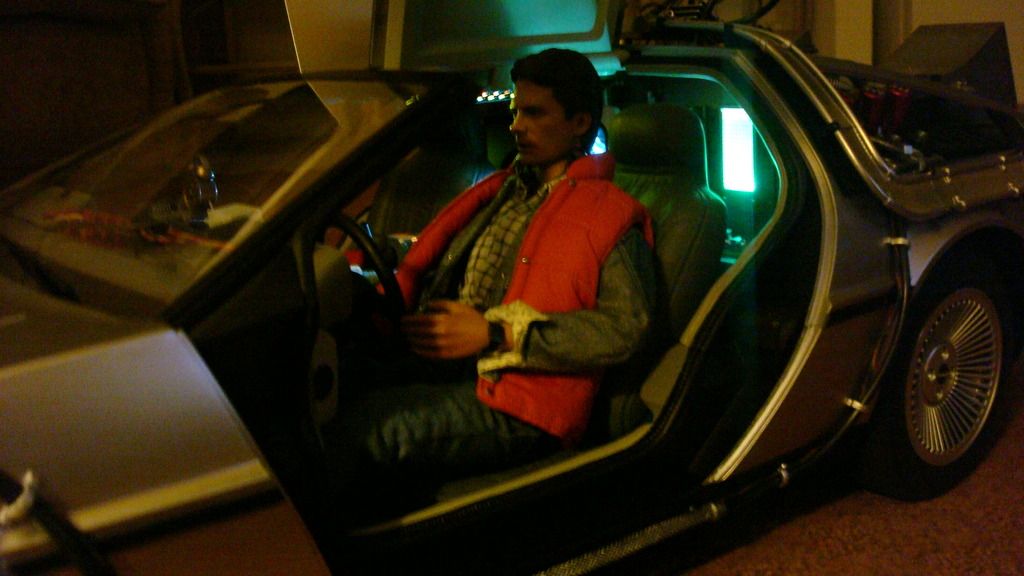
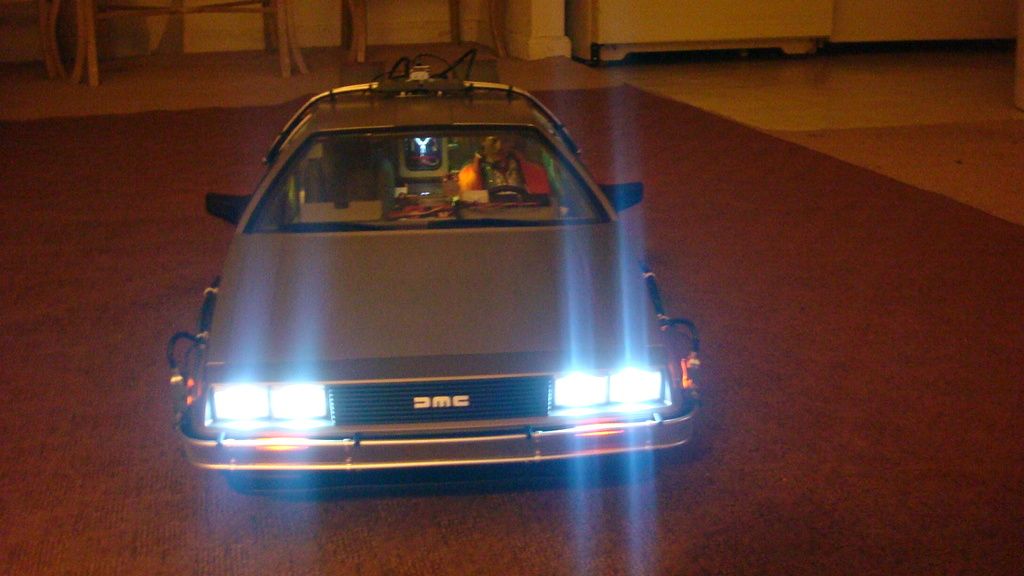
View attachment 272689View attachment 272690View attachment 272691Well here is my holy grail of collectibles and I am so pleased with the finished acrylic display case which I finished assembling this afternoon.
It is fully remote controlled and has a vast array of different colours and brightness levels.
Comments appreciated and I hope you all like it.View attachment 272663View attachment 272664View attachment 272665View attachment 272666View attachment 272667View attachment 272668
Hi
What's référence ac/dc for delorean please
Envoyé de mon iPad en utilisant Tapatalk
kingkarl
Freaked Out
Post 3992 mate for the adaptor and it works fine.
Hi
What's référence ac/dc for delorean please
Envoyé de mon iPad en utilisant Tapatalk
SP1772
Super Freak
- Joined
- Apr 10, 2015
- Messages
- 259
- Reaction score
- 4
Post 3992 mate for the adaptor and it works fine.
I need to try to find one that is at least 10ft long.
Went to a hobby shop today to get the Testors clear matte coat spray for the decals I purchased off here. The guy asked what I was working on... I explained. He suggested applying a clear coat spray, then the decal, then a drop of decal solvent, then a clear matte coat spray. Anybody else use this method? I'm super paranoid trying all this different stuff on a $700 model without knowing for sure that it works.
I'd worry about using all that stuff on rubber. Let us know how you get on if you are brave enough to risk it.
- Joined
- Aug 14, 2012
- Messages
- 2,939
- Reaction score
- 78
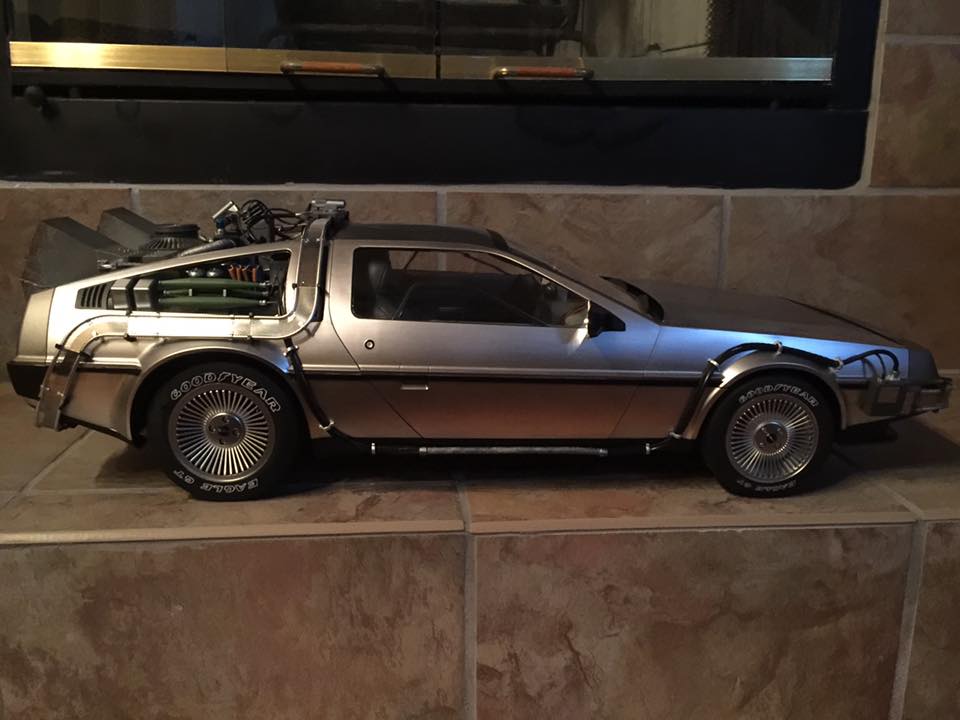
Speaking of decals, another customer's pictures.
SP1772
Super Freak
- Joined
- Apr 10, 2015
- Messages
- 259
- Reaction score
- 4

Speaking of decals, another customer's pictures.
Hunter, Ive never worked with water decals before... If I end up wanting to remove them, is that difficult?
SP1772
Super Freak
- Joined
- Apr 10, 2015
- Messages
- 259
- Reaction score
- 4
I'd worry about using all that stuff on rubber. Let us know how you get on if you are brave enough to risk it.
Yeah that's my fear. I wish I had something to do a trial run with. I could test with the Ibanez decals since I don't have the EX and don't plan on using them. I'll definitely let you guys know the results.
I used 7-Strand Tinned Copper 0.2mm Wire. Colours I got were grey, yellow, green, red and blue. If youre in the UK, search ebay listing number 151320037891.they bend and keep their shape. I then used a black wash to weather them to dull the brightness a bit and then used a spray lacquer to seal the paint. No glue has been used. It took me quite a while to make it look like the wires are attached to the black box on the dash. Next to no room at all to maneuver and very fiddly.
The wheel decals have 2 sizes as the front and back wheels are slightly different in size. The bigger set are for the back and the smaller ones for the front and battery cover
My display at present. Have still yet to sort the lighting. I also spent today printing and making some 1/6th props. On the bonnet is the letter, map, envelope and time circuit schematic. Drivers seat has docs flux drawing, martys letter warning doc he will be shot and the envelope and martys photo with brother and sister (that was a bad mother custom). Sitting on top of the radio is the bad mother sports almanac and my blue blast from the past receipt. By the gear shift is georges book a match made in space. On the passengers side are martys accessories. By the hoverboard are both versions of the usa today papers. Its been a fun day
View attachment 272909
Looks great sirdoctor. I'm in the process of customizing mine as well. Where were you able to print the 1/6 props? Do you have a link?
Would like to have a go at getting something like these together myself
sirdoctor
Super Freak
- Joined
- Aug 3, 2014
- Messages
- 727
- Reaction score
- 73
Hunter, Ive never worked with water decals before... If I end up wanting to remove them, is that difficult?
Yes they are easy to peel off.
Went to a hobby shop today to get the Testors clear matte coat spray for the decals I purchased off here. The guy asked what I was working on... I explained. He suggested applying a clear coat spray, then the decal, then a drop of decal solvent, then a clear matte coat spray. Anybody else use this method? I'm super paranoid trying all this different stuff on a $700 model without knowing for sure that it works.
I wouldnt do any of that myself, too risky. All ive done is apply the decals and left them at that. They havent come off at all yet.
Looks great sirdoctor. I'm in the process of customizing mine as well. Where were you able to print the 1/6 props? Do you have a link?
Would like to have a go at getting something like these together myself
I have them on a cd from years back. I had to print them off at various sizes just to get the right scale. You could probably google image them and get them that way.
highlander1
Super Freak
- Joined
- Jun 14, 2011
- Messages
- 6,330
- Reaction score
- 68
highlander1
Super Freak
- Joined
- Jun 14, 2011
- Messages
- 6,330
- Reaction score
- 68
Hi guys, while Im going through this rather lengthy awesome thread was wondering if anyone has found a power adapter and a scale plutonium case for our Time Machine? Thanks for any help.
https://www.shapeways.com/product/6LNRJKYJN/back-future-plutonium-box-1-6?optionId=59538185
- Joined
- Sep 20, 2012
- Messages
- 12,336
- Reaction score
- 4,306
Cool but spendy for an accessory that's not painted and doesn't open up or have canisters inside.
Similar threads
- Replies
- 57
- Views
- 6K
- Replies
- 37
- Views
- 3K
- Replies
- 20
- Views
- 2K
- Replies
- 0
- Views
- 461


 for Doc. Brown please hot toys...