Re: Yodacappy's Projects - Currently: Curio BIG UPDATE 5/21!!!
Okay, this is last pictorial update before it's complete

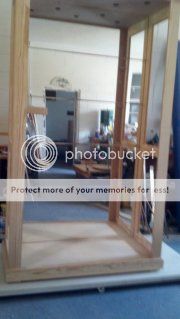
Yesterday, we took it apart to do some woodfilling and sanding. I thought I'd take pictures of the components so you could see how it disassembles. Because of the size of the thing, this was a necessity. It will be put together in the Star Wars room and when the day comes for me to move, it'll be able to be taken apart and put back together at the new location.
You've already seen pictures of the door and the back with mirrors so I did not duplicate those. Here are the remaining pieces--
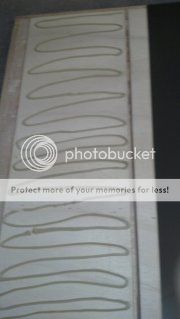
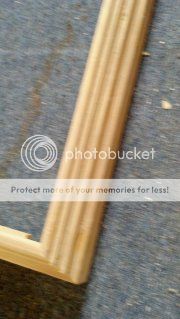
The bottom molding:
This will be screwed into the bottom when assembled
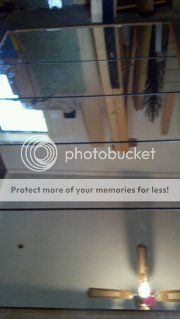
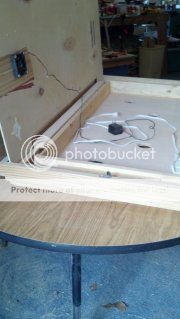
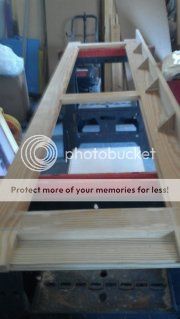
The top:
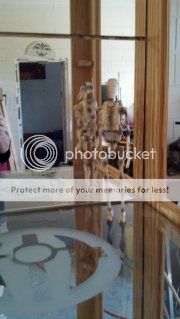
The electronics inside the top (lights and cooling fan):
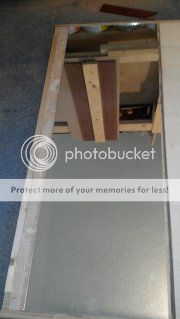
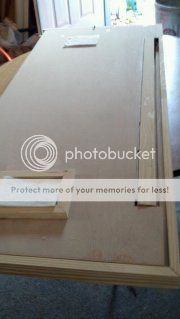
The bottom that will support Jabba (top piece is sanded plywood that fits into a recess that was routed out of the frame):
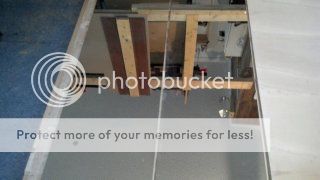
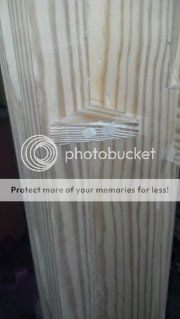
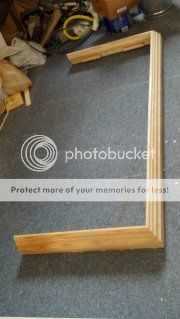
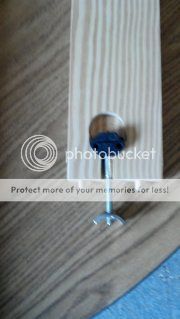
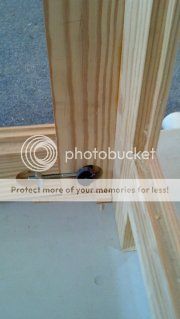
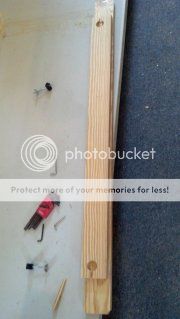
Top rail with joining mechanism (thing is uber strong!):
There are one on each side of the top rail and the bottom rail joining each to the sides in this fashion:
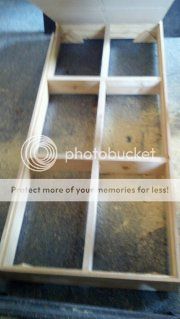
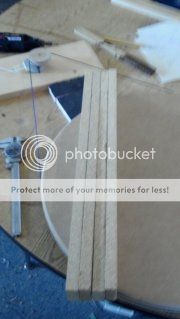
Side:
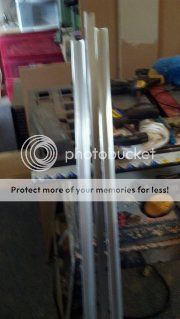
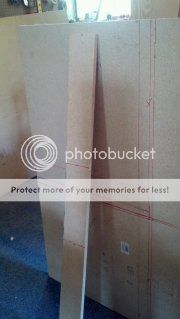
Bottom rail:
All that's left now is to finish the sanding, do the staining and sealing and then installation!


 Thanks barry! I can't wait to post the finished pictures and start stocking it!
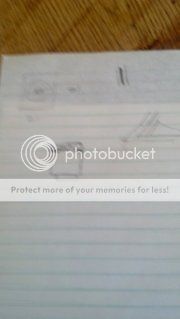


")

 InArt: The Lord of the Rings - Aragorn 1:6
 Queen Studios / InArt to do sixth scale figures