You are using an out of date browser. It may not display this or other websites correctly.
You should upgrade or use an alternative browser.
You should upgrade or use an alternative browser.
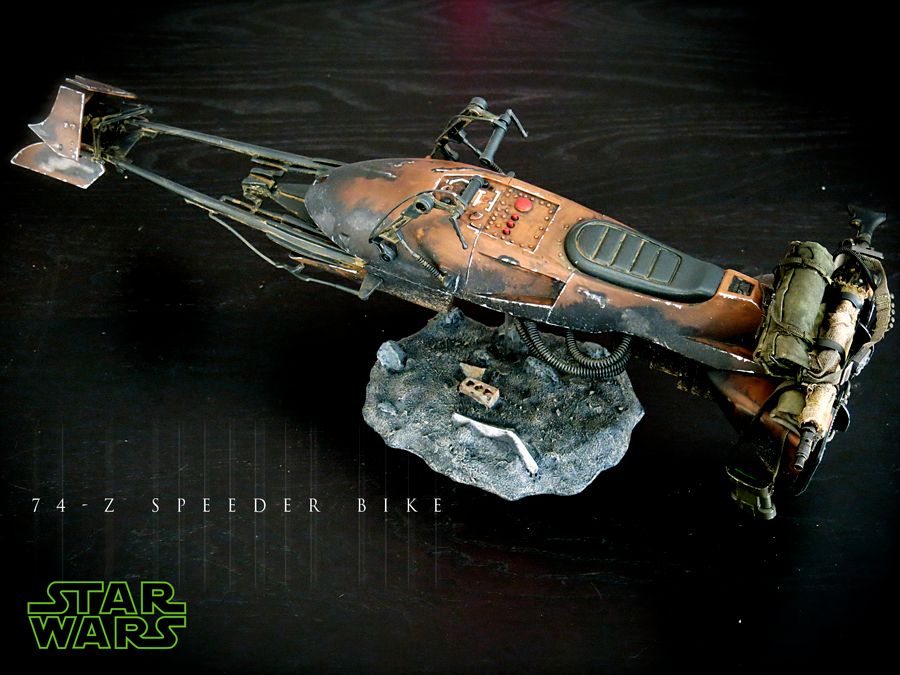
1/6 Sideshow 1/6th Scale Star Wars Speeder Bike
- Thread starter Brainiac
- Start date


Help Support Collector Freaks Forum:
This site may earn a commission from merchant affiliate
links, including eBay, Amazon, and others.
That's my question as well. I own the Scout's speederbike from Hasbro and weathering is almost non existent.
I think that's the leia version which i believe had those weathered patches on it.
Sixth Scale Man
Super Freak
I think that hasbro bike looks great with the ss biker. I'd love to see the hasbro bike with a modified base. I hate that transparent bipods!
Here's a pic of my Hasbro scout on a Speeder Bike I recently weathered. I was inspired by a few of the repaints and thought I'd try it. Totally agree about the clear plastic stands. Mines just on some painted dowel and a wood base, but I think it elevates it from toy to collectible! Anyway, really looking forward to the SS Scout. Judging from some of the pics, he's gonna look awesome on the Hasbro bike!

koolkollectibleskhai
Super Freak
I was quite impressed with the Scout Trooper, and was excited to get the Speeder Bike today. But I have to say that I am quite disappointed in the overall quality of the Speeder Bike. Here are some pics of my main issues, and hopefully you folks in here can help me out with some advice!
Can anyone tell me if that little piece near the middle of the pic can actually rotate? Mine seems stuck, but I hope it can move because that's the only way I can get the flap to be straight!

See how the flap tilts downward? I need that little gear thing to be able to rotate so that I can move it forward to tilt the flap back up......

Another view of the asymmetric front flaps. My OCD really hates it!!

The base pieces just do not fit well together. Any ideas on how to get these to fit?

The handlebars are by far the worst part of the Speeder Bike. They just dont look straight!! I notice that mine have a bit of a gap at the bottom where they connect to the main bike chassis. Is that supposed to be pushed in so the handlebars angle it out more?? I cant seem to push them in any further without fear of breaking/snapping something!

See the slight gap underneath? Am I supposed to push it in further so that the handlebars angle out more somehow?

jedijim3002
Super Freak
- Joined
- Apr 22, 2010
- Messages
- 12,452
- Reaction score
- 1,329
Jedijim, which version of the hasbro bike is that? It has very bold patches of weathering on it that neither of my bikes have (which were the Luke and Biker versions - maybe that's the Leia version?)
Yes. It is exactly that. I have the biker scout version as well but right now he is on the Leia version. Highly weathered. I wasn't sure which one I should keep. Thinking of selling one. Not sure yet. I plan on reprinting it anyway but perhaps a clean slate would be better to start.
jedijim3002
Super Freak
- Joined
- Apr 22, 2010
- Messages
- 12,452
- Reaction score
- 1,329
Here's a pic of my Hasbro scout on a Speeder Bike I recently weathered. I was inspired by a few of the repaints and thought I'd try it. Totally agree about the clear plastic stands. Mines just on some painted dowel and a wood base, but I think it elevates it from toy to collectible! Anyway, really looking forward to the SS Scout. Judging from some of the pics, he's gonna look awesome on the Hasbro bike!View attachment 204381
That is a great base! I may steal that idea if you don't mind?
I was quite impressed with the Scout Trooper, and was excited to get the Speeder Bike today. But I have to say that I am quite disappointed in the overall quality of the Speeder Bike. Here are some pics of my main issues, and hopefully you folks in here can help me out with some advice!
Can anyone tell me if that little piece near the middle of the pic can actually rotate? Mine seems stuck, but I hope it can move because that's the only way I can get the flap to be straight!
See how the flap tilts downward? I need that little gear thing to be able to rotate so that I can move it forward to tilt the flap back up......
Another view of the asymmetric front flaps. My OCD really hates it!!
The base pieces just do not fit well together. Any ideas on how to get these to fit?
The handlebars are by far the worst part of the Speeder Bike. They just dont look straight!! I notice that mine have a bit of a gap at the bottom where they connect to the main bike chassis. Is that supposed to be pushed in so the handlebars angle it out more?? I cant seem to push them in any further without fear of breaking/snapping something!
See the slight gap underneath? Am I supposed to push it in further so that the handlebars angle out more somehow?
I have the same problem with the (driver's) left front fin.
As far as the steering levers, shoulda followed my suggestion! I had the same problem as well.
Solution:
1. Remove the blaster cannon.
2. Remove the lower fascia.
3. Remove the front stabilizer piece.
Now you should have access to the underside of the cowling from below. Pinch the steering lever in, using a good amount of force. Doing it this way means that you have ZERO chance of damaging anything.
Repost:
Okay, so after assembling the thing, please note these points:
-Do NOT follow Sideshow's instructions as they present them. My STRONG recommendation is to start with Step 7 (attaching the foot pedals), then move to Step 11 (attaching the console controls), then Step 12 (attaching the steering levers). The steering levers do NOT go in easily. Neither do the foot pedals. These 3 steps took me quite awhile to complete, for fear of breakage. Fortunately, everything ended up fine. After completing those steps, follow the rest of the instructions as presented.
-Neither the foot pedals nor the steering levers move, so be very careful when positioning the scout. Fitting him onto the bike is quite challenging, as you have to position him ever-so-gently, tweaking a boot here, a hand there, knees, elbows, shoulders, hips etc. His boots will not seat properly in the pedals, but close enough. And as far as the steering levers, take special care to make sure that his arms aren't bending them out too much. I don't know how much tolerance they have before possibly snapping (they seem to be a slightly brittle plastic mix).
-The bike is QUITE fragile. I've read others say that the probe droid felt quite fragile, so I imagine the speeder bike is similar to that. However, the probe droid didn't have to interact with a figure.
Having said all that, it really is a wonderful piece! It's QUITE large and impressive! I think the cost should probably have been at least $50 cheaper, especially considering the sheer amount of assembly required, but once completed, it's a show stopper. Good luck, all!
FLOSI
Nerf Herder
IS this shipping from SS? I gotta cancel mine.... No room for the Bike.
okko
Super Freak
- Joined
- Jun 23, 2012
- Messages
- 345
- Reaction score
- 2
I don't like to say that, but you can definitely see which manufacturer Sideshow has chosen for which project.
That must be the same cheap factory that made the Probe Droid and the poorly engineered Space Marine Rynor.
General functionality and paintjob is just not up to date IMHO
That must be the same cheap factory that made the Probe Droid and the poorly engineered Space Marine Rynor.
General functionality and paintjob is just not up to date IMHO
Yeah, everyone hates the Probe Droid. 
- Joined
- Jul 22, 2006
- Messages
- 5,441
- Reaction score
- 402
Waiting for this one to arrive so I can decide on whether or not to pick up a second for a Leia bash or to have painted black for a Stealth trooper. Can anyone who has both the Sideshow and Hasbro give a comparison? Maybe the Hasbro version would be the better choice for the stealth paintup since I want to do it as more of a sleek type piece without battle damage and possibly a custom light. The idea being that it would be used in a high-tech city as opposed to a forest. If that worked out I might pick up one or two more to have repainted in Hot Rod colors. But not gonna spend $300/per on the base speeders.
Sixth Scale Man
Super Freak
That is a great base! I may steal that idea if you don't mind?
Absolutely fine. I might swap out the wood dowel with metal one day because it does wobble a tad. But otherwise, it's a pretty quick, easy and cheap fix.
Sent from my iPhone using Tapatalk
koolkollectibleskhai
Super Freak
Repost:
LOL!!! Rubio95, I followed your instructions to the letter!!! In fact, my video review calls you out specifically to do steps 7, 11, and 12 first lol!!!
So when I was putting on the handlebars (steering levers), I did have access to the underside. I had to use some boiling water to soften the tip that goes into the body!
But can I ask again, do your steering levers sit flush against the body near the bit where it connects to the body? That is, see my last pic where there is a slight gap at the bottom? Should they somehow be pushed in more to angle out?
koolkollectibleskhai
Super Freak
I have the same problem with the (driver's) left front fin.
Really?I thought your pics looked pretty good! Mine are quite obviously asymmetrical with the left one tilted down more than the right. It just annoys the crap out of me!
koolkollectibleskhai
Super Freak
Here's my video review, showing parts of the assembly and much of what I am disappointed about. Hope you can check it out
LOL!!! Rubio95, I followed your instructions to the letter!!! In fact, my video review calls you out specifically to do steps 7, 11, and 12 first lol!!!
So when I was putting on the handlebars (steering levers), I did have access to the underside. I had to use some boiling water to soften the tip that goes into the body!
But can I ask again, do your steering levers sit flush against the body near the bit where it connects to the body? That is, see my last pic where there is a slight gap at the bottom? Should they somehow be pushed in more to angle out?
My levers sit totally flush now, because of pinching the hell out of them. You should hear an audible pop (but a good one). I wasn't shy about pinching the lever to the cowling, since I knew that there was no way I could break them.
koolkollectibleskhai
Super Freak
My levers sit totally flush now, because of pinching the hell out of them. You should hear an audible pop (but a good one). I wasn't shy about pinching the lever to the cowling, since I knew that there was no way I could break them.
Hmm, so they do sit flush and angle out a little bit then! Not sure if I can actually do it no without disassembling it. I tried to disassemble some parts and it is VERY difficult to reverse the assembly! Things seem to click into place etc very tightly.
With the levers, I was worried about snapping them at the base where they connect to the body! When I inserted mine, there was a loud click for sure, but not sure if they're all the way in properly. I guess you're saying yours does not have the gap underneath so I will try to push a little more.
Nice video review, KoolK.
Similar threads
- Replies
- 1
- Views
- 462
- Replies
- 2
- Views
- 338
- Replies
- 0
- Views
- 418
- Replies
- 57
- Views
- 3K