Shropt
My Little Mod
Hello everybody.
I got the customizing bug again.
My first attempt in years to paint a figure is my Salacious Crumb. This figure has bugged me since the day I received him. I always believed his color was wrong and his open mouth pose had to go.
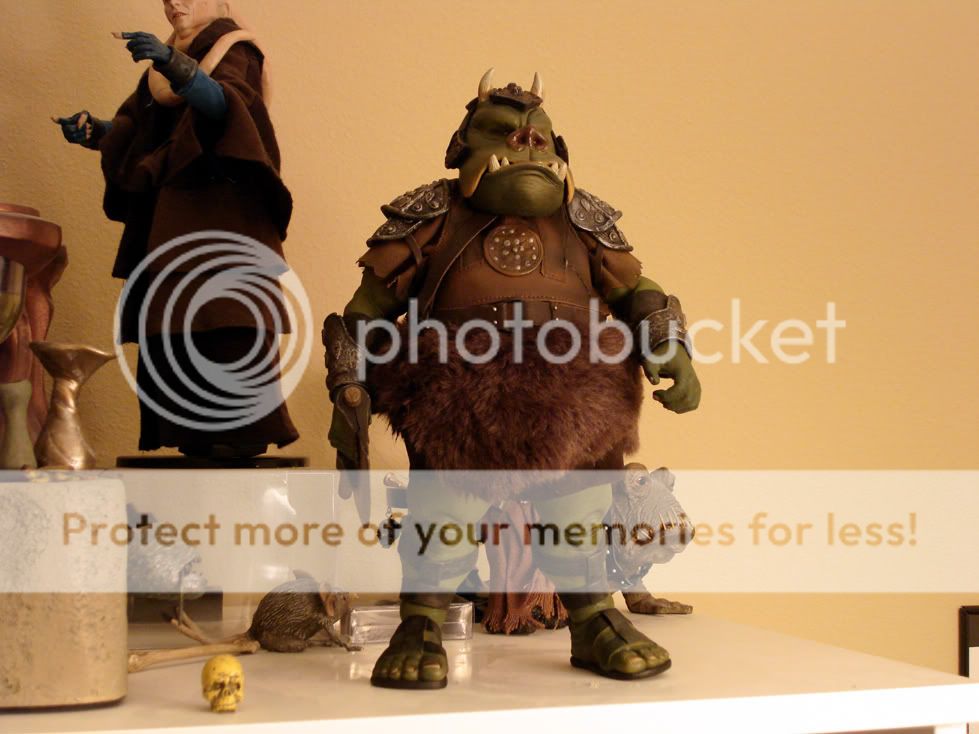
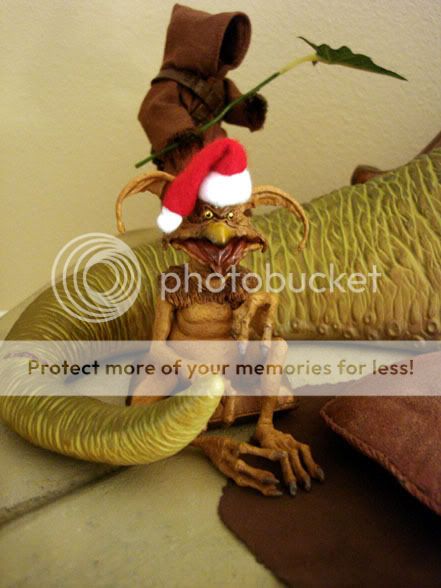
Here is him straight out of the box celebrating Christmas:
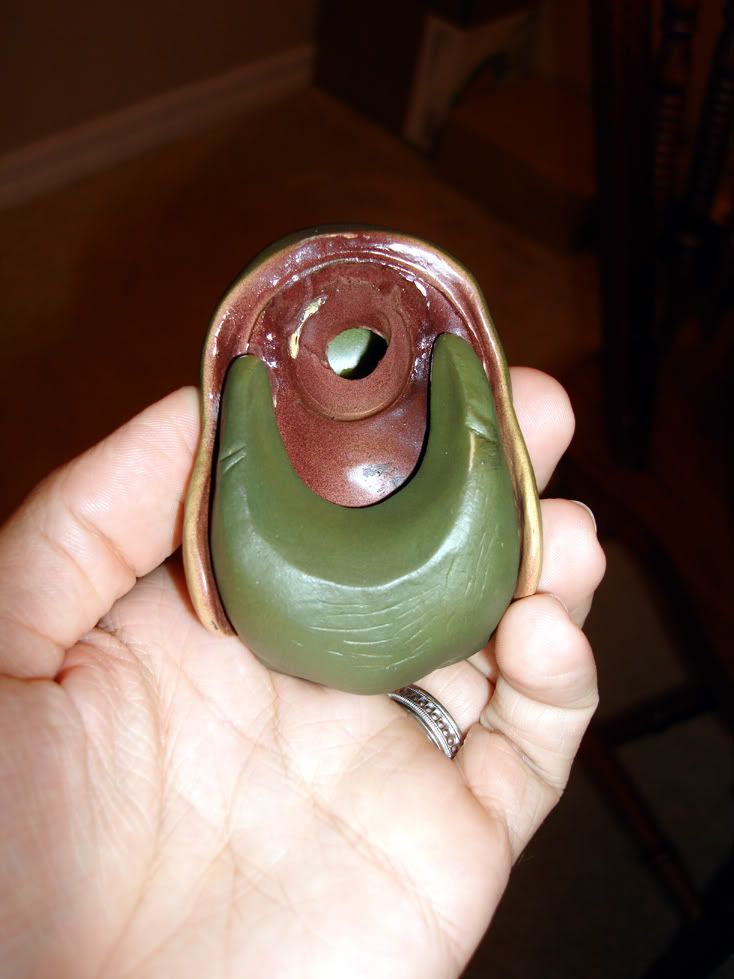
First I looked at his lower jaw and noticed that it was a seperate piece from the rest of his head. I took a heat gun and heated up the jaw while running a sharp knife along the seam to pry it out. When the jaw finally came out I noticed that the jaw fit very well with the top of his mouth. So well actually that I now believe SSC planned on having an articulated jaw very late in the prototype stage. The jaw looked so good in my hands that I chose to not even take off the peg behind it. (Sorry no pics )
)
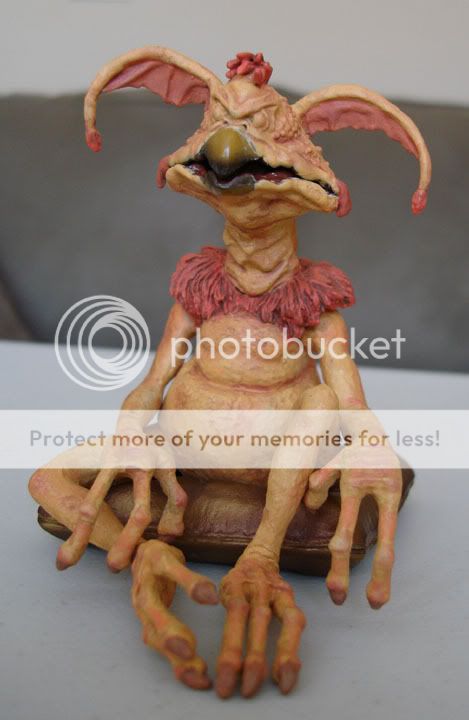
While holding the lower jaw in place I superglued it and then sealed the hole with Super Sculpey. I sculpted the Sculpey to give it the same detail as his neck and added a bit of detail myself.
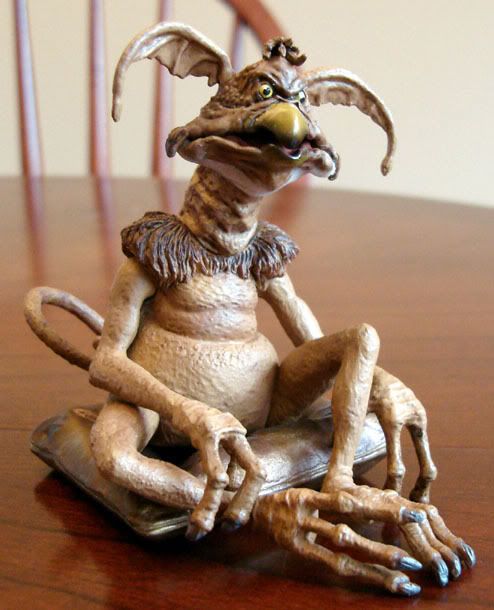
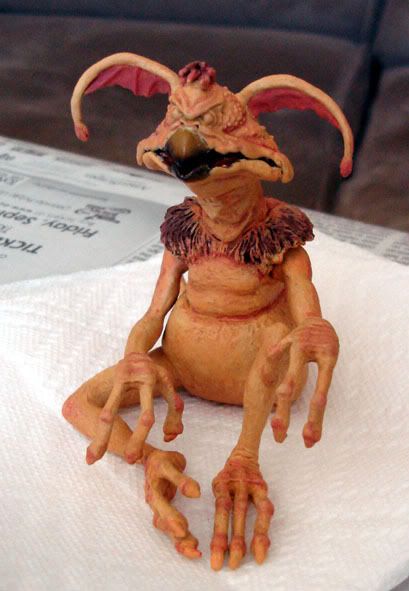
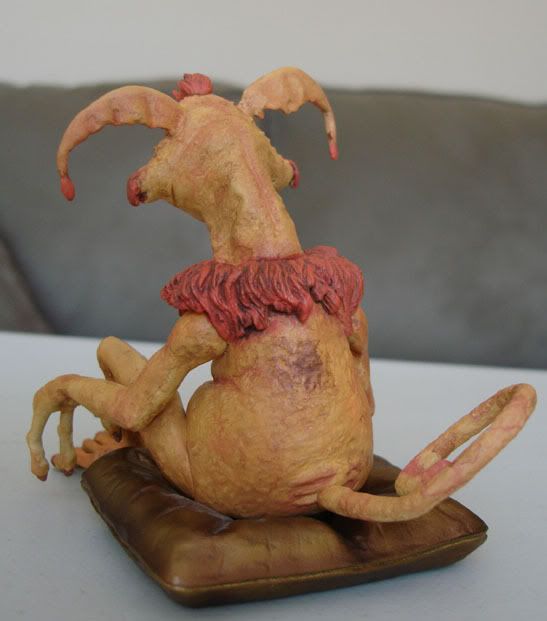
I baked this at 275 for 10 minutes and then turned off the oven and let him sit inside for another 30 minutes. One side effect is that his tail drooped to the side and is now stuck there. Funny thing is that I planned on doing something similar with the tail and now I no longer need to do it!
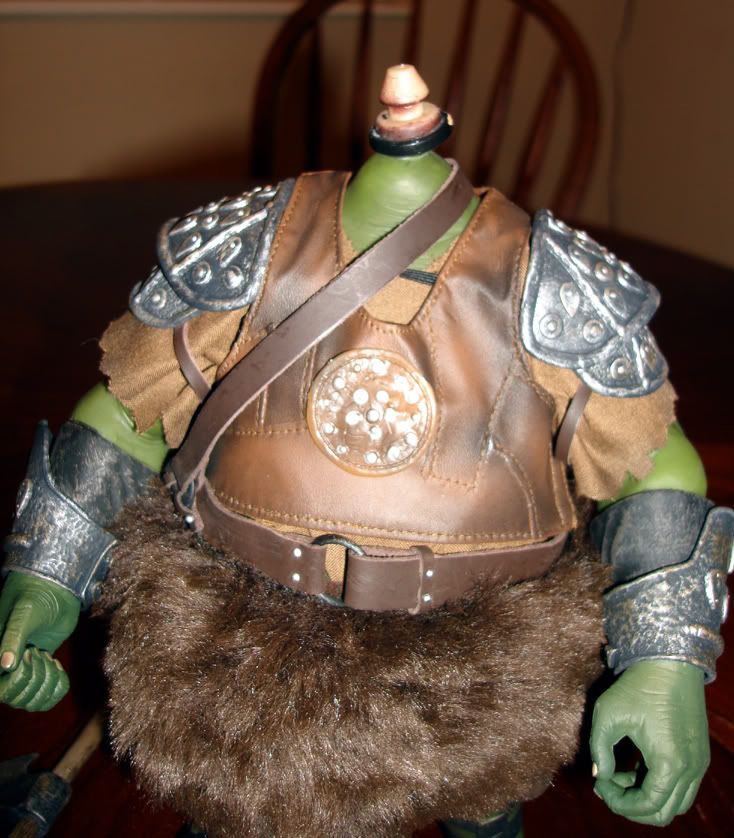
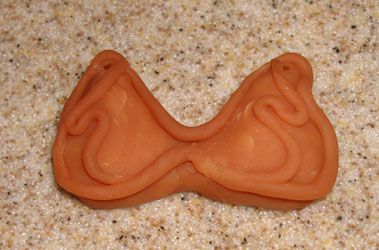
After sculpting was finished I bought some paint and started painting.
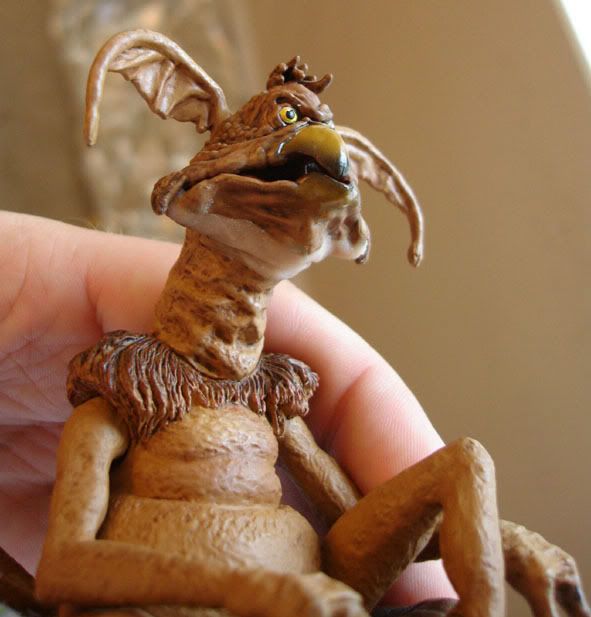
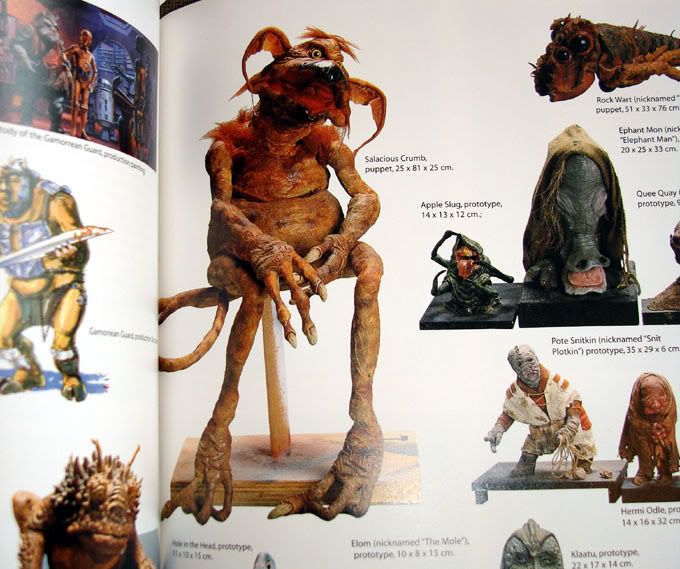
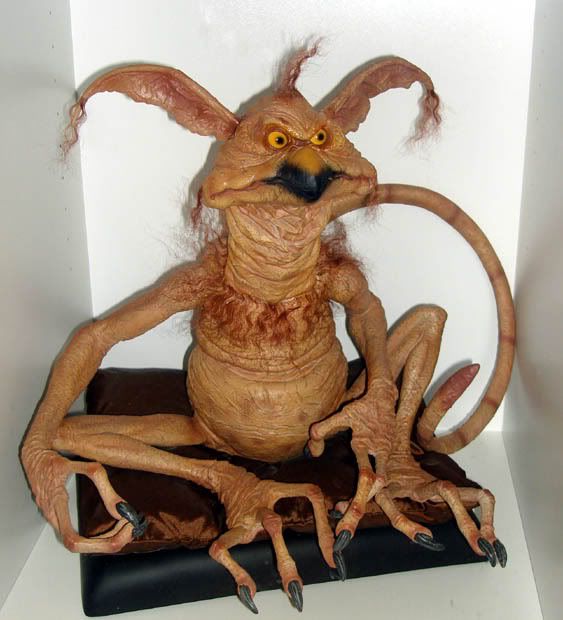
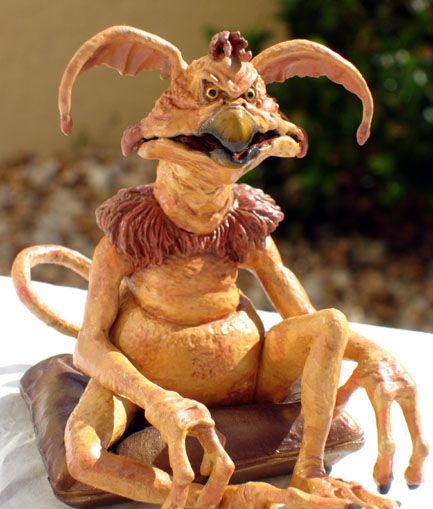
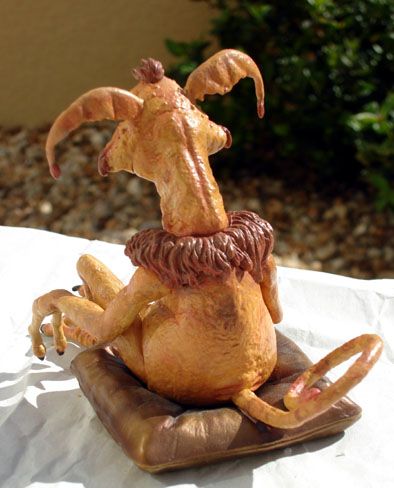
I mixed a very light skin color that closely matches the lighter skin color of the 1:1 SSC figure. I plan on following this up with a few very thin washes of red and brown.

That's where I am at now. I'll update my progress.
This will be completed unlike my failed last failed attempt at sculpting.
https://www.sideshowcollectors.com/forums/showthread.php?t=28268&highlight=sculpting
I got the customizing bug again.
My first attempt in years to paint a figure is my Salacious Crumb. This figure has bugged me since the day I received him. I always believed his color was wrong and his open mouth pose had to go.
Here is him straight out of the box celebrating Christmas:
First I looked at his lower jaw and noticed that it was a seperate piece from the rest of his head. I took a heat gun and heated up the jaw while running a sharp knife along the seam to pry it out. When the jaw finally came out I noticed that the jaw fit very well with the top of his mouth. So well actually that I now believe SSC planned on having an articulated jaw very late in the prototype stage. The jaw looked so good in my hands that I chose to not even take off the peg behind it. (Sorry no pics
)While holding the lower jaw in place I superglued it and then sealed the hole with Super Sculpey. I sculpted the Sculpey to give it the same detail as his neck and added a bit of detail myself.
I baked this at 275 for 10 minutes and then turned off the oven and let him sit inside for another 30 minutes. One side effect is that his tail drooped to the side and is now stuck there. Funny thing is that I planned on doing something similar with the tail and now I no longer need to do it!
After sculpting was finished I bought some paint and started painting.
I mixed a very light skin color that closely matches the lighter skin color of the 1:1 SSC figure. I plan on following this up with a few very thin washes of red and brown.
That's where I am at now. I'll update my progress.
This will be completed unlike my failed last failed attempt at sculpting.
https://www.sideshowcollectors.com/forums/showthread.php?t=28268&highlight=sculpting
 I love it.
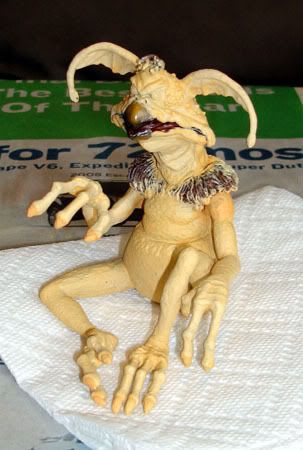


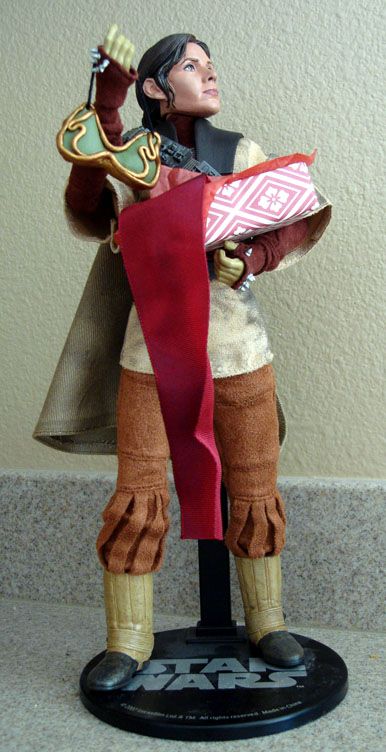
 I love the Leia with the gift..