nick-a-tron
Freaked Out
- Joined
- Jul 5, 2008
- Messages
- 200
- Reaction score
- 4
hey everyone. i know alot of you who have purchased a proton pack kit from me have asked for a building and painting guide, so here you go 
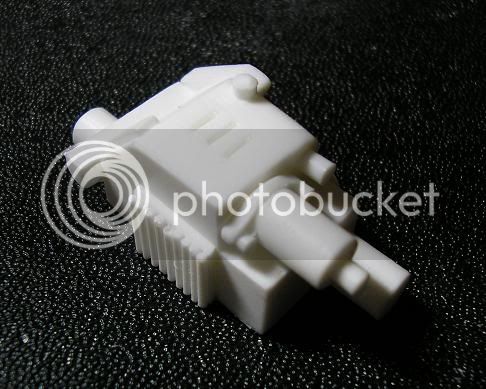
step 1:
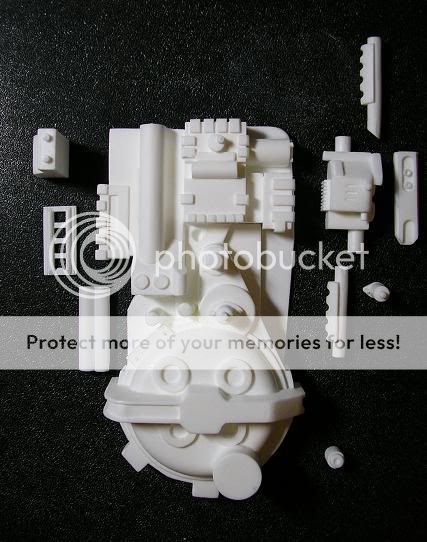
wash all parts in warm soapy water, dry thoroughly, and clean off any flash from the parts...
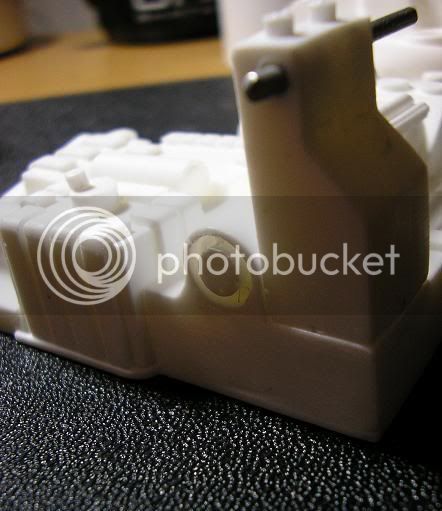
step 2:
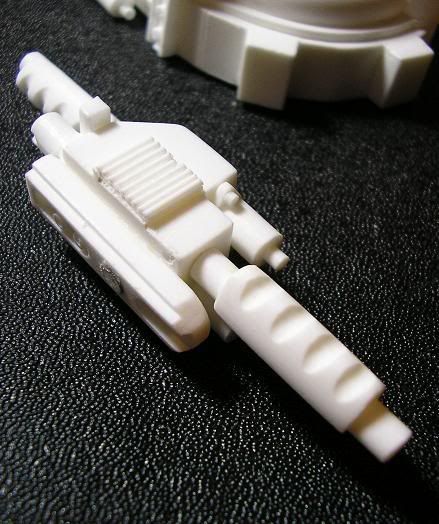
drill a shallow hole into the gun box and gun track to insert the magnets. make sure you have the magnets the correct way around as to attract and not repel! use superglue to keep them in place...
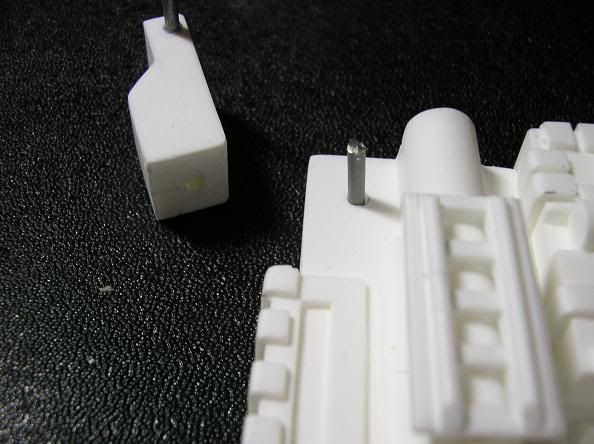
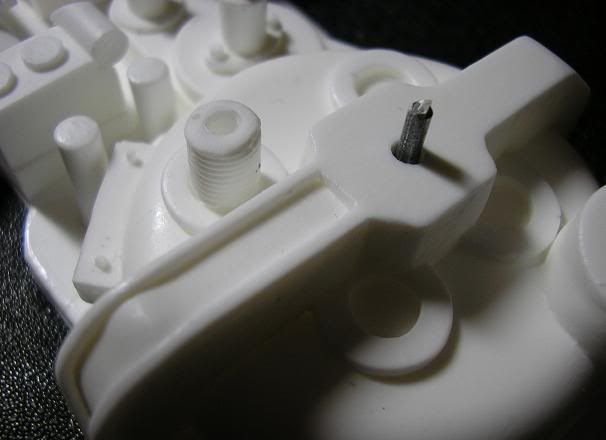
step 3:
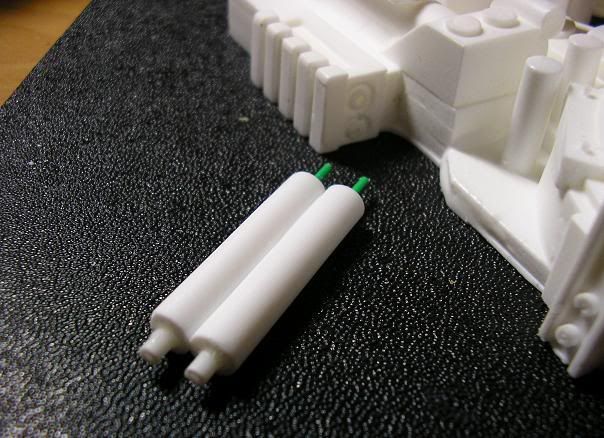
drill a small hole into the gearbox tube and the rod below it...
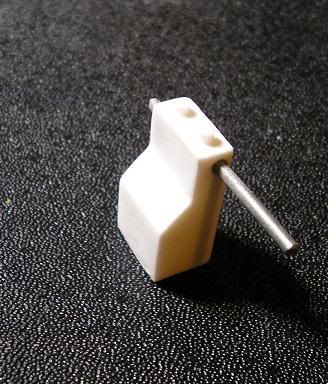
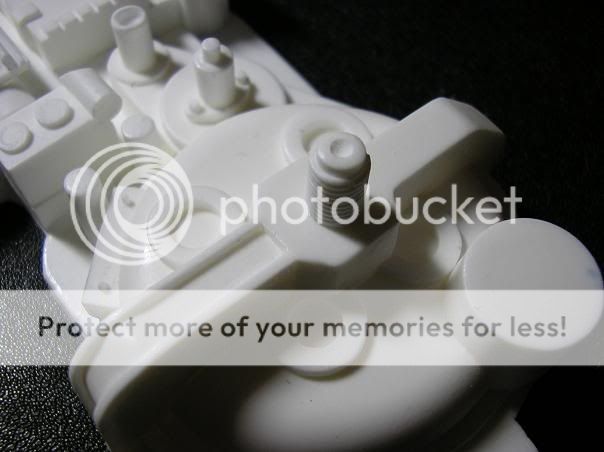
step 4:
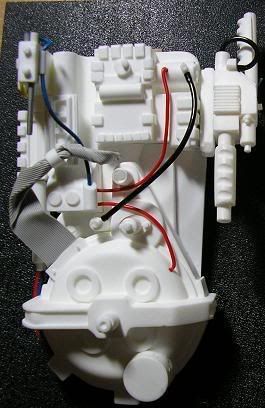
drill a small hole into the centre of the bumper, superglue in a small piece of metal rod, drill a small hole into the base of the ion knob and super glue onto the rod making sure the base of the ion knob touches the bumper (this "pinning" method is used quite alot on the pack)...
step 1:
wash all parts in warm soapy water, dry thoroughly, and clean off any flash from the parts...
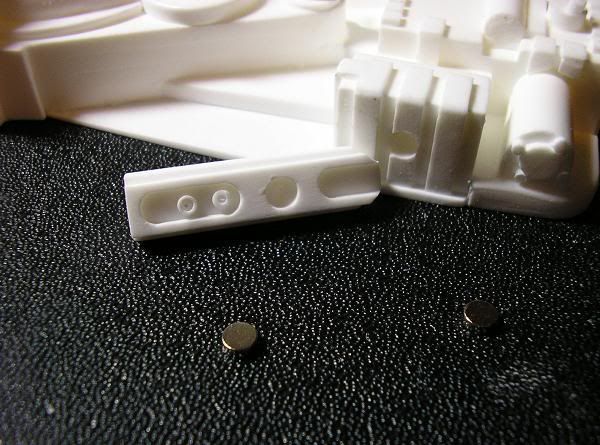
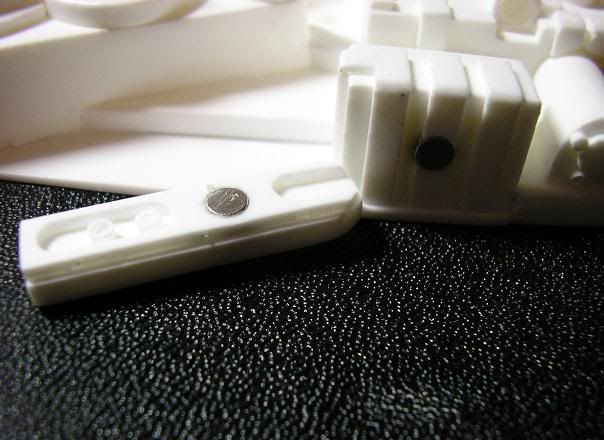
step 2:
drill a shallow hole into the gun box and gun track to insert the magnets. make sure you have the magnets the correct way around as to attract and not repel! use superglue to keep them in place...
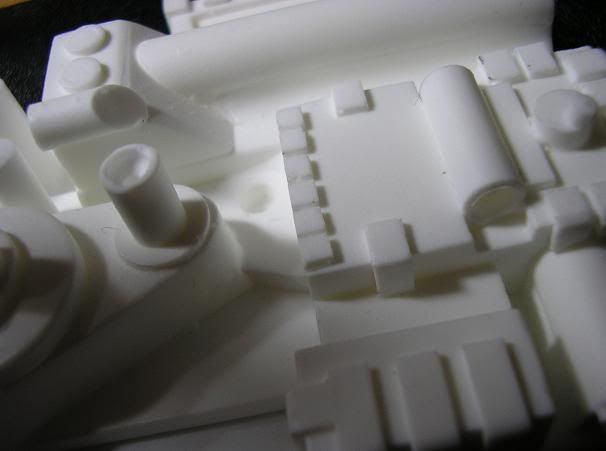
step 3:
drill a small hole into the gearbox tube and the rod below it...
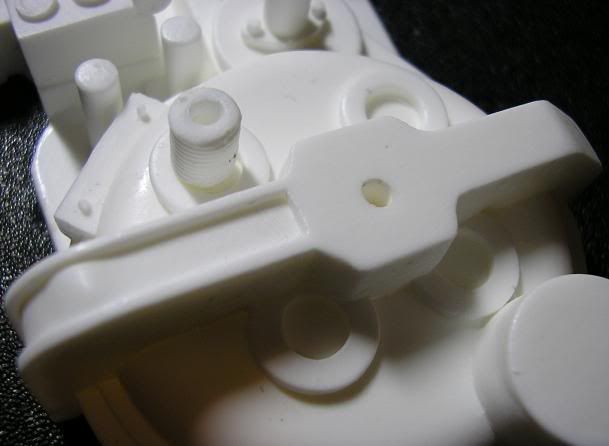
step 4:
drill a small hole into the centre of the bumper, superglue in a small piece of metal rod, drill a small hole into the base of the ion knob and super glue onto the rod making sure the base of the ion knob touches the bumper (this "pinning" method is used quite alot on the pack)...