Here we go then.
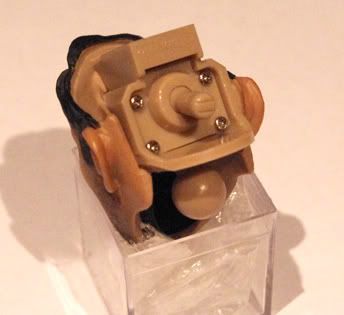
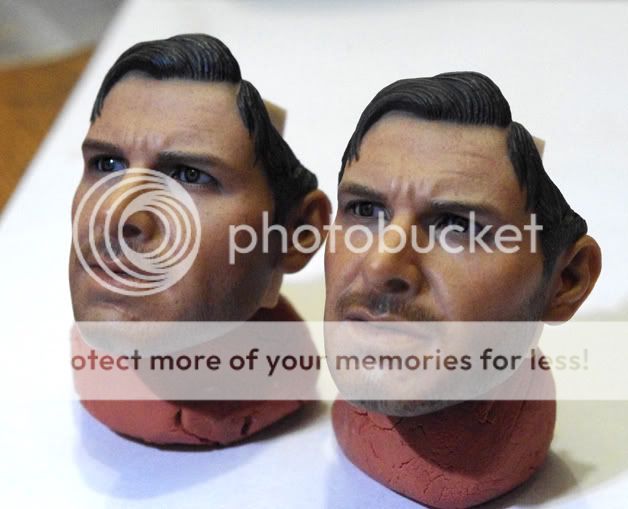
Hair off, we all know what this looks like:
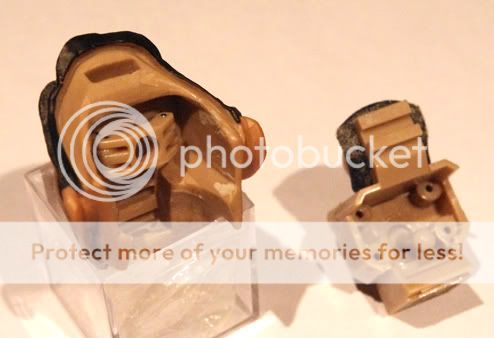
Next remove the whole rear section. no need to undo the screws they only hold the manip lever.
ETA: maybe it is wise to take the joystick out before you remove the back section the first time, might put strain on the lever.
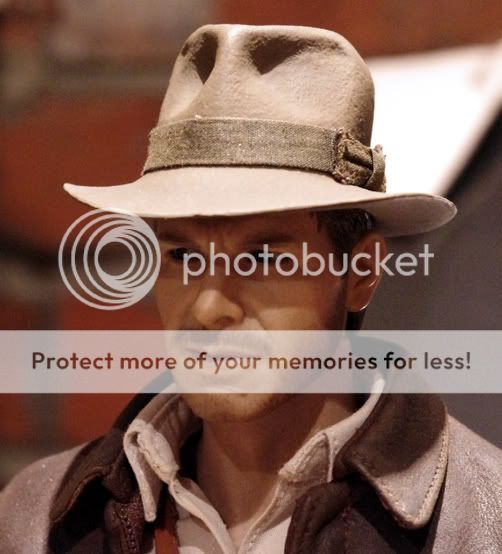
The rear section is glued in and needs prizing out and it is as tough as taking off SS Indy's Hat:
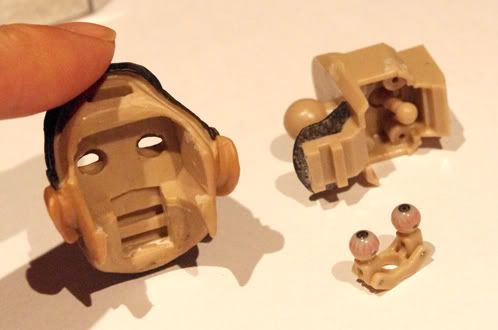
Here you see the eye carriage inside the sculpt.
Next I prized out the eyes they will pop out, but warm the sculpt if you like to ease the process:
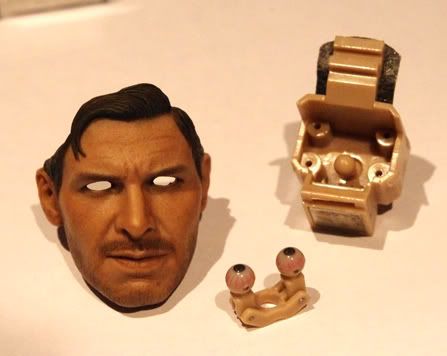
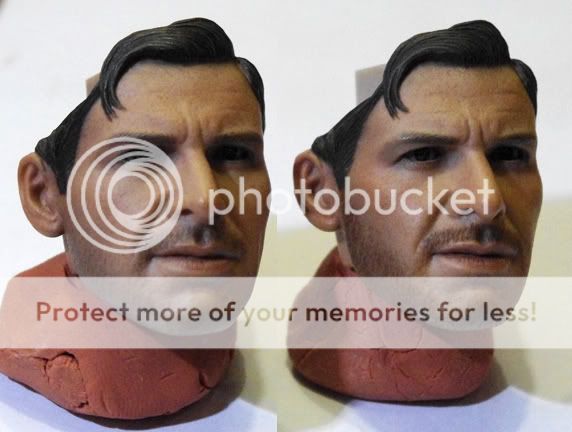
And then very carefully scraped away the darker eyelid colour. But be really careful. I take no responsibility for your actions.
Didn't overpaint the eyelashes, they happened to be lighter on the sculpt I chose to do these mods on.
Now excuse me whilst I put this puppy back together again.


")