1/6 Indy Customizations: Image Thread

Collector Freaks Forum

Help Support Collector Freaks Forum:

This site may earn a commission from merchant affiliate links, including eBay, Amazon, and others.
Excellent, THANK YOU!

I'm a little scared to pry anything out... I don't want to beust my PERS, but I'll investigate this and see how daring I get.

Much appreciated for the tutorial! :hi5:

remove the screws first and take out the control post. You'll be less likely to break the PERS.
 
Vandyke Brown gouache on the beard. The head has so much texture in the beard area that you only need to apply washes of brown to bring out the details. A lot different to painting the SS head which is very smooth in comparison.
As for the eyelids, I dismantled the head and used my trusty scalpel to scrape away the colour. Very carefully.

ETA: I think the moustache area is a little too dark now and a bit 'Dirty Sanchez' so I plan and knocking that back a bit.

man that beard is awesome!
It really does 'slim the face' - makes it look like the the thick jaw is due more to facial hair than sculpting.

I have zero skill and don't customize but am going to have a go.
Any special brush or applicator?
 
I actually went to my art supplier on Friday to buy acrylic gloss/satin to do this! I noticed it looked better wet as well, whilst wetting down the clothes. But my second head was faulty so i have to wait. Use water first, to see that you definitely like it. Then use dark brown washes with water to darken. When you are happy put a coat of acrylic satin on. This makes it a bit sweatier looking, when this dries, add patches of gloss ontop to highlight the really sweaty areas.

I did something similar to my Enterbay BL head, I will post a pic when I find one later.

That Indy looks amazing.

By the way you can massively improve the shirt collar by wetting it then pressing it tightly with your fingers before drying on a radiator. Makes it much much more fitted and sharper.
 
Last edited:
dont know if this has been posted already. looks pretty good after the mod:

DSCN9272.jpg


more from here:

https://www.toy-world.com.hk/forum/viewthread.php?tid=35886&extra=page=1

The sculpt truly looks amazing! I'm not so sure it's the gloss that's making the sculpt look more accurate. I think it has something to do with the eyes and eyebrows. The eyes definitely don't have the eyeliner, and I think the brows are a little different. And is the beard actually a little lighter?

Well, maybe there is a good sculpt under there somewhere. I never would have thought that HT's paints would be the fault that would make a sculpt look bad. That's usually Sideshow's thing!

You know, this actually changes my mind about the figure. I might get this guy after all my _____ing.
 
I'll tell you one thing. Those pics are the first ones I have seen of the HT sculpt that actually look like HF to me. None of the current ones have. This one does. It shows me that yes, maybe there is something to the HT figure after all.
 
Well, it's not really still the HT figure if it has been heavily moded and repainted, it sure does help us appreciate the sculpt a little better though. But it still looks way too small on that body IMO.
 
OK... after months of just really not liking the HT sculpt.. the mods done in the minivader photos are fantastic.... there is hope !
 
I tried to translate what that post said, but it's mostly nonsense through Google Translate. It does seem like maybe he did something to the eyes. And I think he painted the lips in a way that it makes the bottom lip look smaller (which makes it look more like Ford).

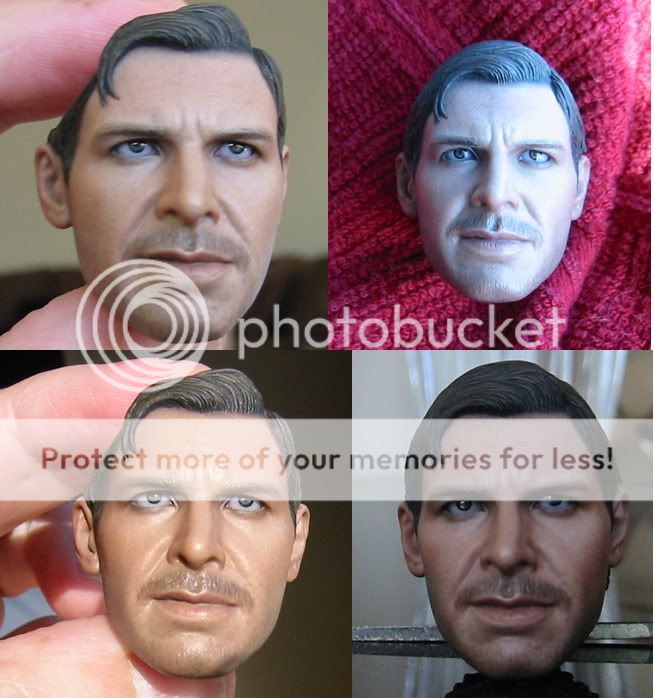
In fact, I'm still feel too good to only Indiana Jones series, and then arnie into Ba Jiuqian silver bird with this is almost the same, but this is just another run of those pretty rough place, but production the biggest problem is the only deep eyes open, and caused great regret, but also large clean and paint
The face of a good thing but had problems on the production of 12 ", of course, engage in a practice usual channels, so he turned back in my mind, something
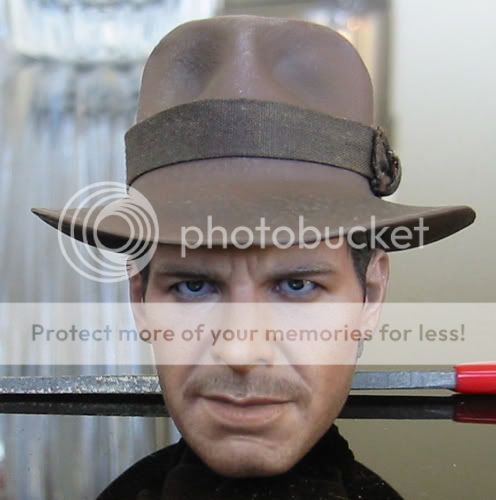
With tin as the main, to wear thin eyes, so look out the fan, the fan and then add detail in the surface texture and color, fibrous texture and recycling out of the rough surface, and finally fixed up plus sweat plus stains on
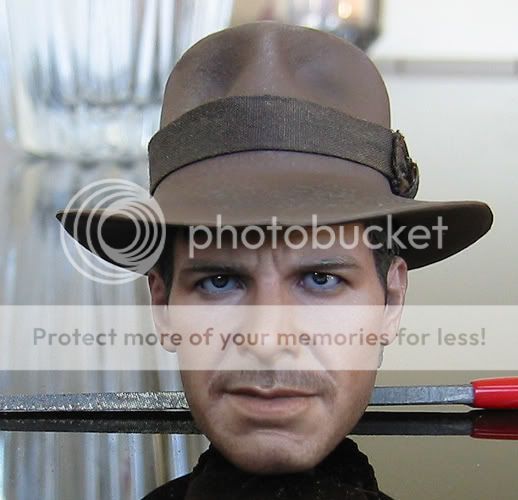
The most important thing is the clothes, dr.jone pieces point to a clean shirt, and pieces of coat should be good to spend a good old, old sand paper to do, but the shadow effect of Well come out, is a good kind, I think the feeling out

Anybody know Chinese that can translate it accurately?
 
Last edited:
I've added the stubble a bit higher . I'm not sure if I've managed to achieve a believeable look ? Its a case of it looks better in person than my cr@ppy pics can make it look I'm afraid.
 
Last edited:
Thanks for the tips, Cav. Just yesterday I dismantled my DX Joker PERS head. I hadn't moved the eyes in a bit and was afraid of moving the joystick and breaking things, so I opened it to move and loosen stuff inside carefully. Anyway, I feel more confident now about opening pers heads and will open the Indy one to get rid of the guy liner using your exacto tip.;)

Let me know how that goes Eddy!
I'm tempted to do that myself... :panic:

dont know if this has been posted already. looks pretty good after the mod:

DSCN9272.jpg


more from here:

https://www.toy-world.com.hk/forum/viewthread.php?tid=35886&extra=page=1


Holy crap, that's absolutely mind-blowing!!
Wow!!! :clap:clap:clap
 
I thinking they might have received one of the indy's with a rubbed nose... so they customed it... Looks good except for the fact the head sits too high. I removed the neck joint from mine, the head sits tight and lower on the neck.
 
OK, I did the PERS removal to get at the guyliner. Phew! Nerve-wracking. DON'T USE AN EXACTO BLADE to scrap off the eyeliner. Anyway, after having to scrape and the sand and then repaint, I did it. Not for the faint of heart.

Here's pics of what happens to the head as was so perfectly expressed by Cavlcade. Getting the PERS out is fairly easy -- just be gentle when prying the lever piece away from the head.

Extra pics just for edification:

PERS...unscrew...remove lever and pry from head...this is what you get...pull out eyes!

removingPERS11-6-11.jpg
 
I just tried this myself,
actually I didn't had to unglue the Pers "enclosing/magnet/neckpeg" thingie,
after removing the "joystick" I was able to just pop the eyes out of their sockets and have enough space to work with the exacto blade... :lol!
Pretty nerve racking indeed!
Can you post a larger pic of how yours ended up looking Wor-Gar?

I might go back and sand it a little bit...
 
Back
Top