Thank you cpoll36!
Yes, zipped-up about 30% of the way, as in the film. The way I'll simulate that is by installing thin neodymium magnets on the inside of the jacket. Then I can slide the magnet connections back and forth a bit until the left and right zipper edges are touching. Lastly, I'll glue on a tiny metal zipper guide with a pull-tab to cover the area of separation and make it look like it's zipped-up to that point.
I'll do the same with the zipper on the left sleeve, but without magnets; it will be zipped half-way just with glue.
This is what the metal zipper guides and pull-tabs look like:
View attachment 459308
View attachment 459309
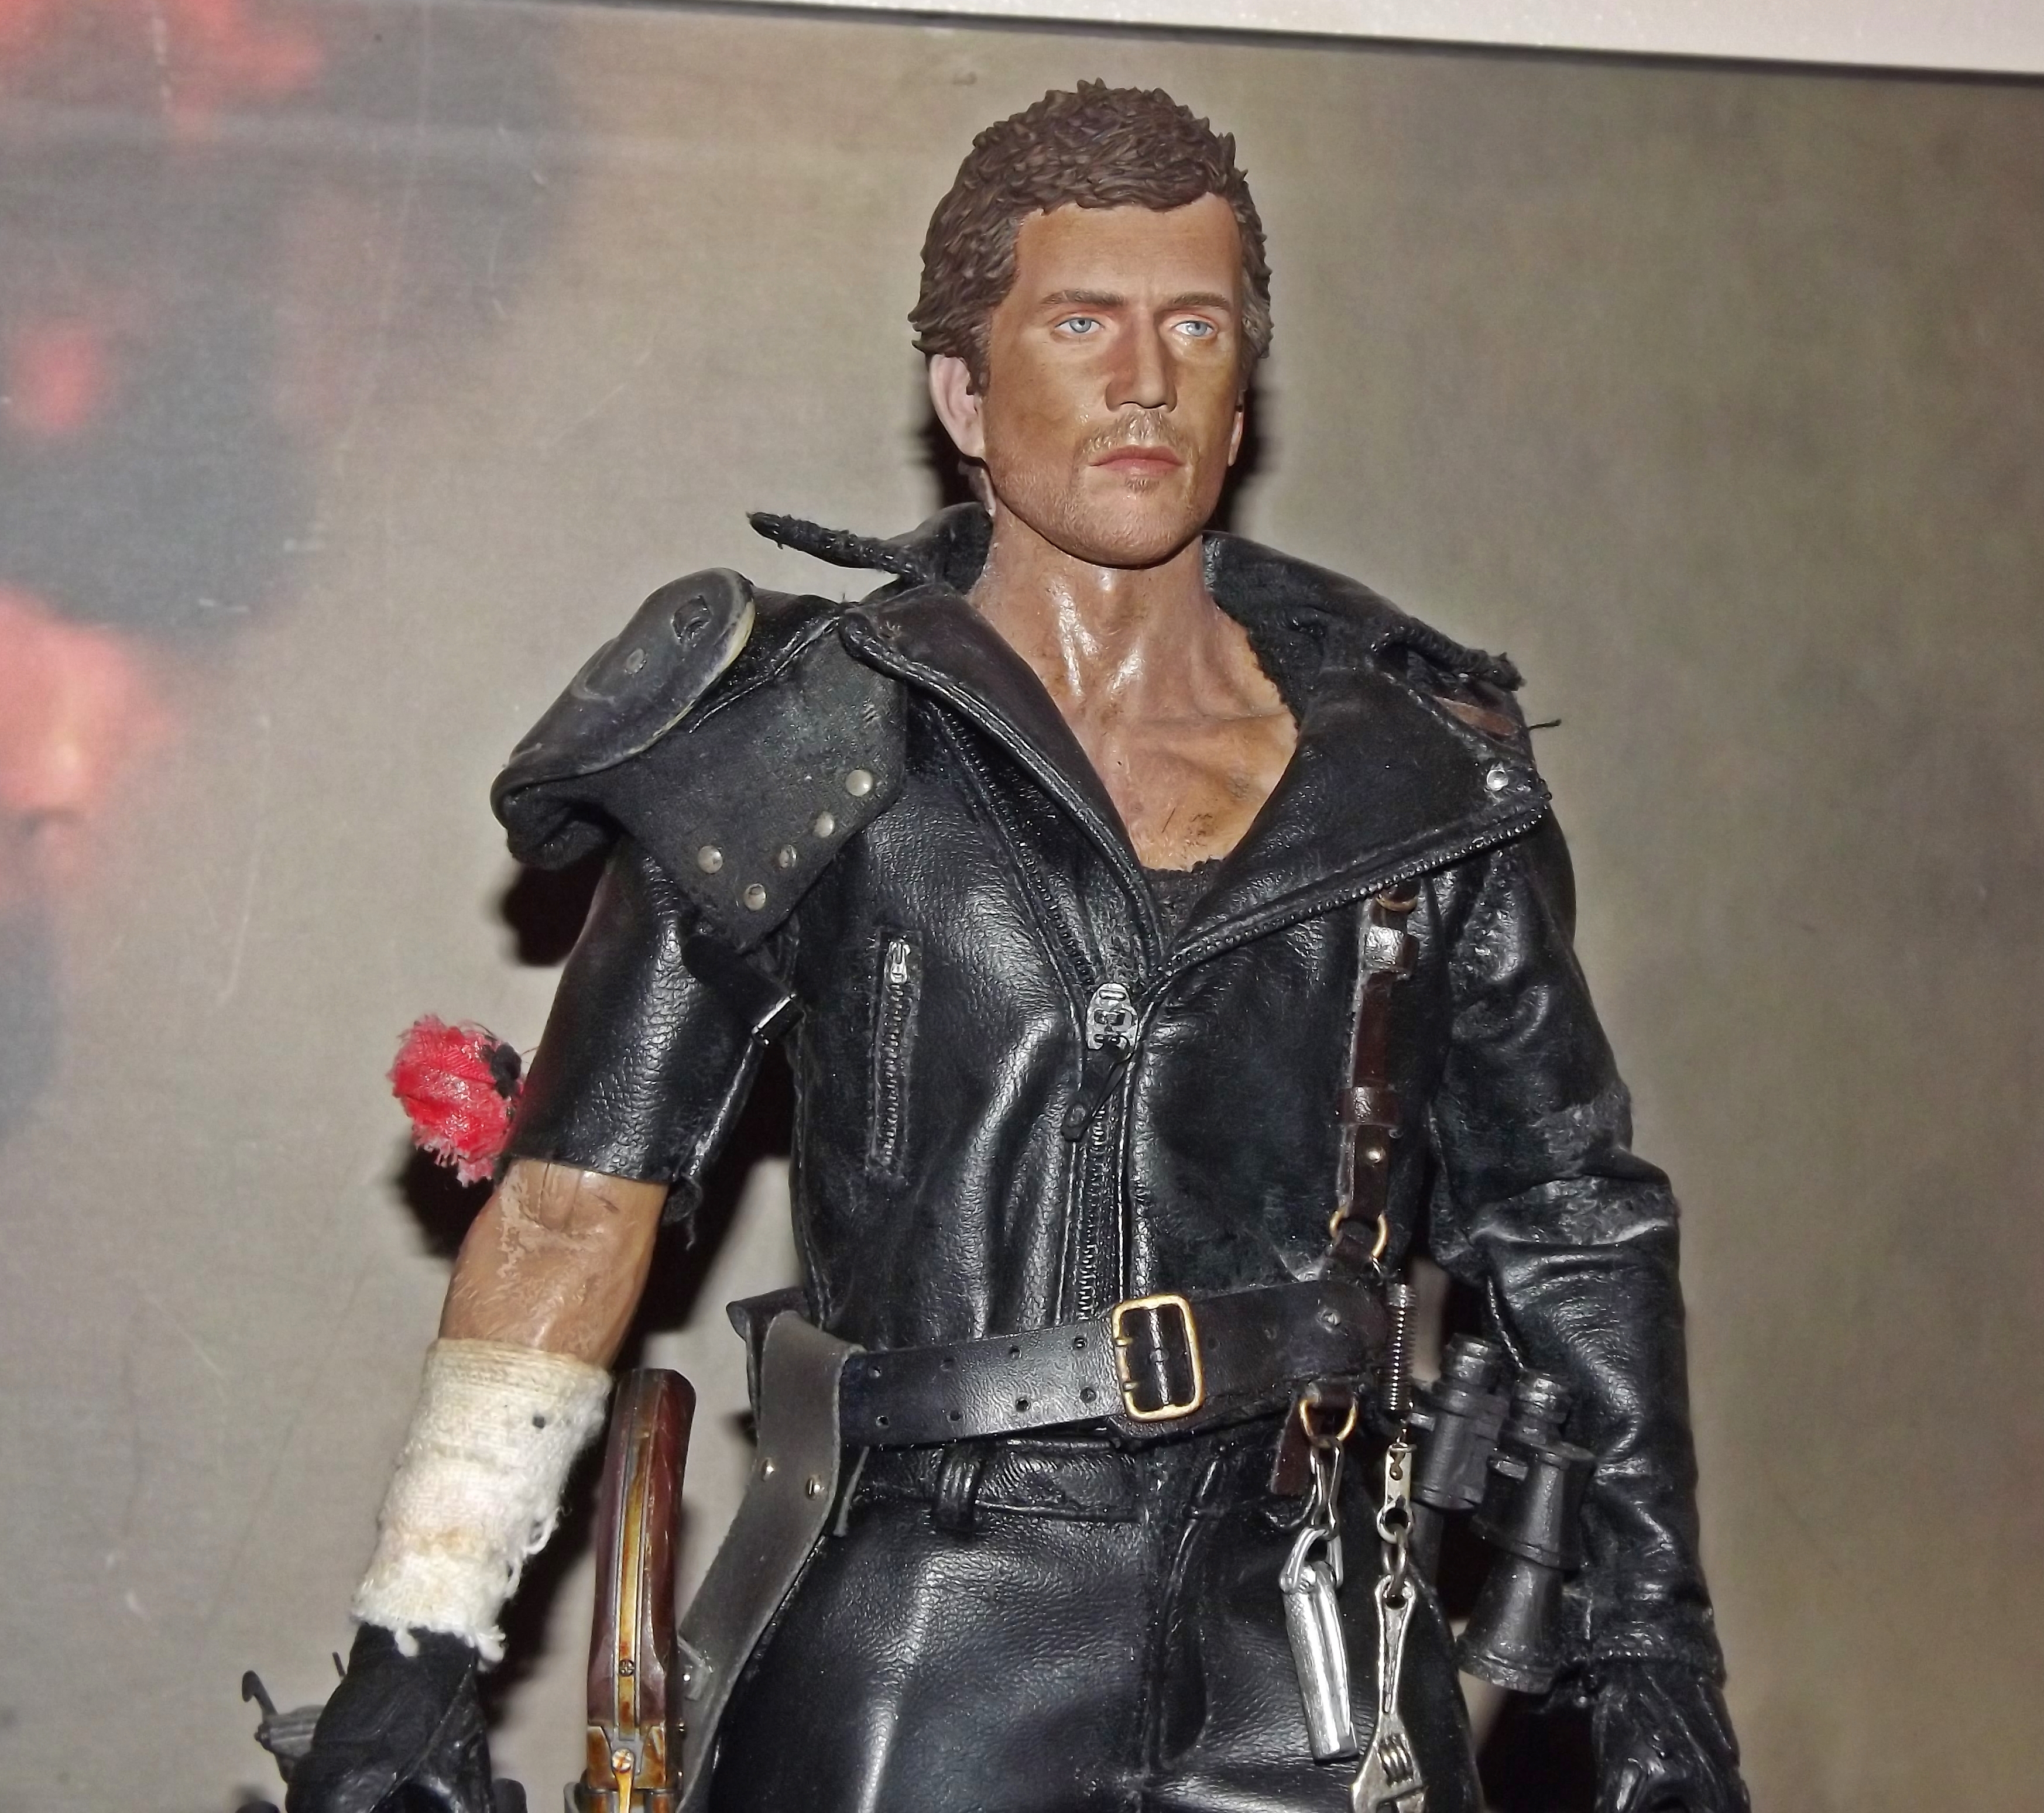
The metal name plate needs some explaining: In
MAD MAX, the plate read: '
MFP 4073'.
For some odd reason, in
Road Warrior, they shortened it to
'P 4073'.
So, I'm printing a tiny decal of P 4073 to put on the name plate.
I also applied two tiny 1mm metal rivets at each end, but you probably can't see them in the photos.
And by the way- for modders, I HIGHLY reccommend this glue. It's a special type of cyanoacrylate, but it doesn't cause any white fogging or 'burn' that normal 'super-glue' does. It can even be used on clear plastic parts, with no fogging whatsoever. It dries clear, and
matte. If you look at the zipper chain I glued on, the dried glue is in plain sight- but totally invisible.
View attachment 459292


.jpg")
.jpg")


.jpg")
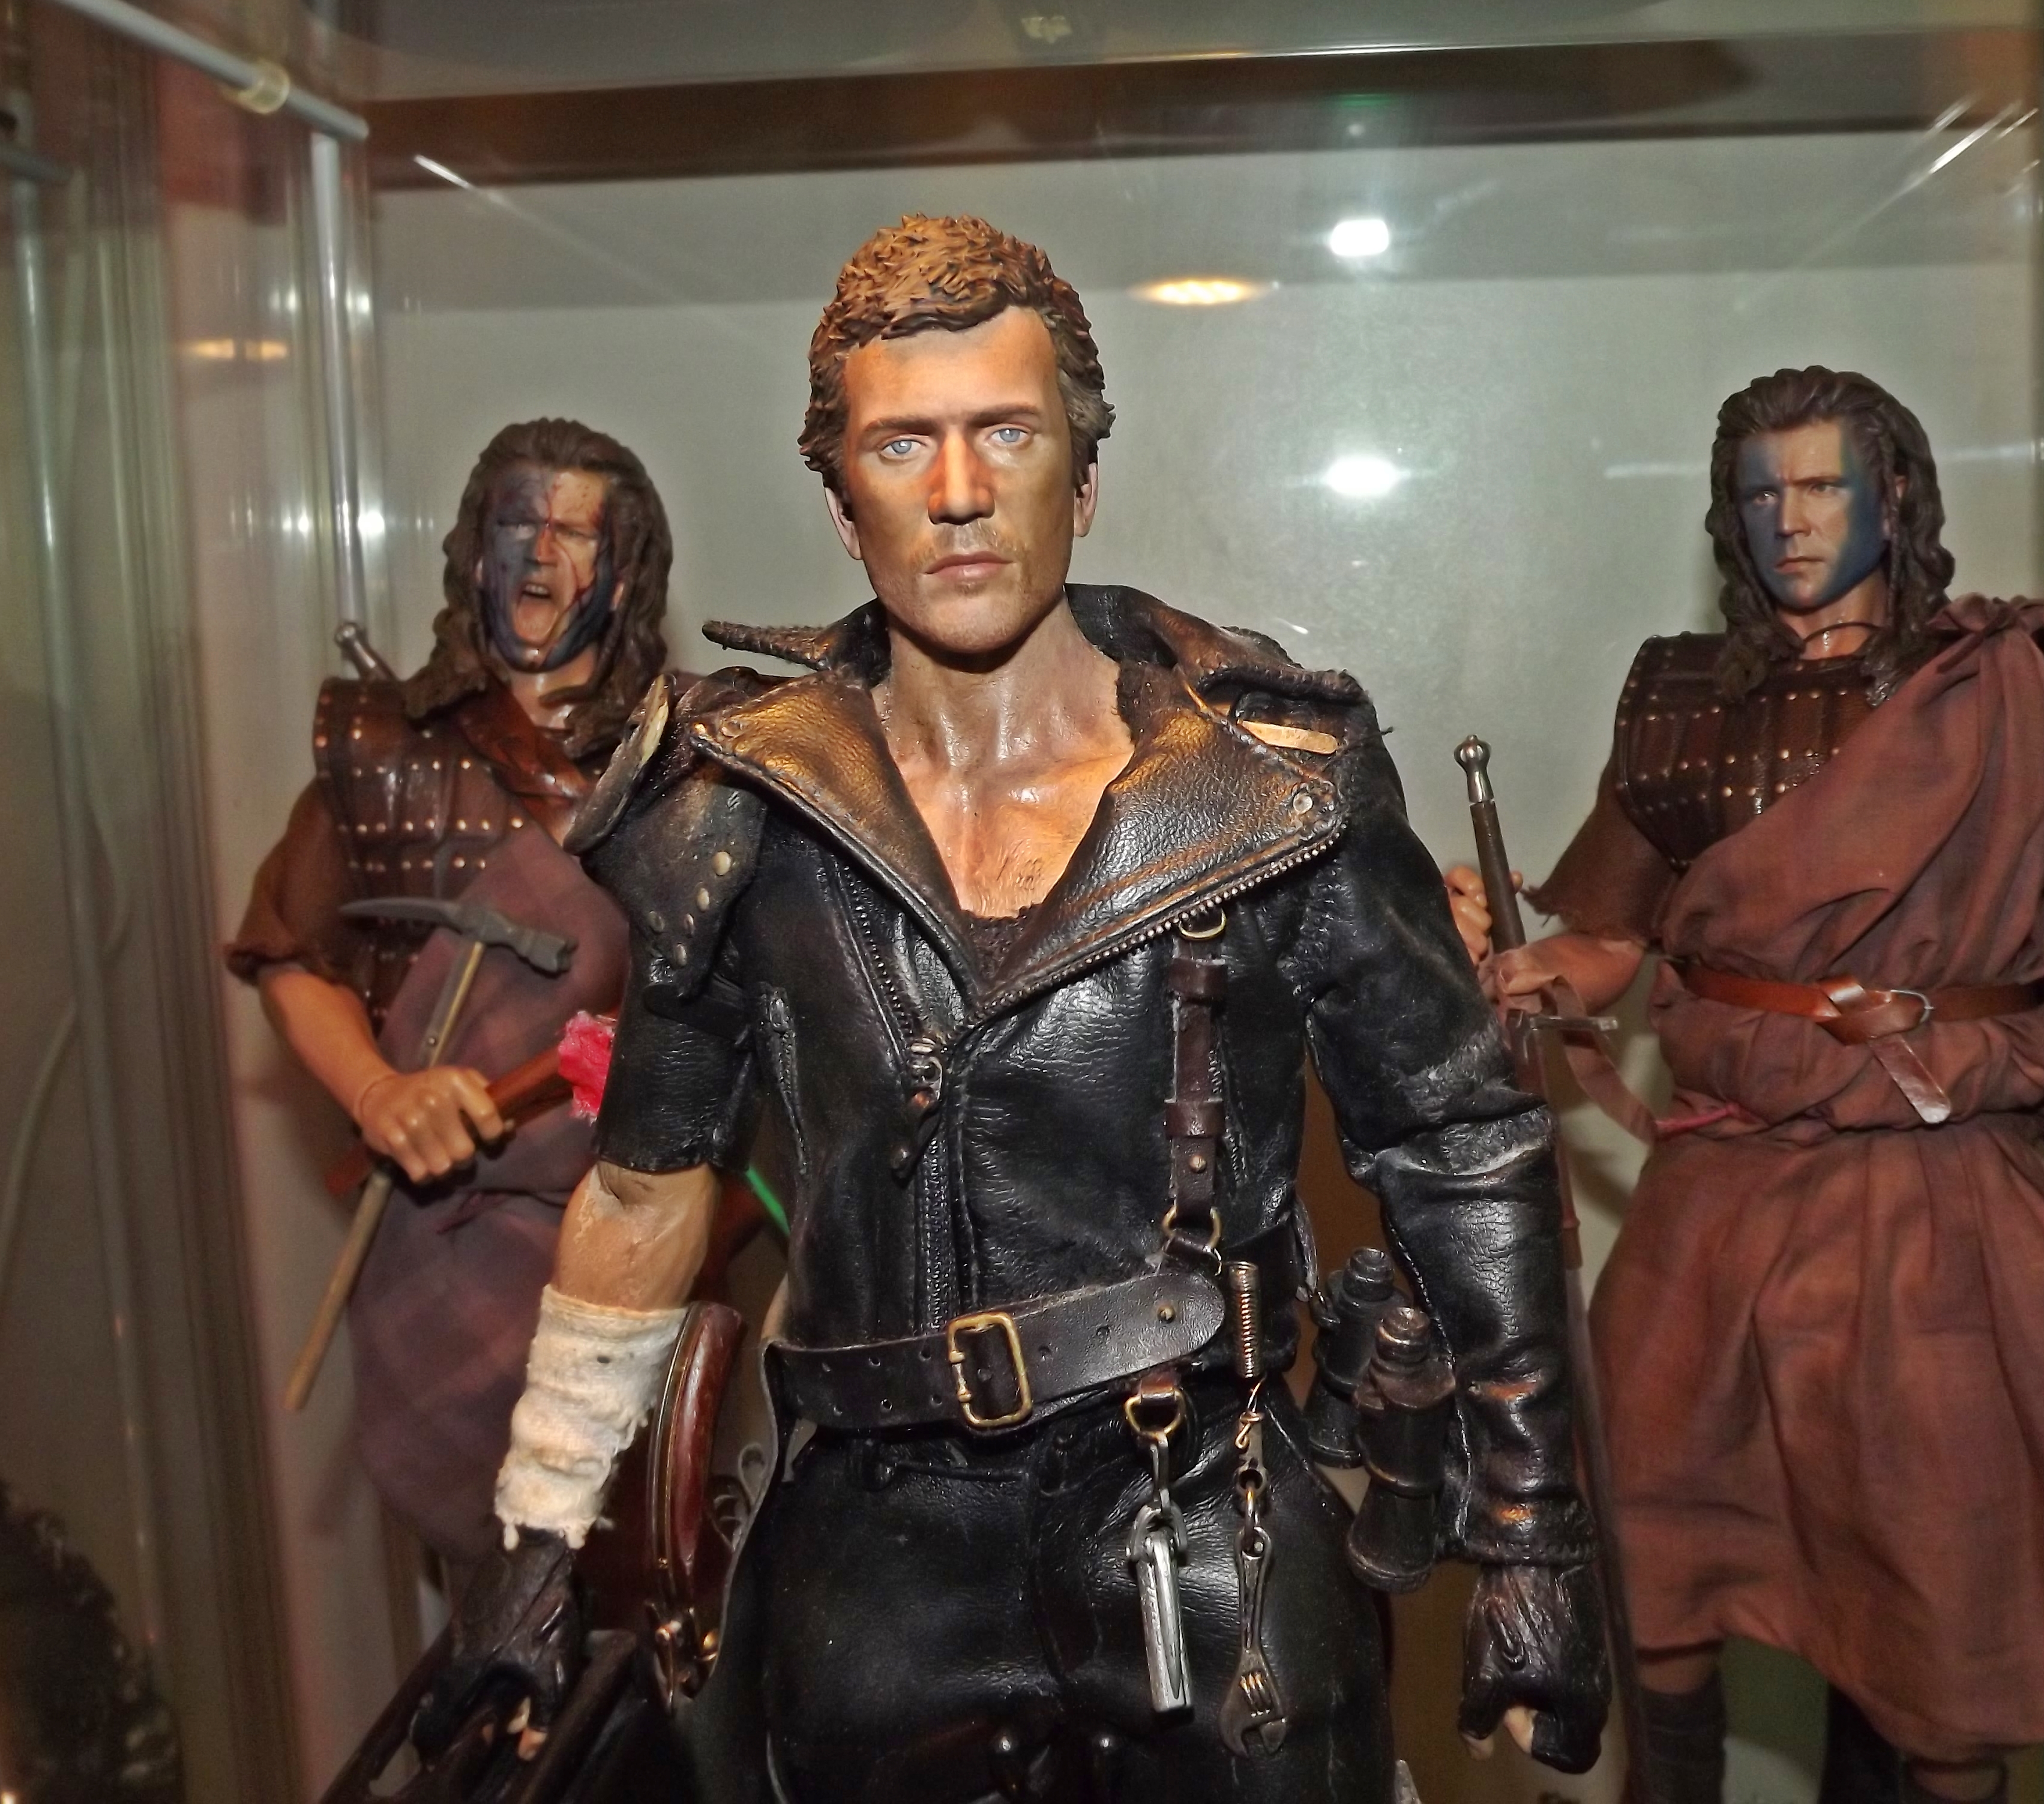
 Thanks for helping me complete my Road Warrior.