ThreeZero normally has such amazing paint apps, but this boy is in dire need of work. It just screams "plastic toy", which is a shame because it's engineered brilliantly. At first I started with some simple panel lining, but decided to go a little more in depth with the mods. So now I've started breaking down the components, with my first task being to airbrush all those plastic connector bits TZ inexplicably decided to leave bare white. The arm connectors and inside the chest cavity being the most obvious. Then I'll hit all the other bits. Here's a look at it taken apart and taped for painting. First I gotta prime, then hit it with Alclad's Polished Aluminum paint, which is a dead match for the existing silver metallic surfaces. After that I'll finish panel lining then start weathering. But it's a start.
I've already panel lined the Mark 43, and it's made a subtle but definite difference. I'll weather this too eventually. I don't feel the need to go full on battle damaged, as TZ is already doing that, and it's a little too extreme for what I want, which is just a more accurate lived in look.
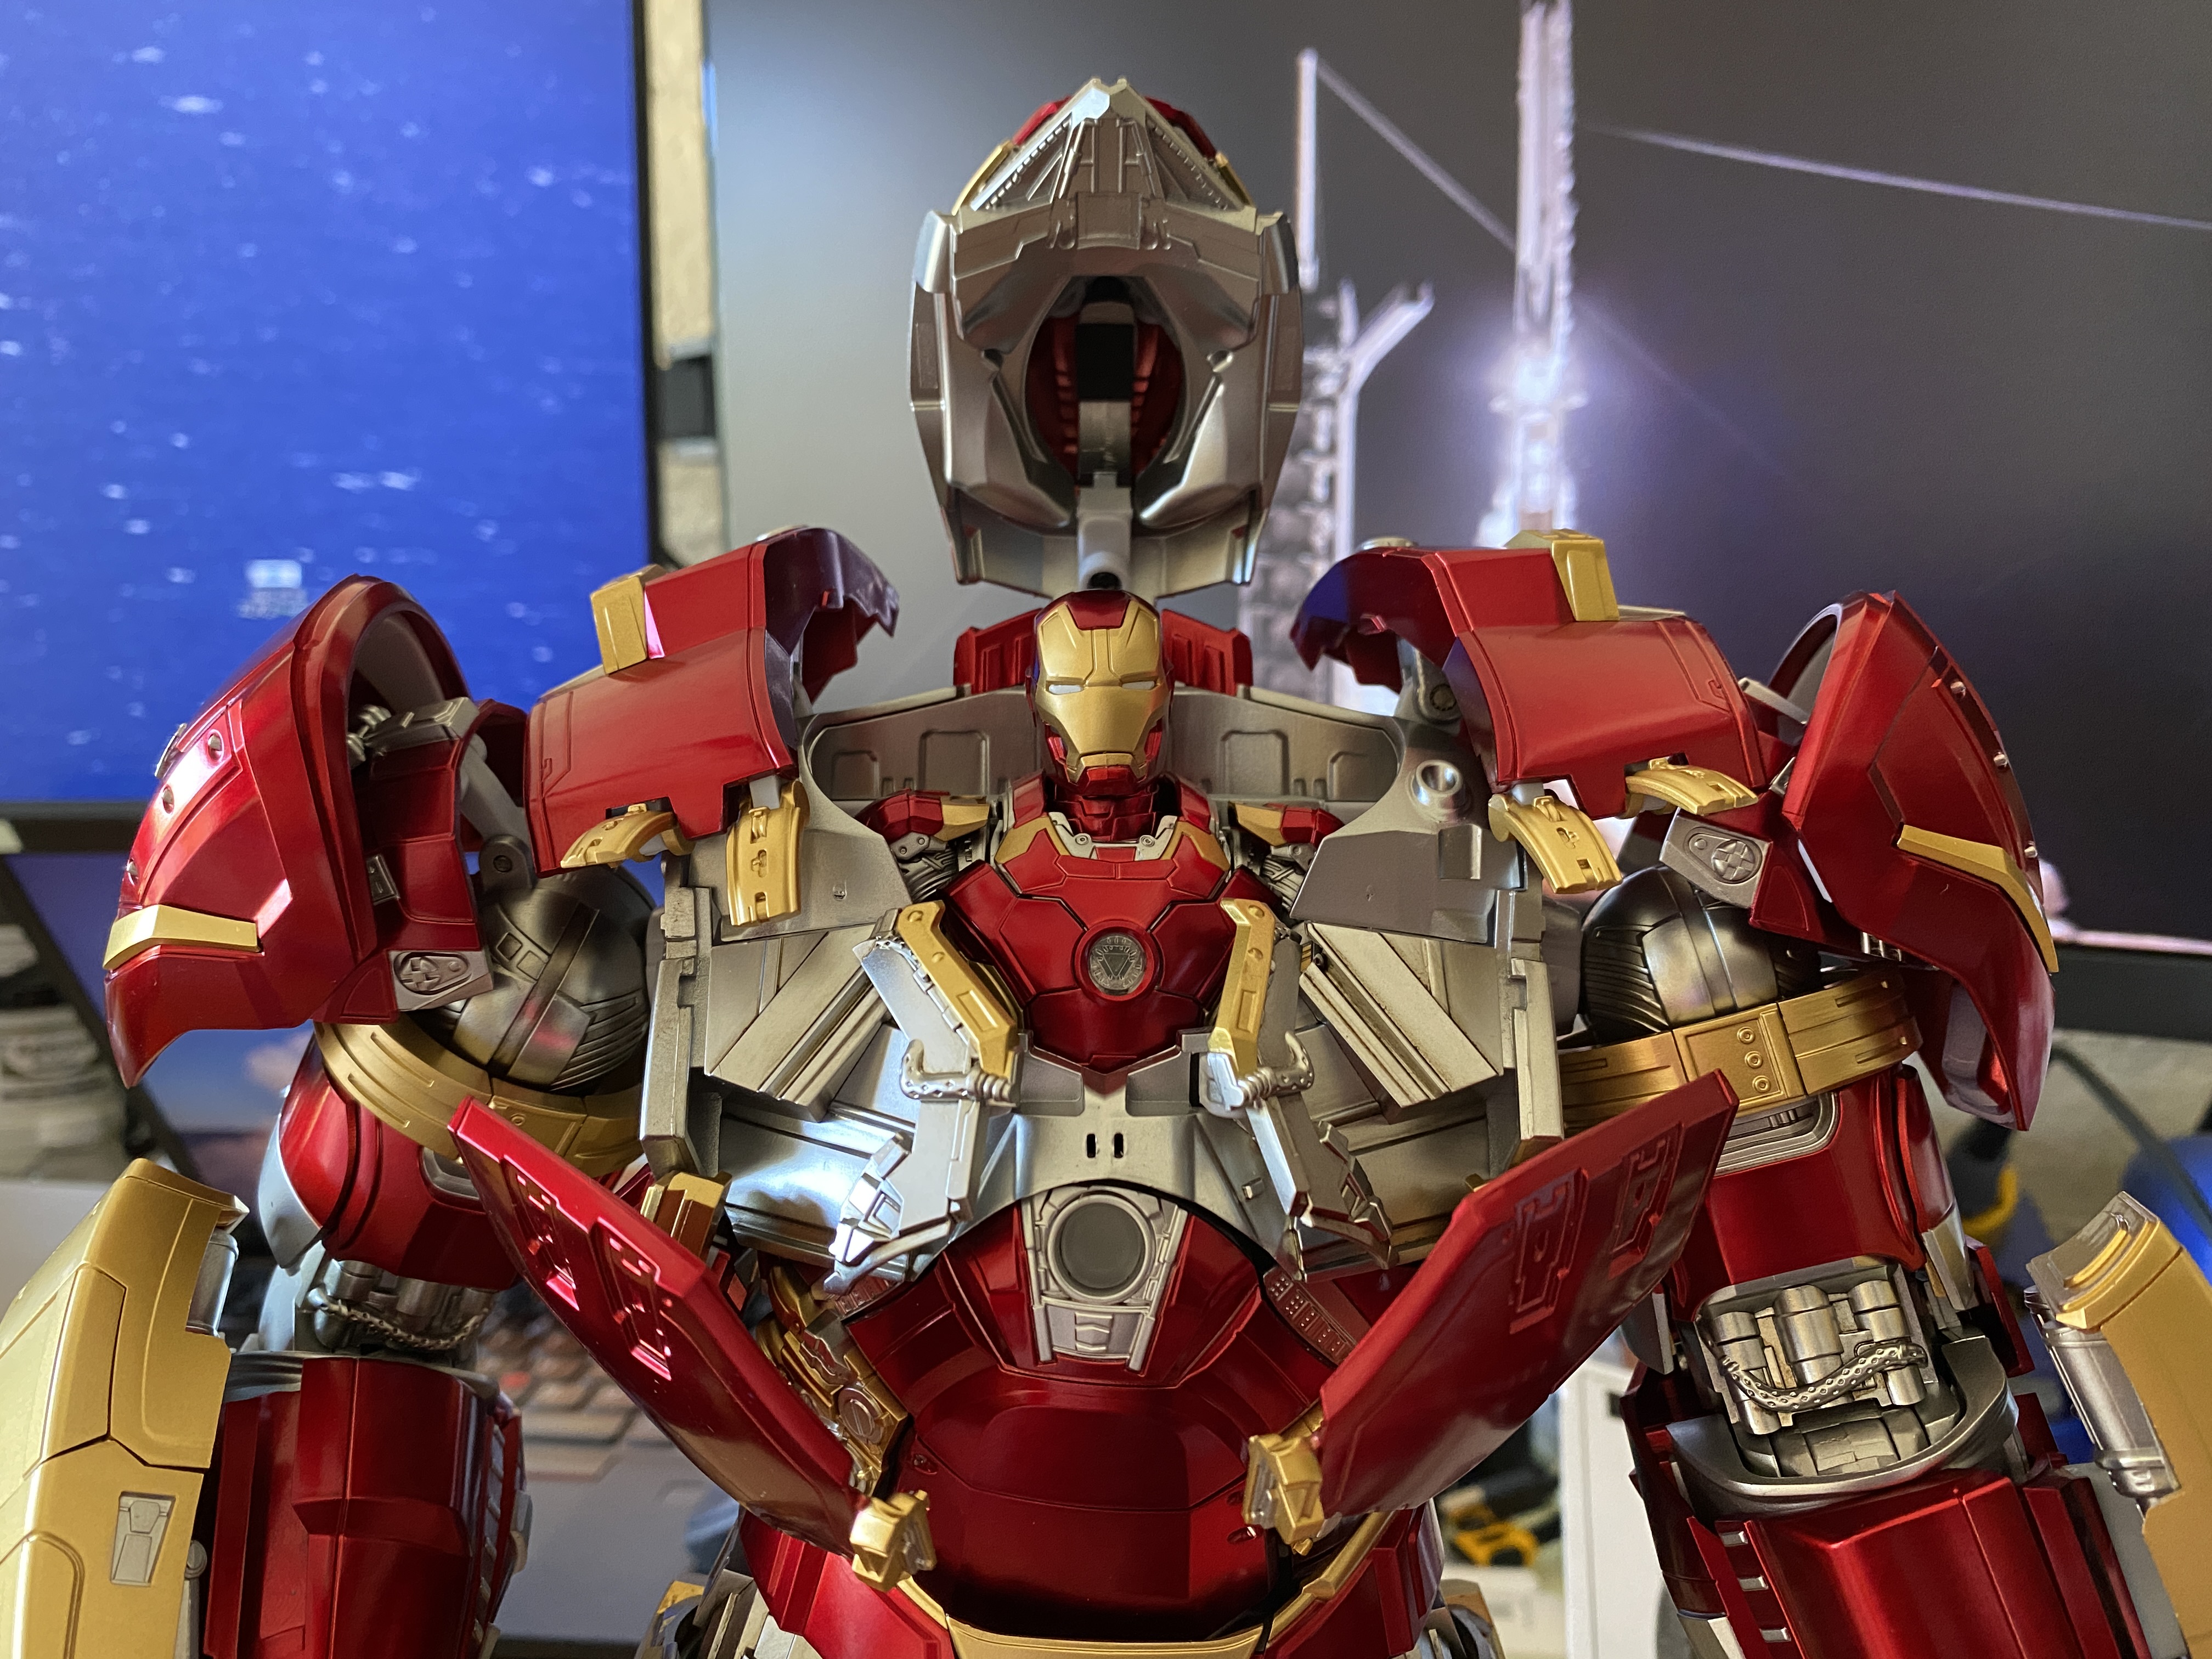
Finished painting all the unfinished white bits Threezero inexplicably left on this figure's release. The white sockets on the torso for the arms to attach, as well as the blank white panels in the cockpit were first up. Painted in polished aluminum, then weathered to match the surrounding aluminum finish.
I've got shoulder pauldron mechanisms repainted in silver and candy red, chest clip attachments painted in gold, white elbow joints painted aluminum, and even the little white boxes that attach the forearm weapons to the forearm have been repainted in aluminum. Next I'll hit everything with a 2k clear coat to give it durability.
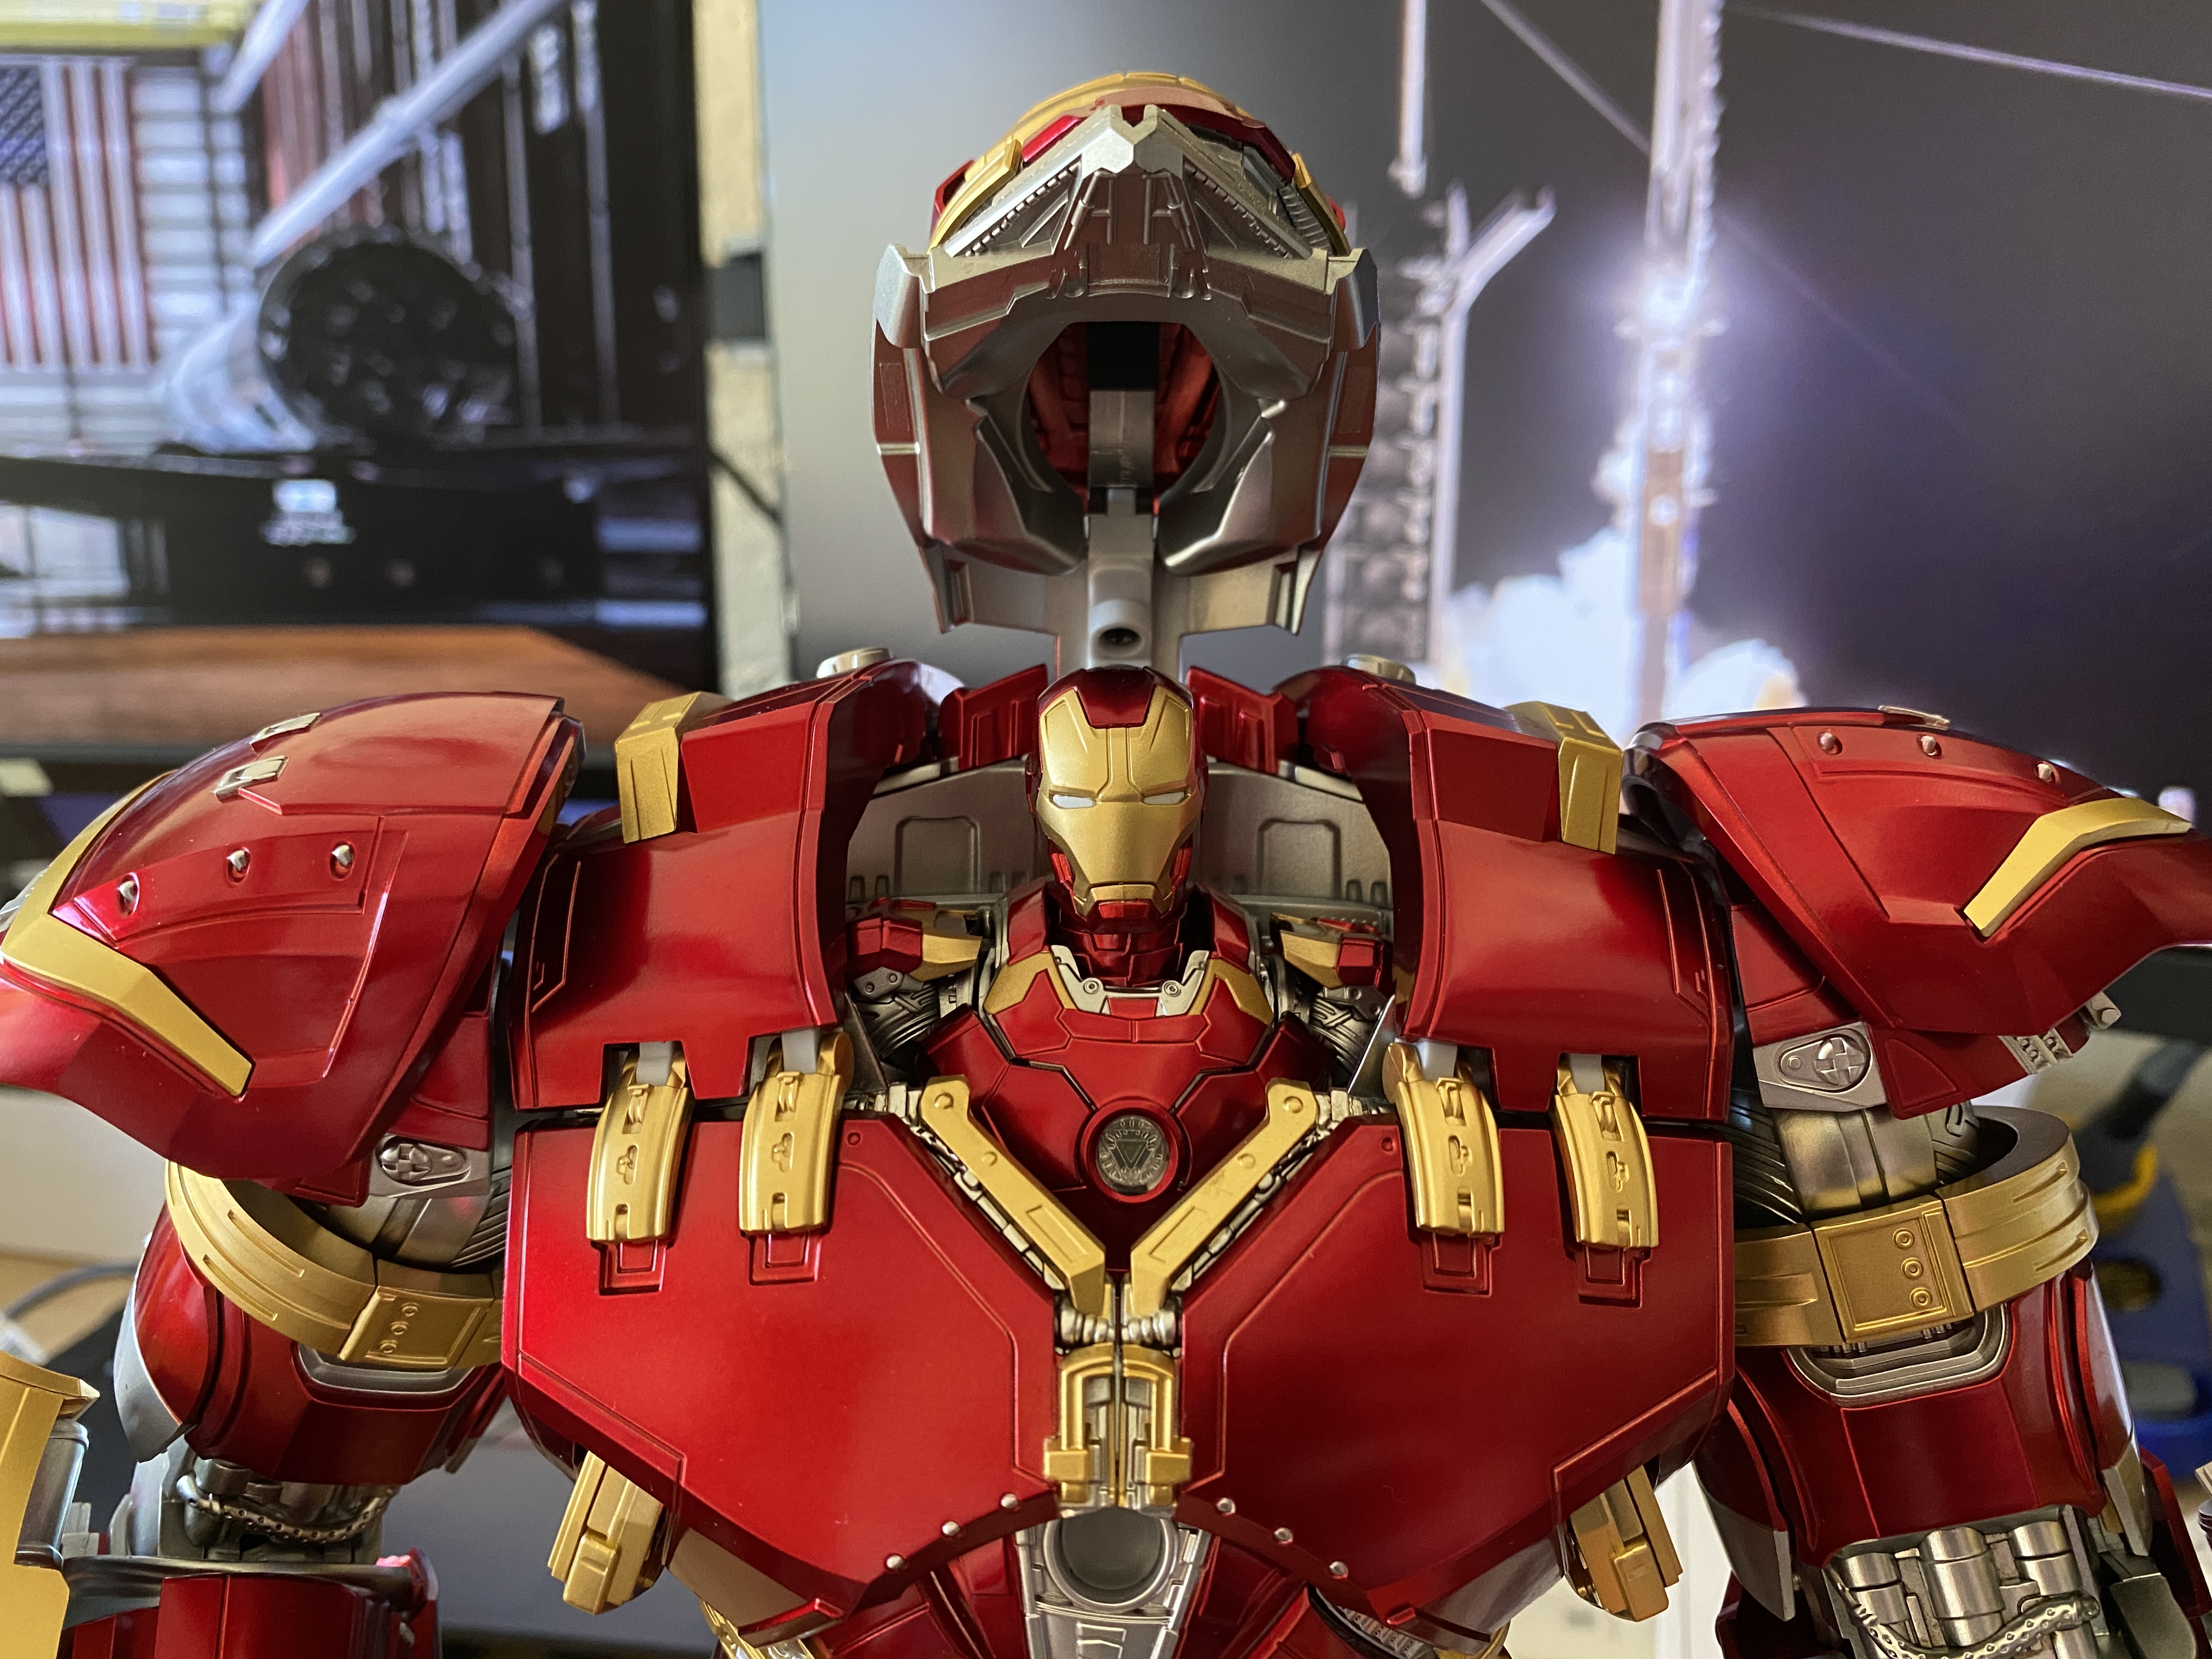
Okay so here's the end result on those pieces in the previous post. The colors are all a dead on match, so all those plastic white bits are blended into the surrounding armor really well now.
The shoulder armor bothered me the most, since it was so visible. The portions that attach to the armor are candy red, and the the joint pieces are polished aluminum. It's much more seamless now.
Next up were the elbows joints, which are now polished aluminum like the area around them.
Likewise I painted the small white boxes that connect the gold weapon packs to the forearms to a polished aluminum as well
Finally the last bit are the small white plastic prongs which hold the gold clips to the trap armor. Now they're gold to match those clips.
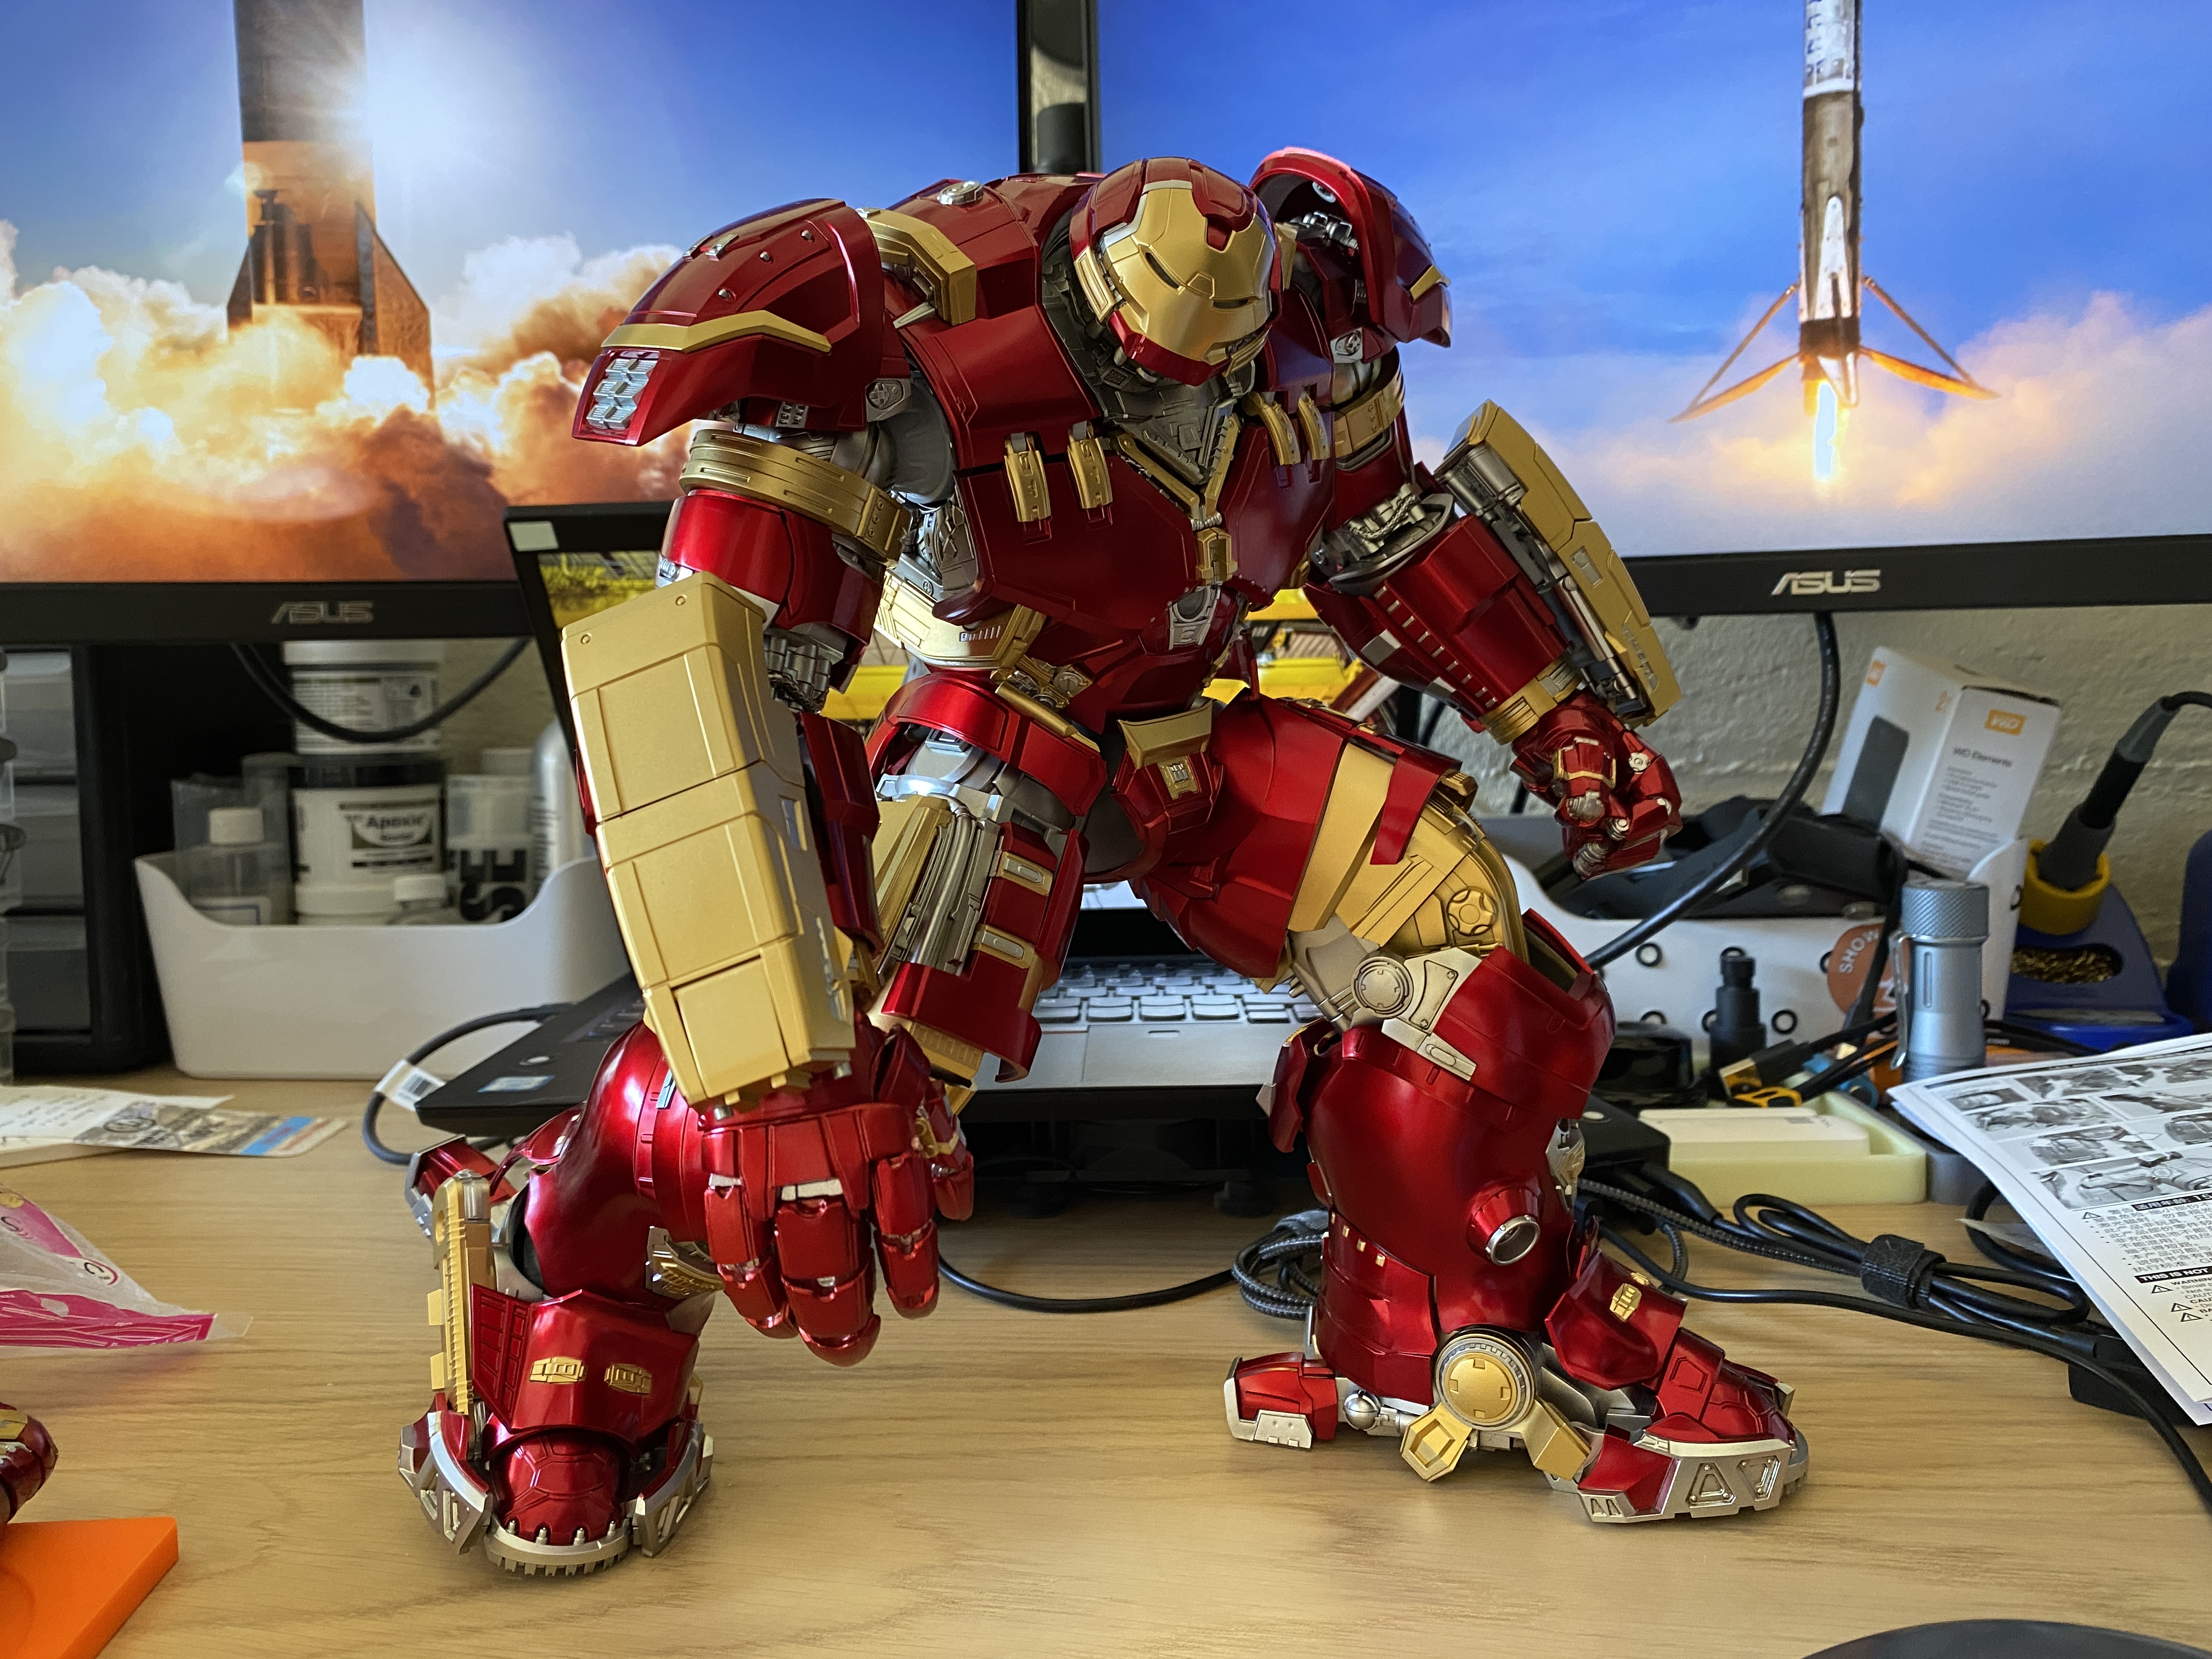
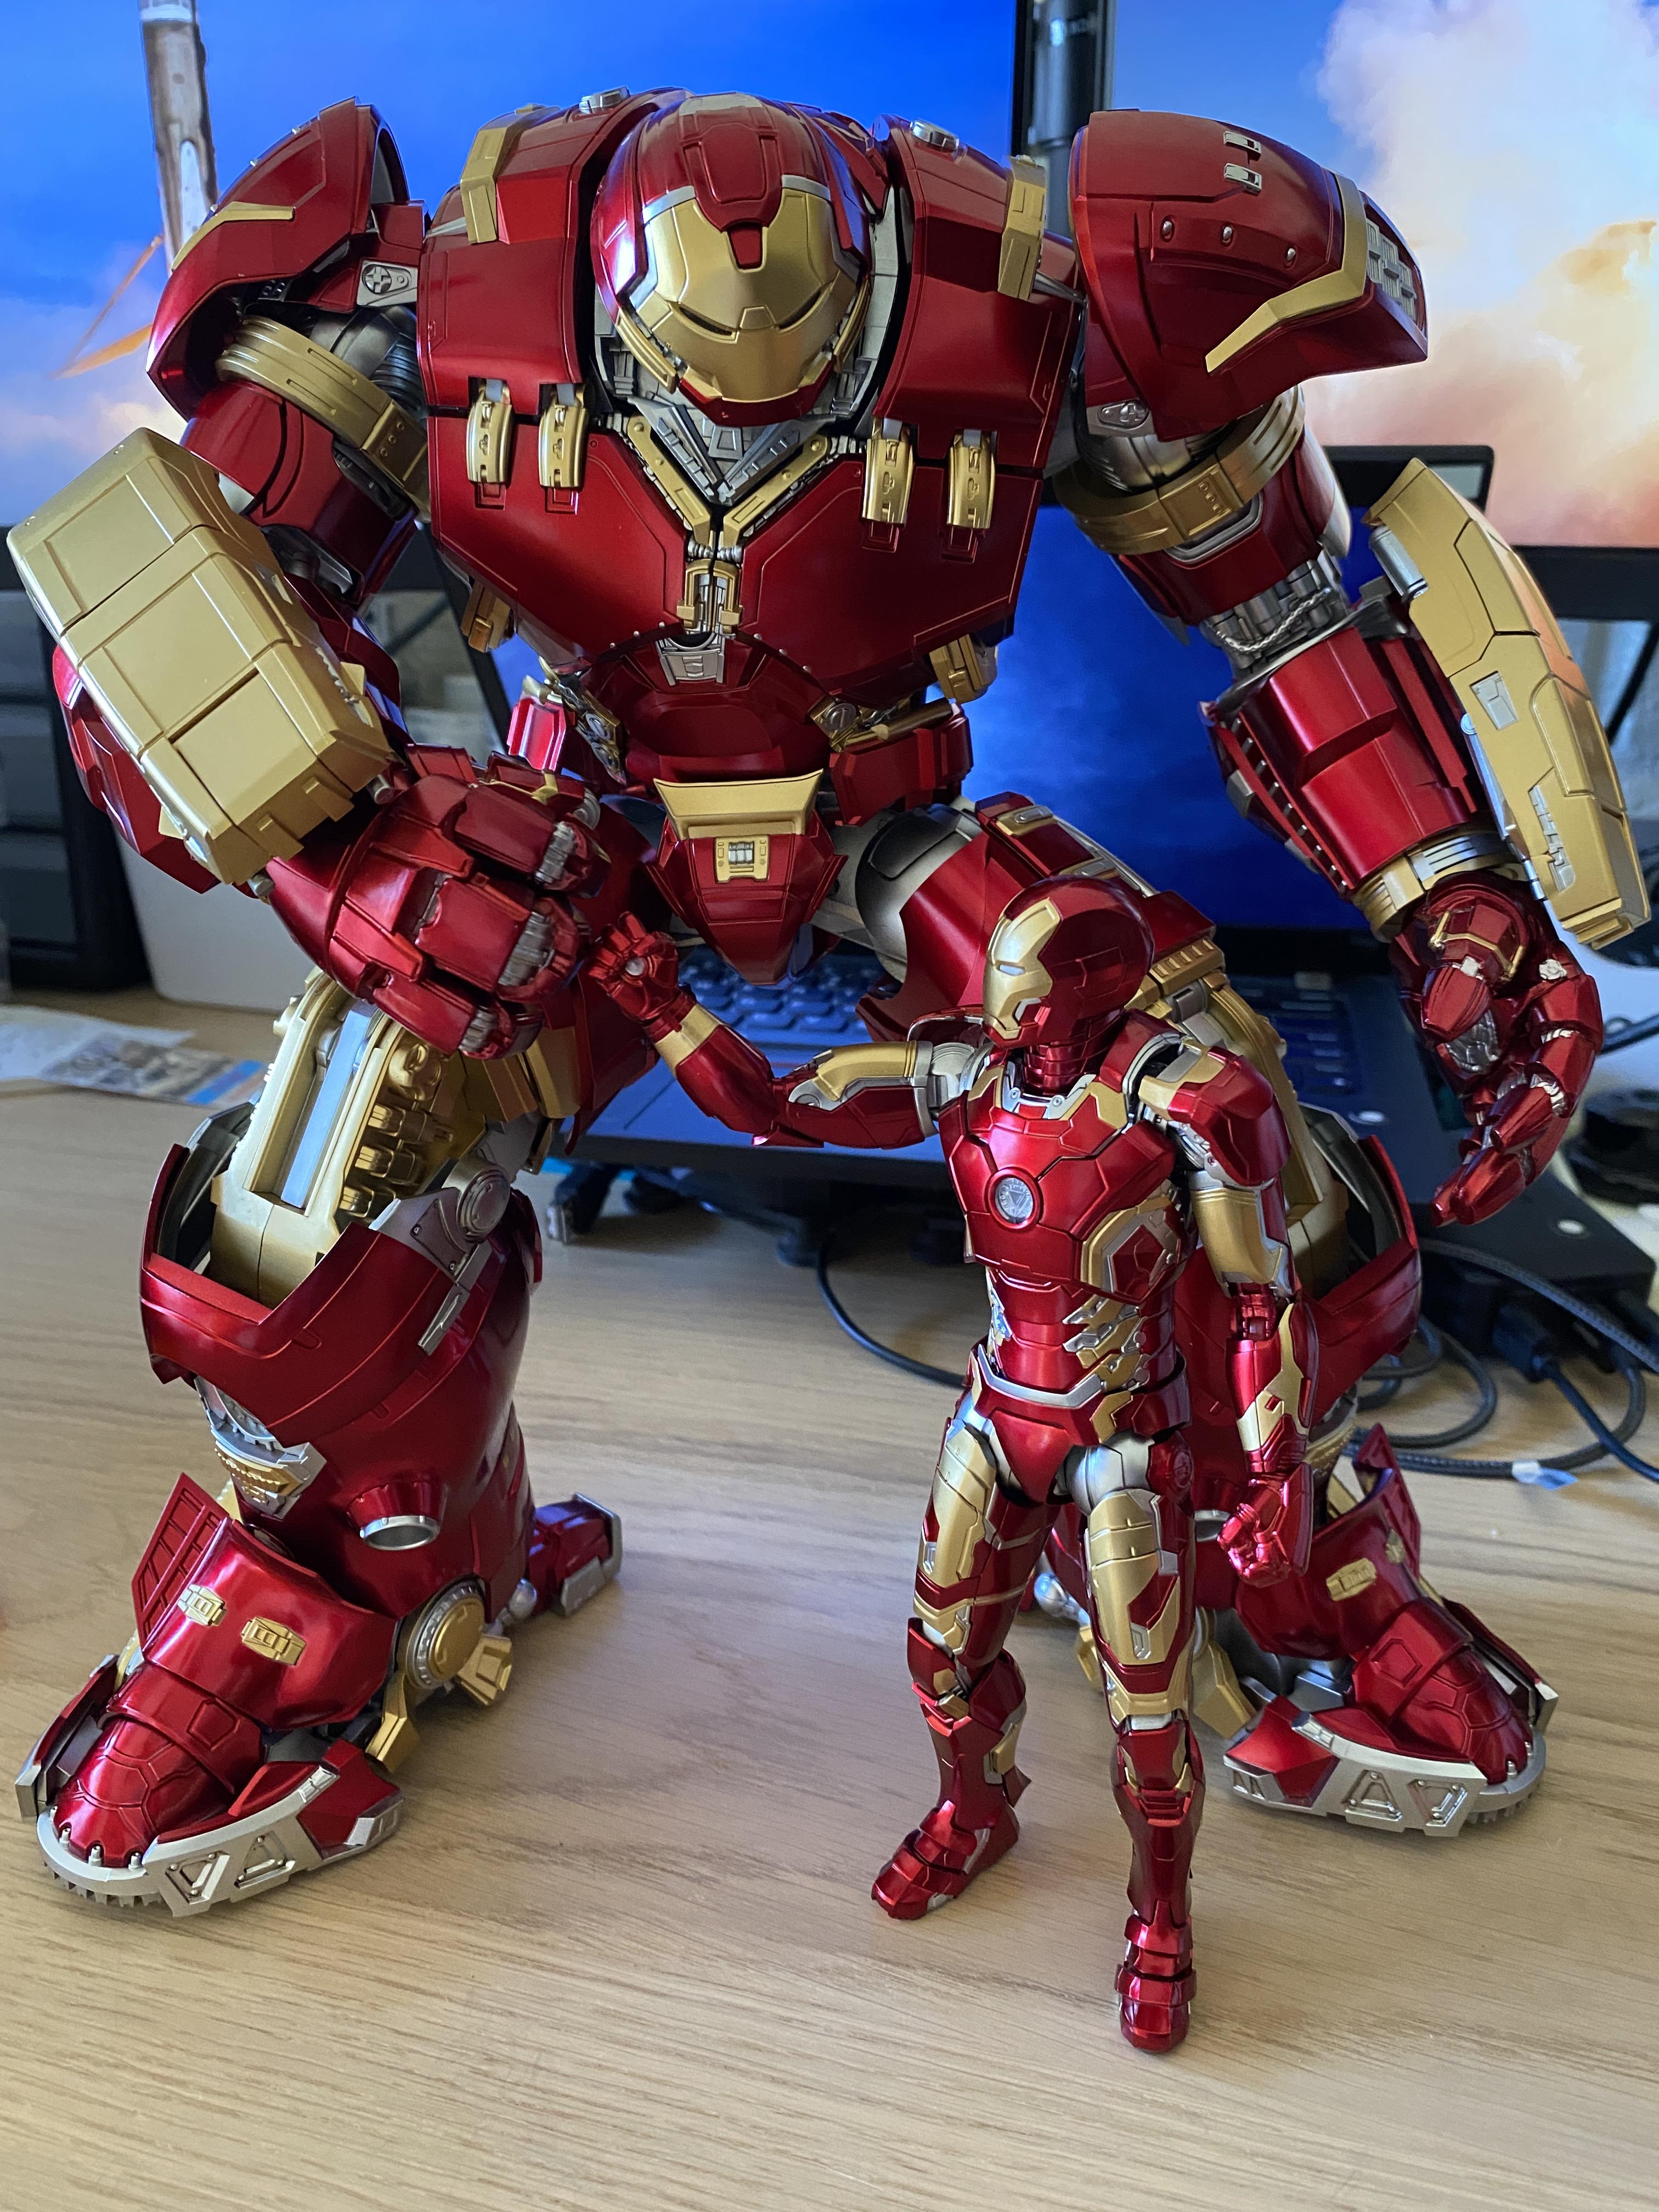
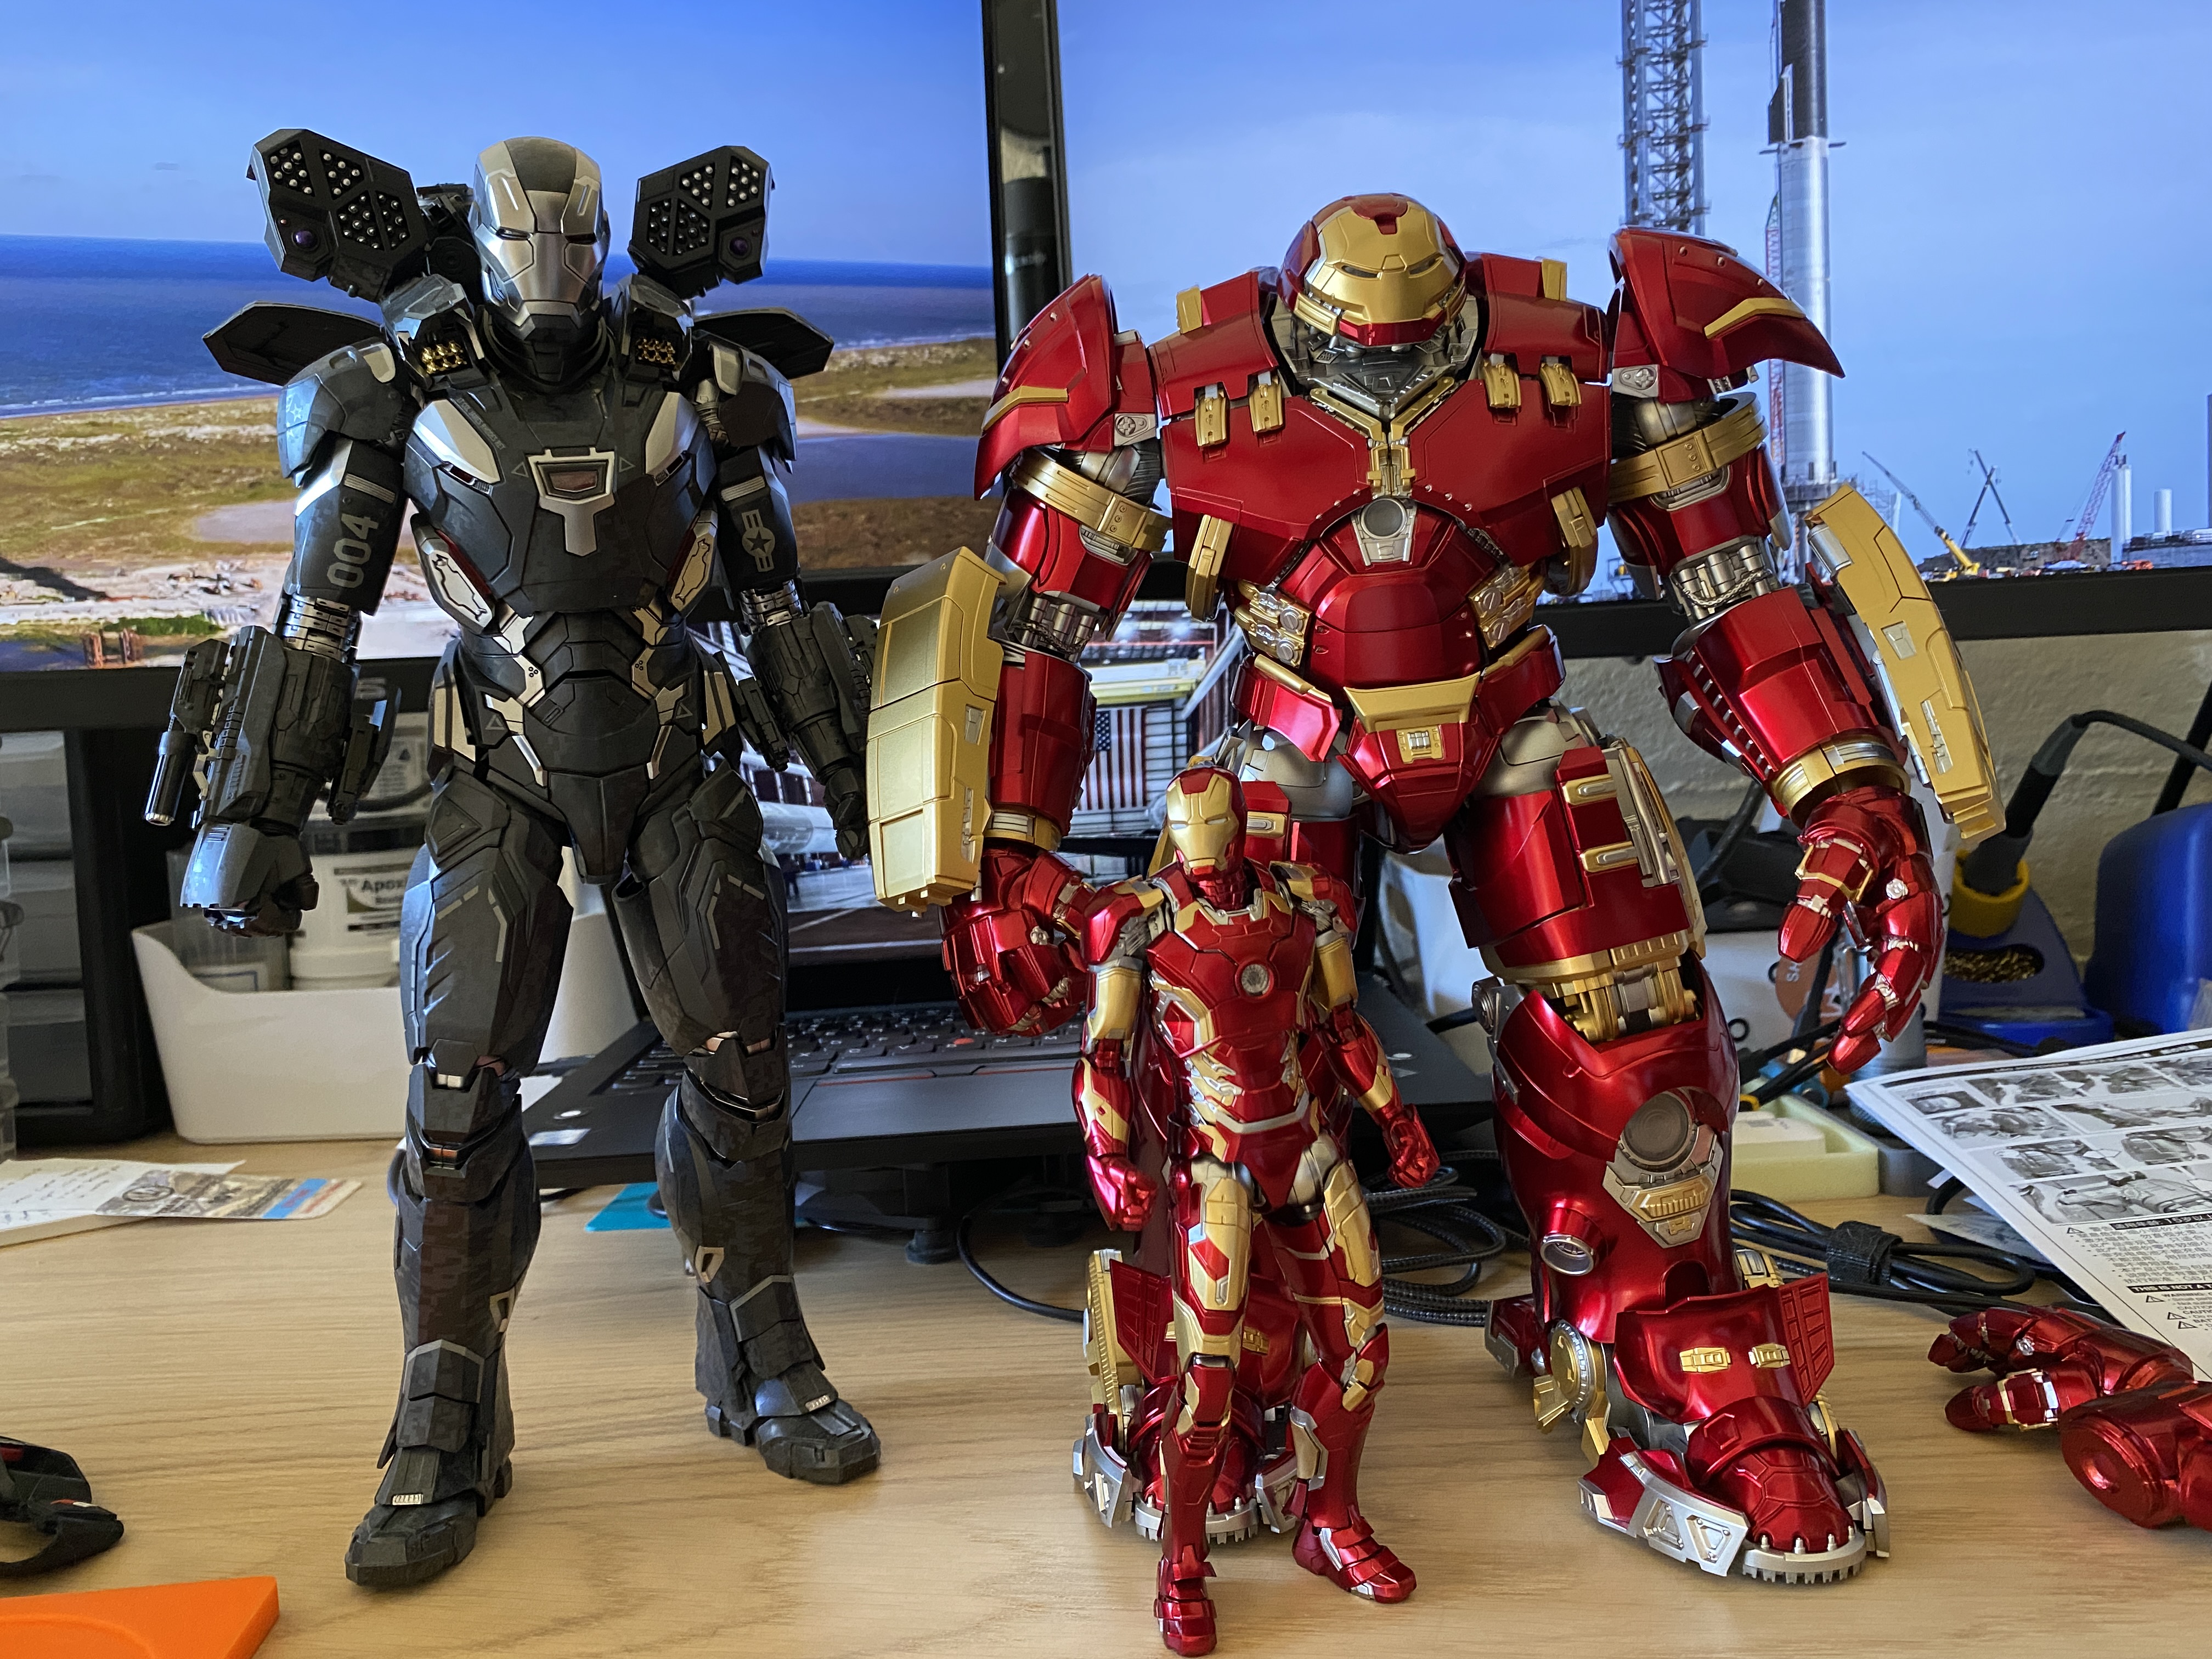
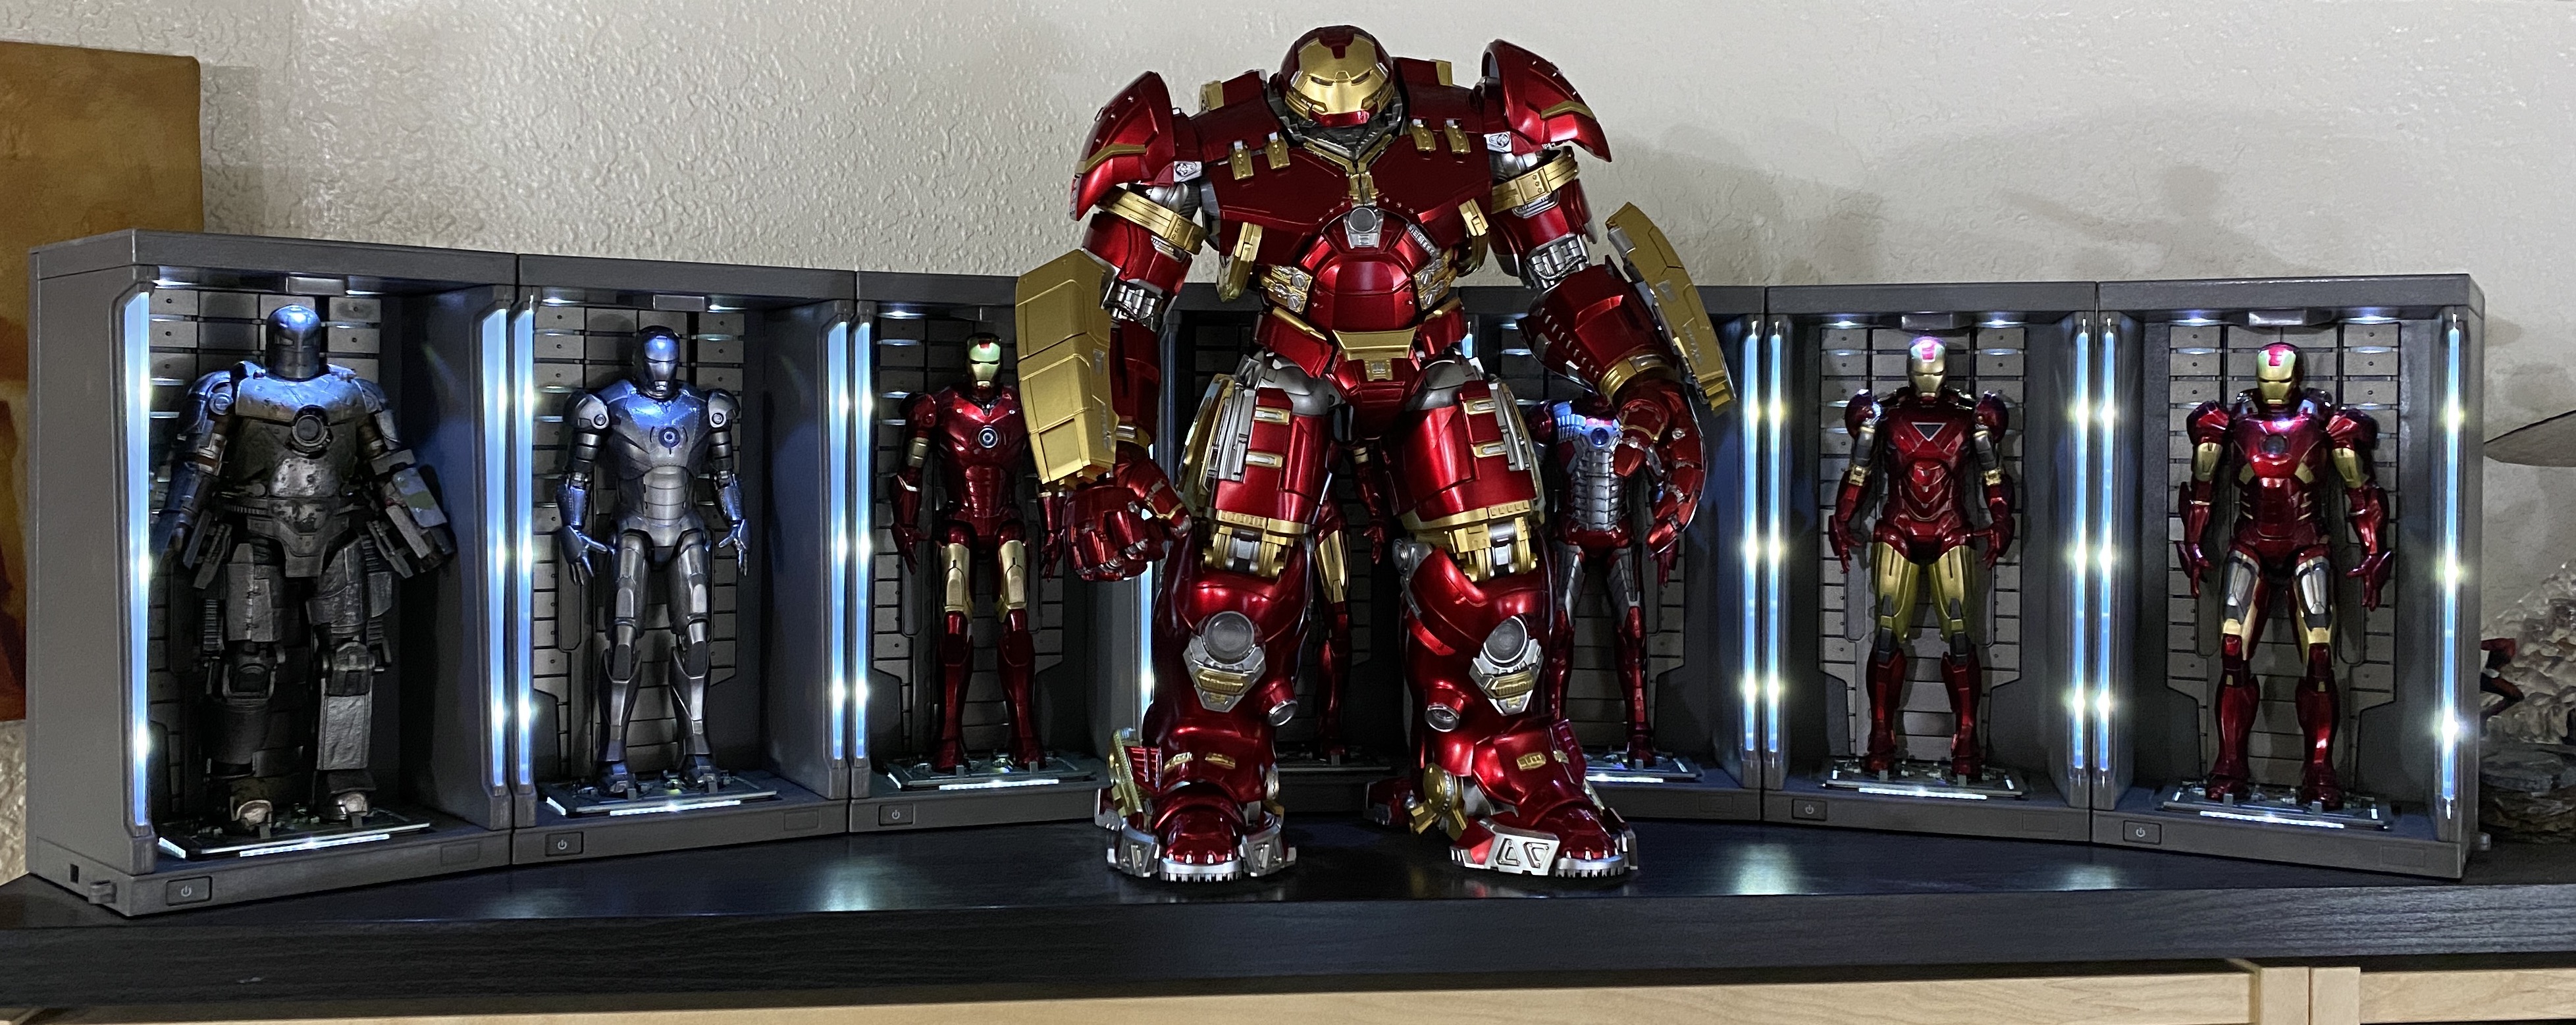
Finally finished the repainting and weathering on this big boi. I'm really happy with it. Originally, as well constructed as it was, it looked too toy like. It was too clean, with too many unpainted white parts visible. So After painting/repainting all those white bits, detailed in the prior post, I moved on to panel lining with enamel and then weathering with acrylics. I didn't want a full on battle damaged look, just a bit worn in, like Hot Toy's version.
Much better. I mean these armours would never be completely pristine, would they. Think about how they assemble. There's bound to be metal hitting metal.
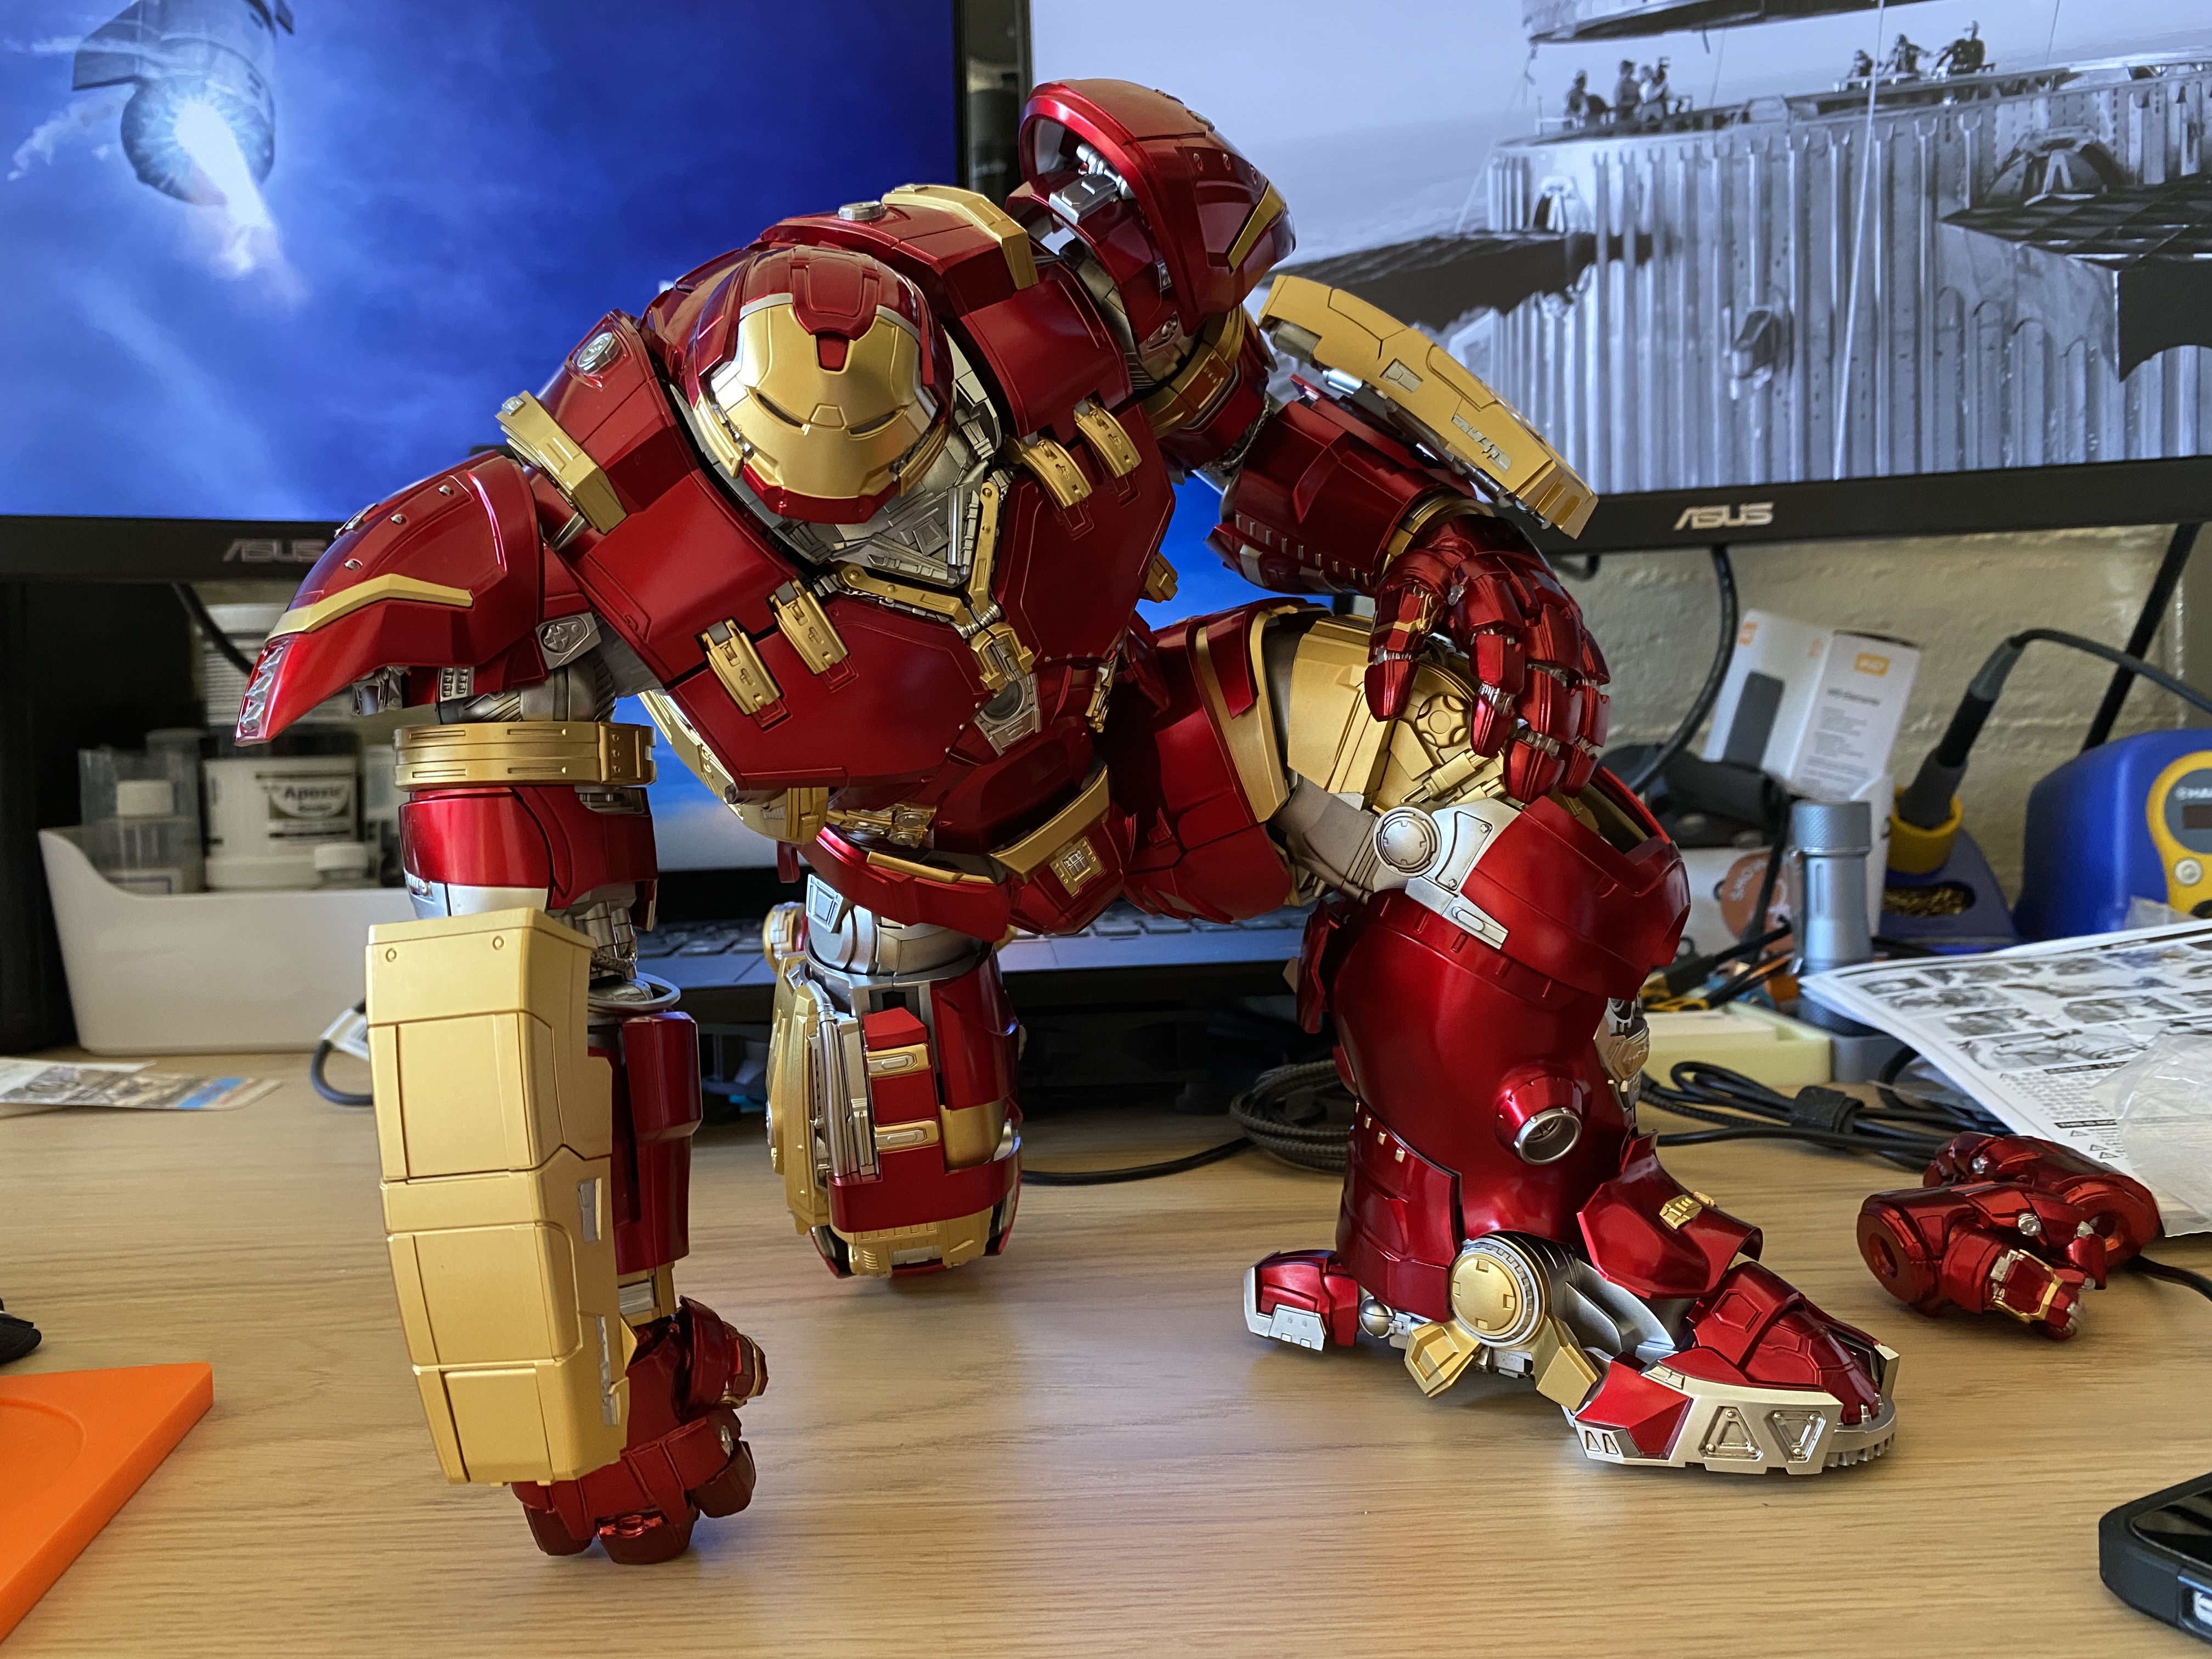
Yeah the onscreen versions of all those metal suits always had a ton of edge wear, keeping them from looking too fake and cgi. They were never clean. At least until the nanotech suits.