1/6 Scale Blade Runner Spinner scratchbuild (Complete!)

Collector Freaks Forum

Help Support Collector Freaks Forum:

This site may earn a commission from merchant affiliate links, including eBay, Amazon, and others.
Thanks for that! I will definitely look into using them. I didn't want the hassle of building a vacformer, which may only be used this one time.
 
Thanks for that! I will definitely look into using them. I didn't want the hassle of building a vacformer, which may only be used this one time.
I use them because they have loads of machines. And they are experts but don’t mind helping the little guy(They order sheet styrene for me from their wholesalers). Let me know if you need their contact details.
 
Door and windscreen frames done. I'll make a former from plasticard and have the glass vacformed. "U" channels in the frames will keep the glass panels in place.

spin110.jpg


spin111.jpg
 
I'm using RC car side mirrors to create clear domes for the lights. I start by trimming off the supports.

spin113.jpg


I'll then have them vacformed along with the roof glass.

spin114.jpg


Made the headrests. I'll continue building up the rear bulkhead with greeblies.

spin115.jpg
 
Making the parts for the headlights. I try to avoid gluing in clear parts, so they can be easily replaced, if they are scratched or damaged later on.

spin117.jpg


Assembled with just 1 screw. I will line the insides with chrome tape and fit an LED.

spin118.jpg


The curved light panels are made from a piece of 8mm acrylic sheet, shaped with a Dremel.

spin119.jpg


spin120.jpg


I've also had to completely rebuild the door mechanisms. After adding the door frames and inner panels, there was too much weight for the motors.

spin121.jpg
 
Last edited:
Started to make the central light unit. First thing to do was to remove 2 LED strips from some cheap torches.

spin124.jpg


The light unit is a clear tube, backed with chrome tape. The 2 end caps are also chrome taped. There is a white tube in the centre.

spin125.jpg


Shown assembled.

spin126.jpg


The LED strips are inserted into the tube.

spin127.jpg


Shown installed.

spin128.jpg


I also totally rebuilt the wheel folding mechanism at the front. The previous setup used an electric window motor, which was big and heavy and also required the use of a hefty battery to power it. The 2 linear actuators can be run from a standard USB battery bank, so there is a significant reduction in weight. The main reason for the change was to slow down the operation. Before, it folded in under a second. Now it takes about 3, like real landing gear. Removing the gears should also make it a lot more reliable. The actuators were not cheap, but the advantages made it worthwhile.

spin129.jpg
 
Really loving your work on this project. I built the Fujimi kit a while back and did custom lighting (from a kit) and scatchbuilt a Deckard and Gaff to go in it, what you're doing is so incredible, absolutely marvellous process and execution.

18121688_10210607610244638_4960896825594904346_o.jpg


I also developed a permanent rain effect for it too.

19144113_10211048694591471_7929273006368023508_o.jpg


The LEDs flash between the red and blue and has them underneath as well. Was a real ***** to get everything together in this scale but managed to run it all of a 9v battery that's selfcontained, so no external wires.

Looking forward to more updates, Marine Boy!! And hoping all your COVID symptoms are cleared.
 
Great job with the lights. The rain effect looks very convincing, although it seems a shame to obscure all that lovely interior detail.
 
Today's update, adding the interior details to the door panel. The rectangular openings appear to be digital readouts, so i'll print them onto paper and backlight them. The passenger side is not as detailed.

spin130.jpg
 
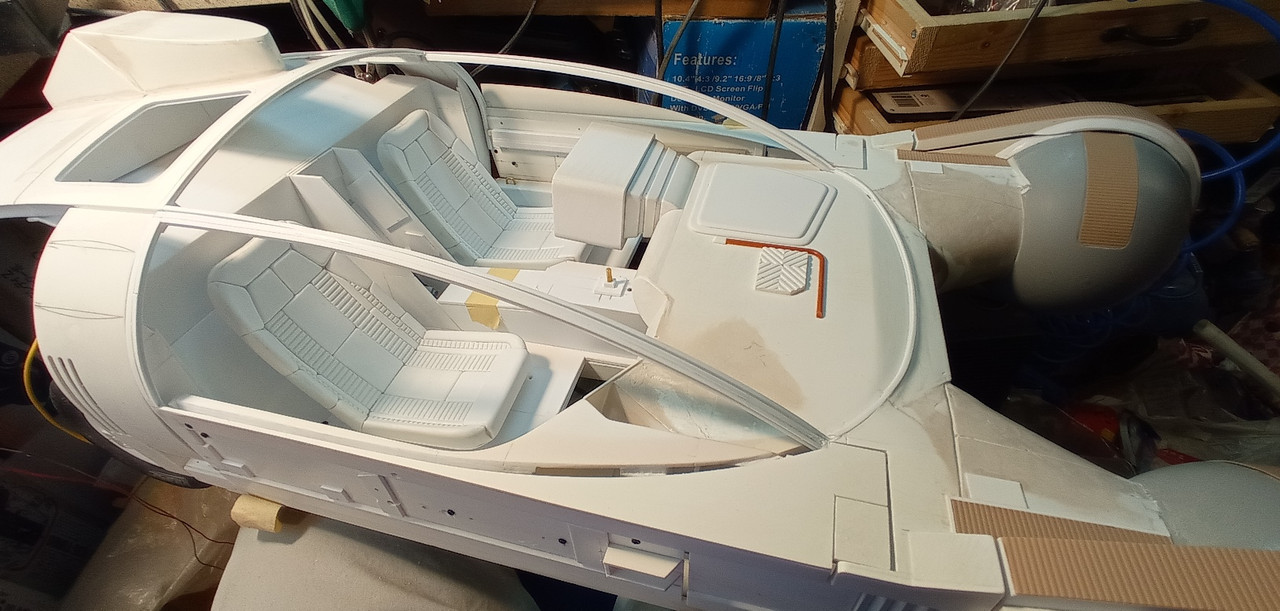
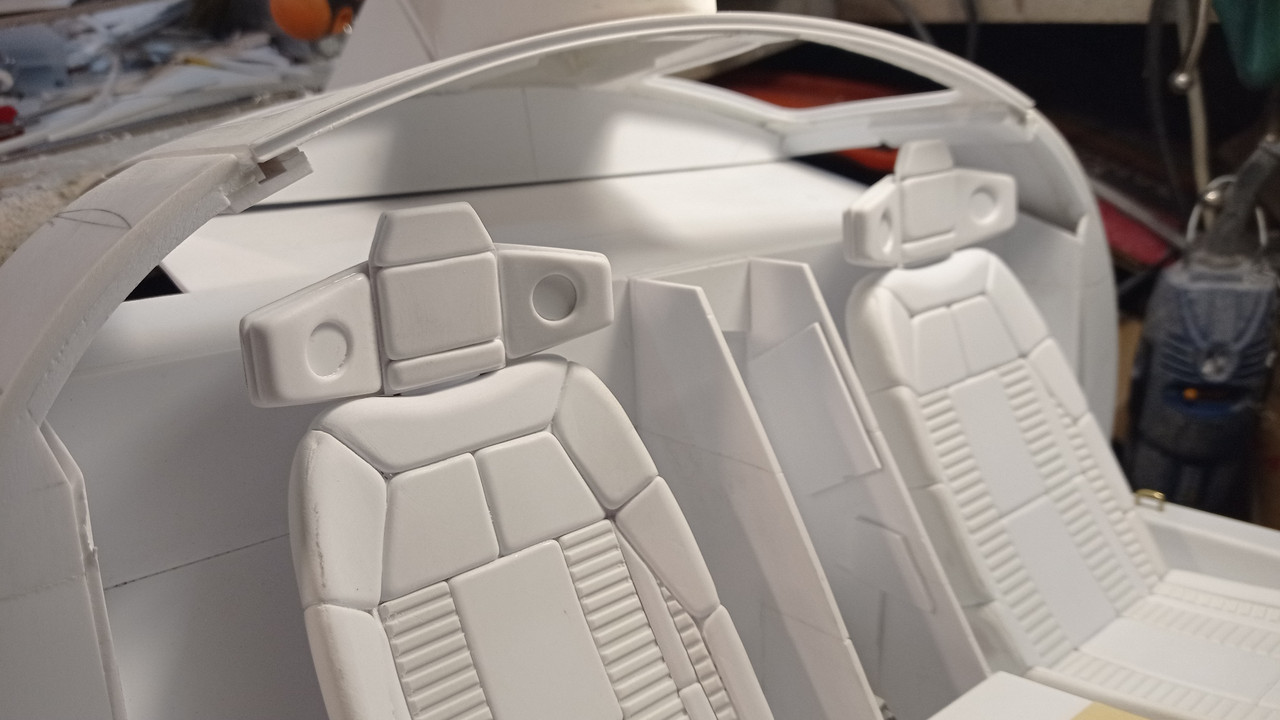
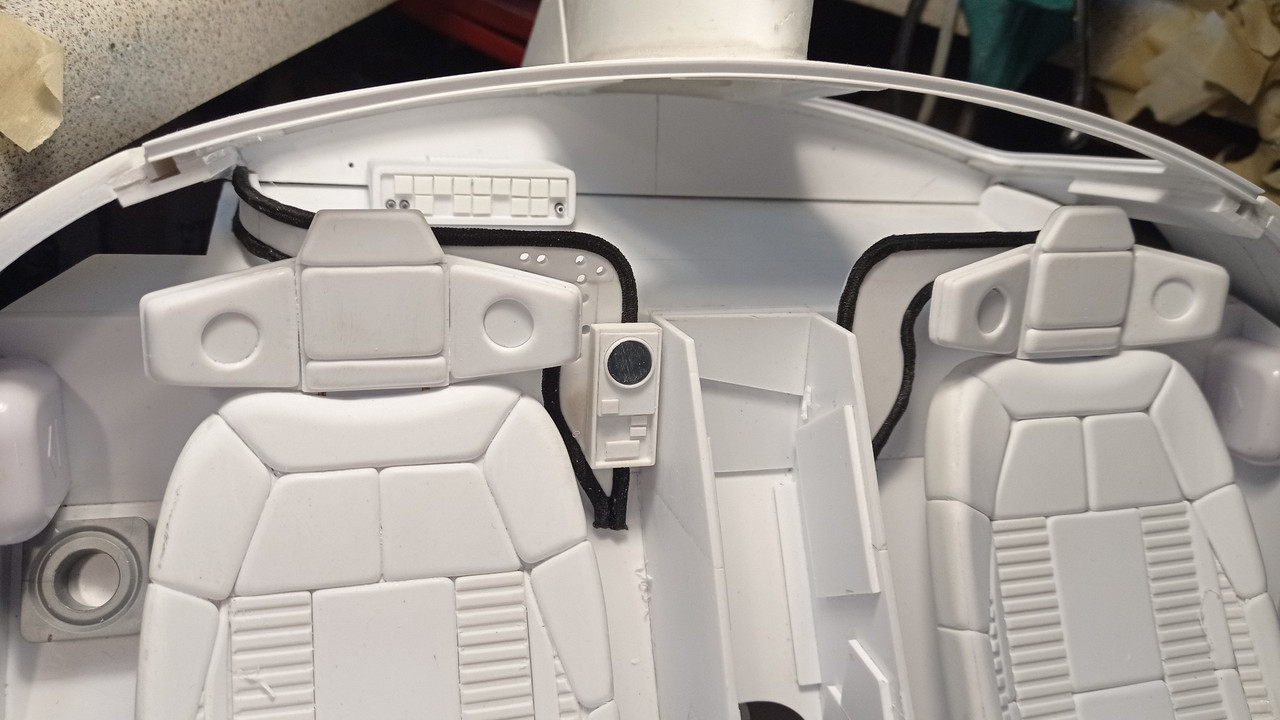
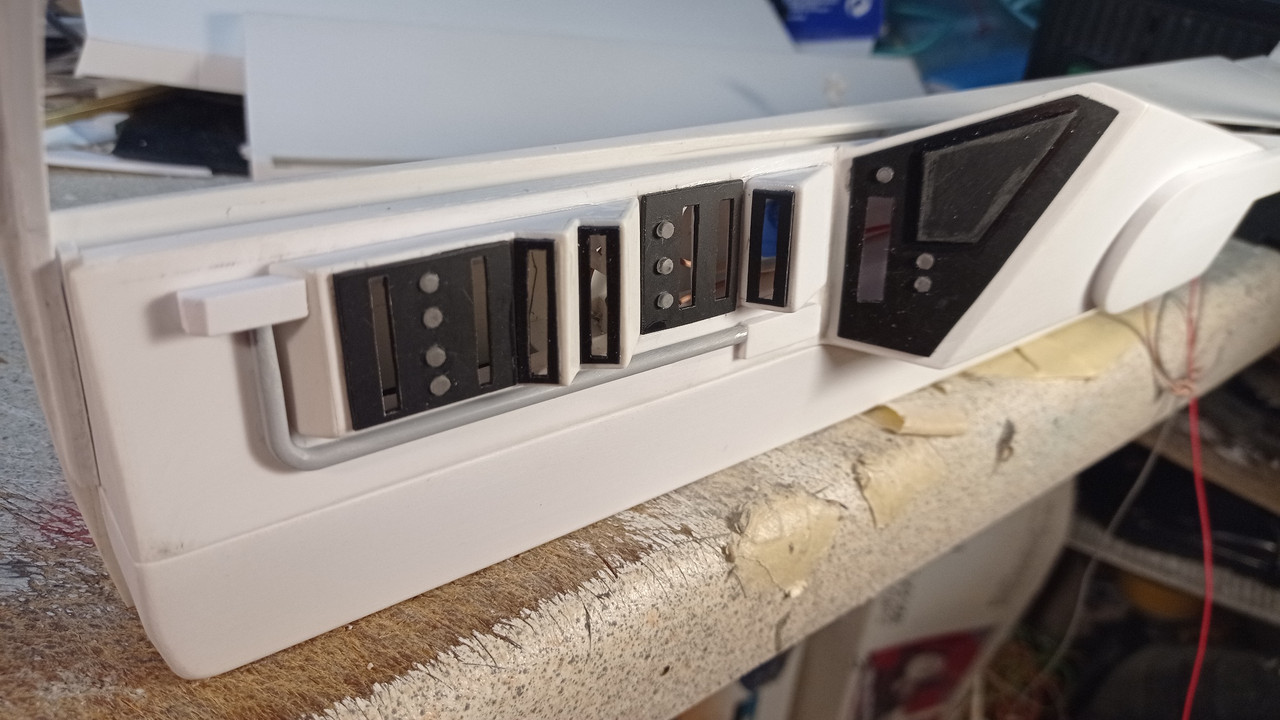
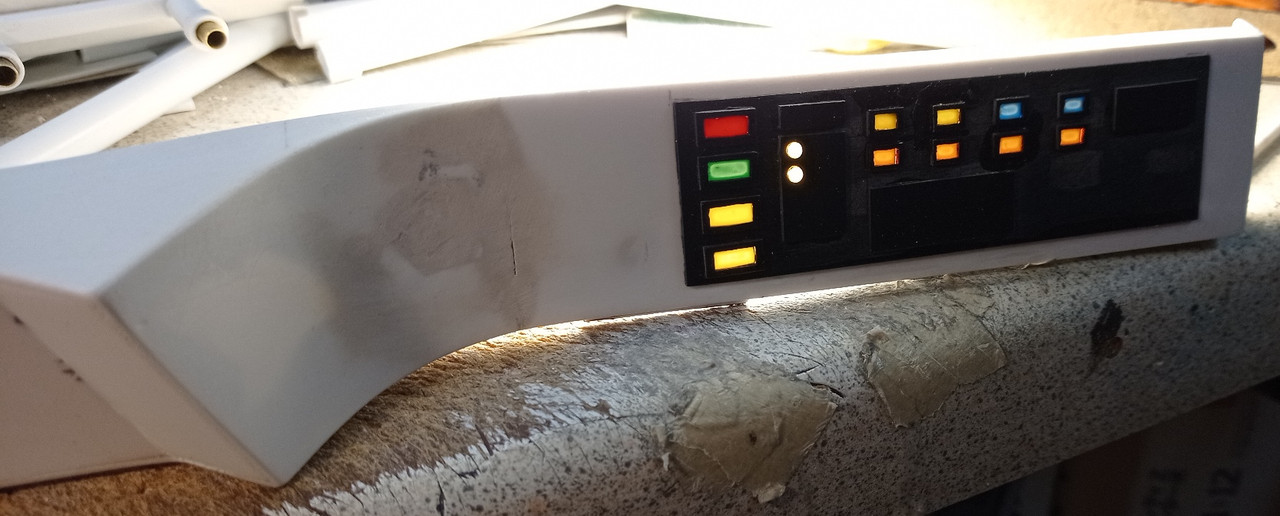
Added some detail to the passenger door. There is very little reference for this area, only a brief glimpse, on the way to the Police HQ. Still more detail to be done.

spin131.jpg


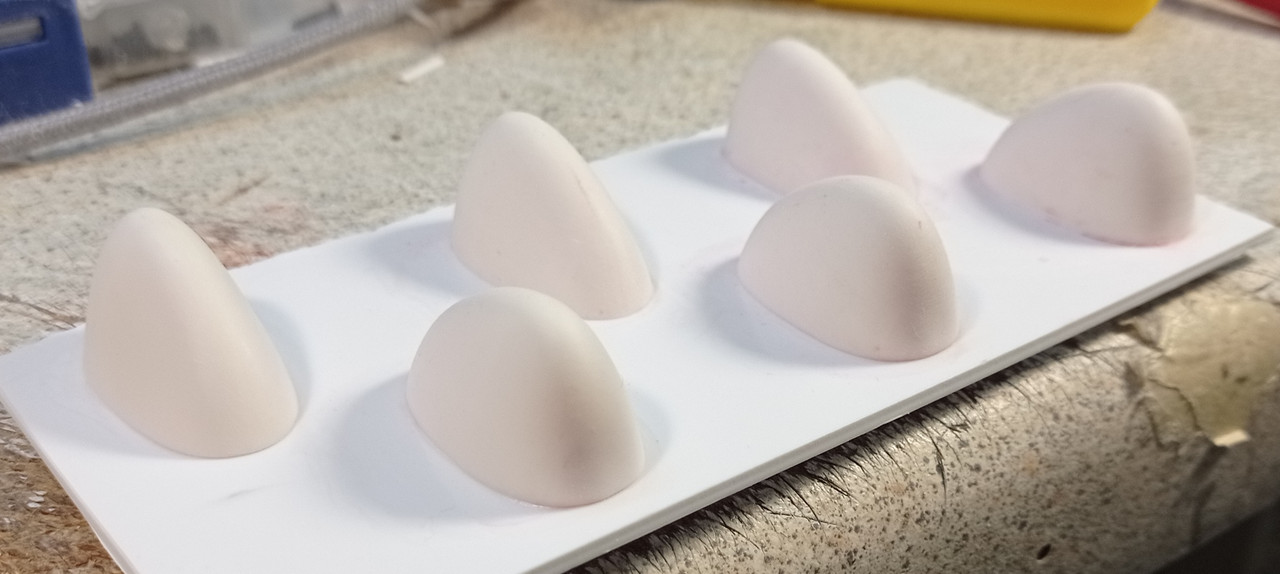
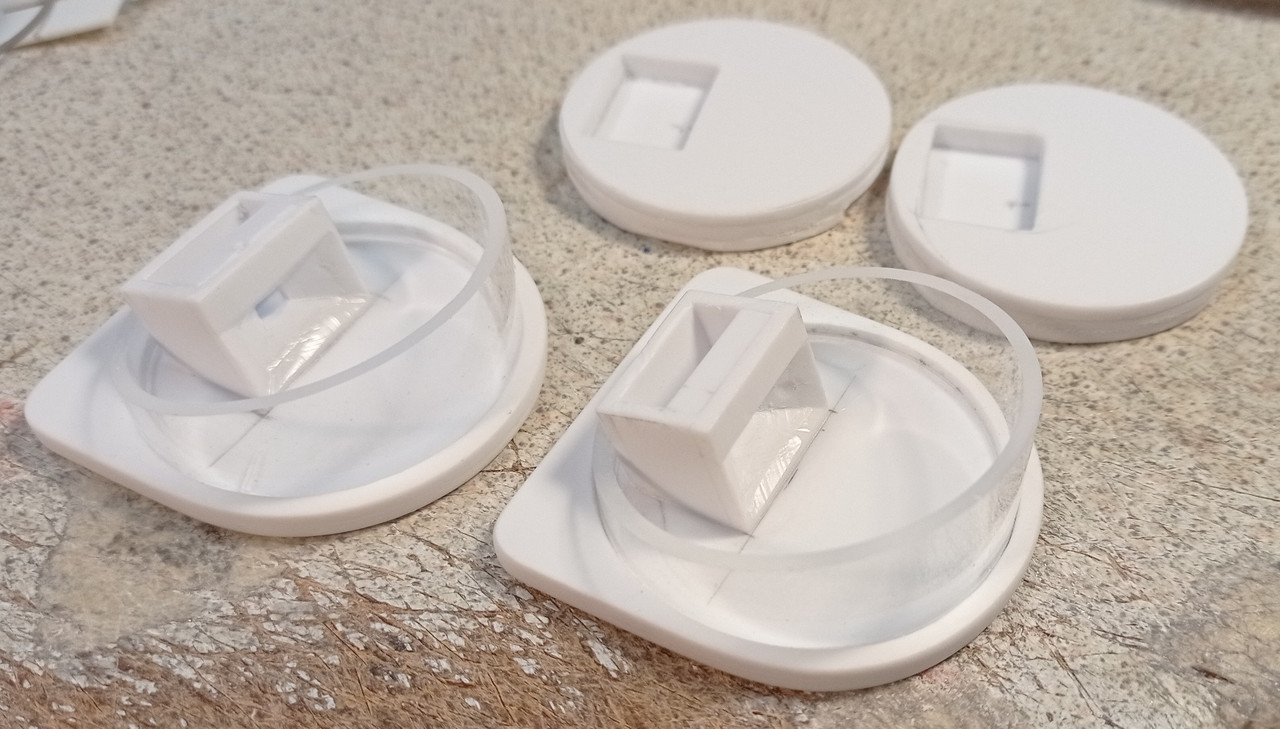
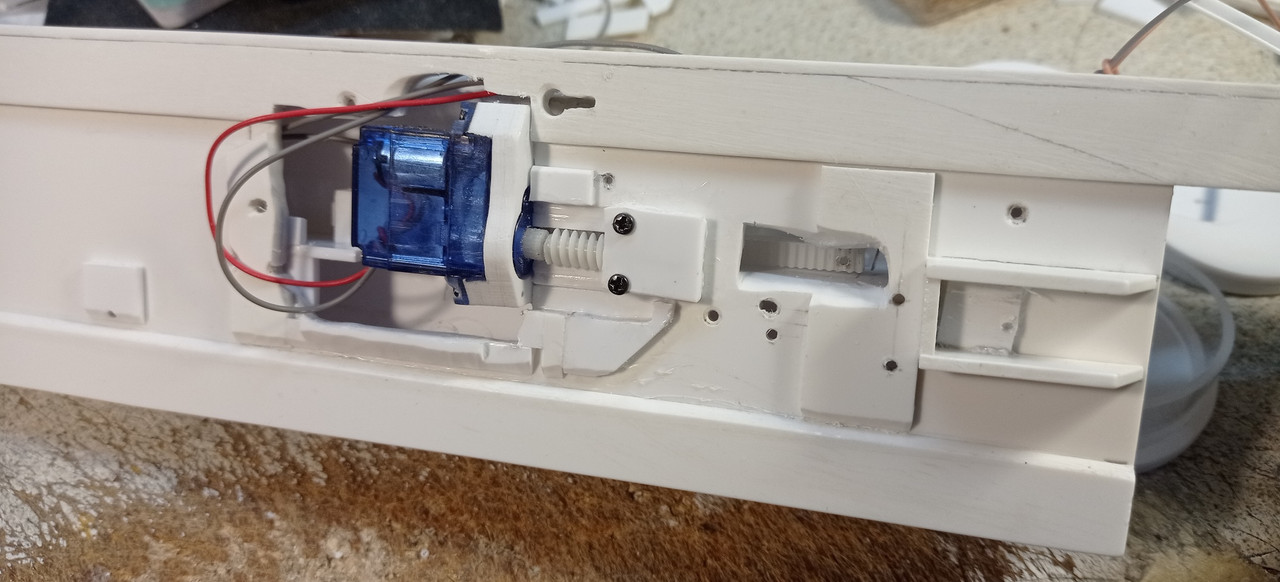
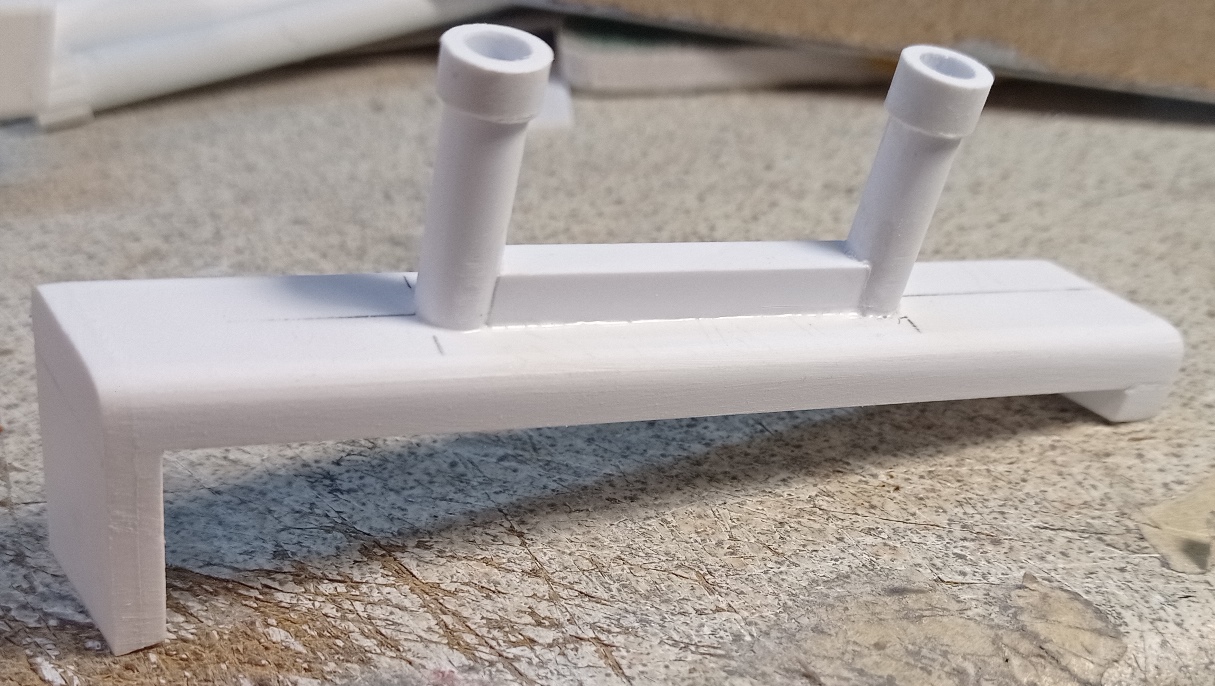
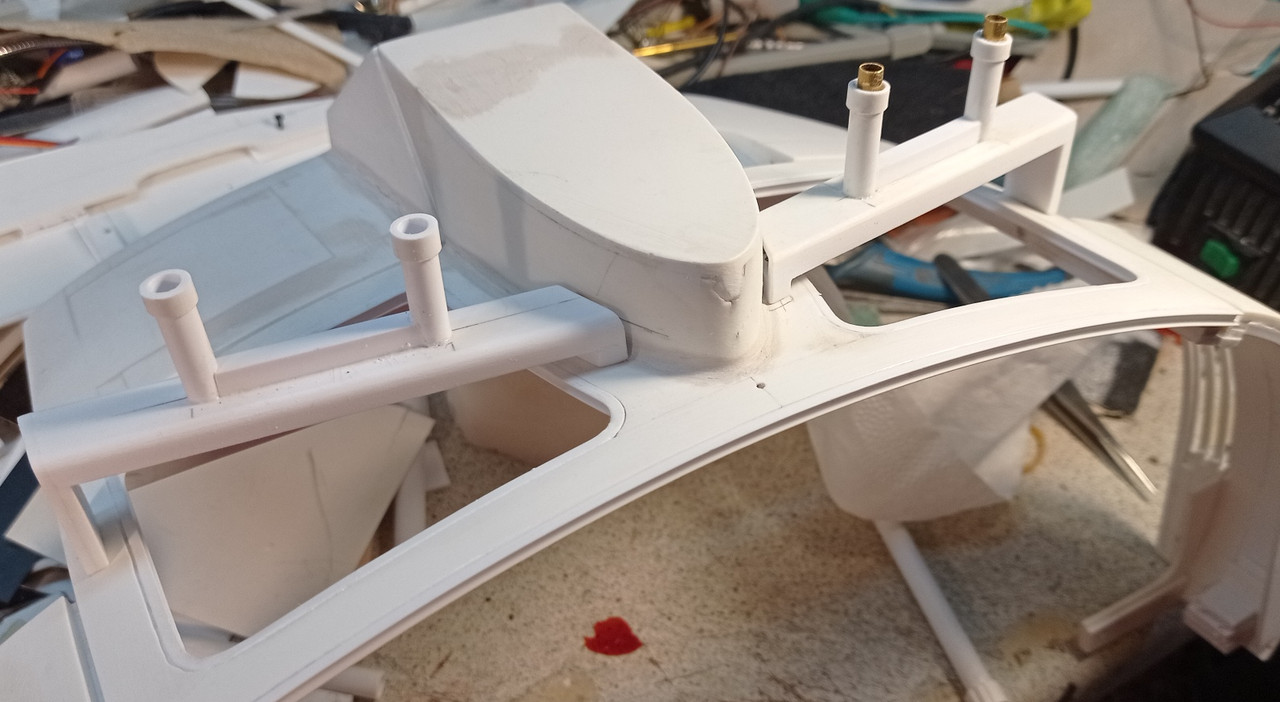
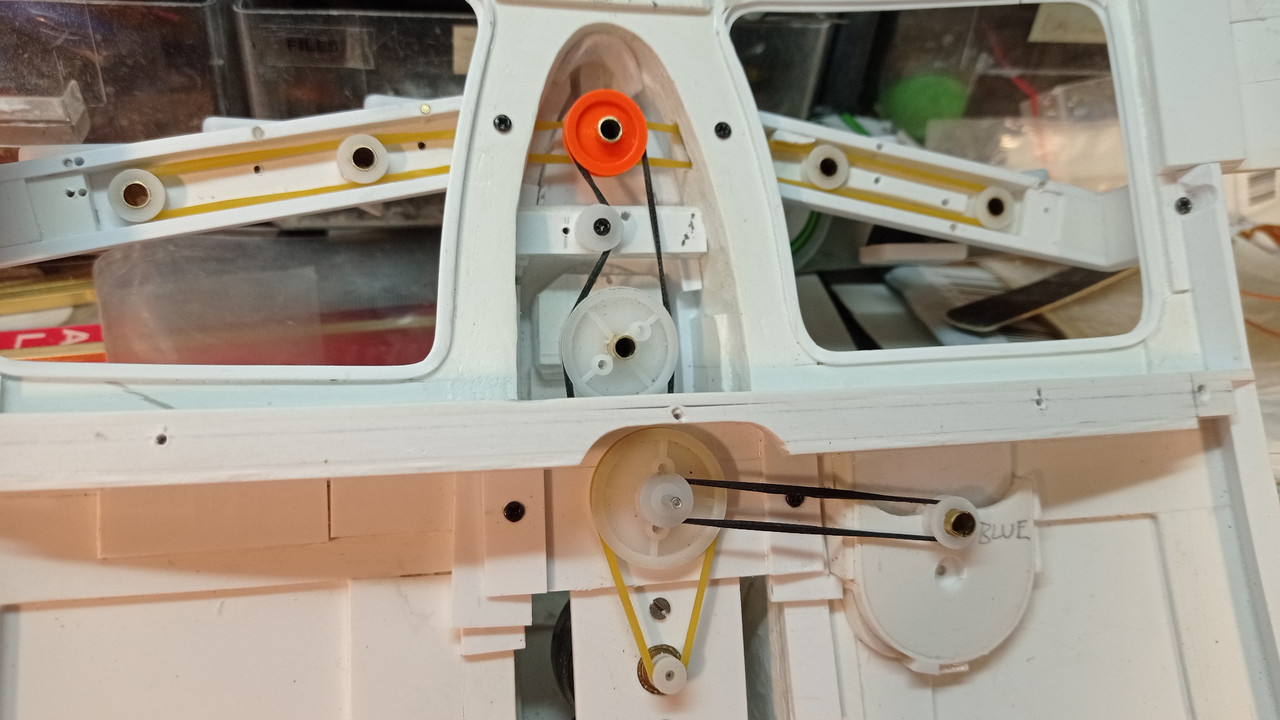
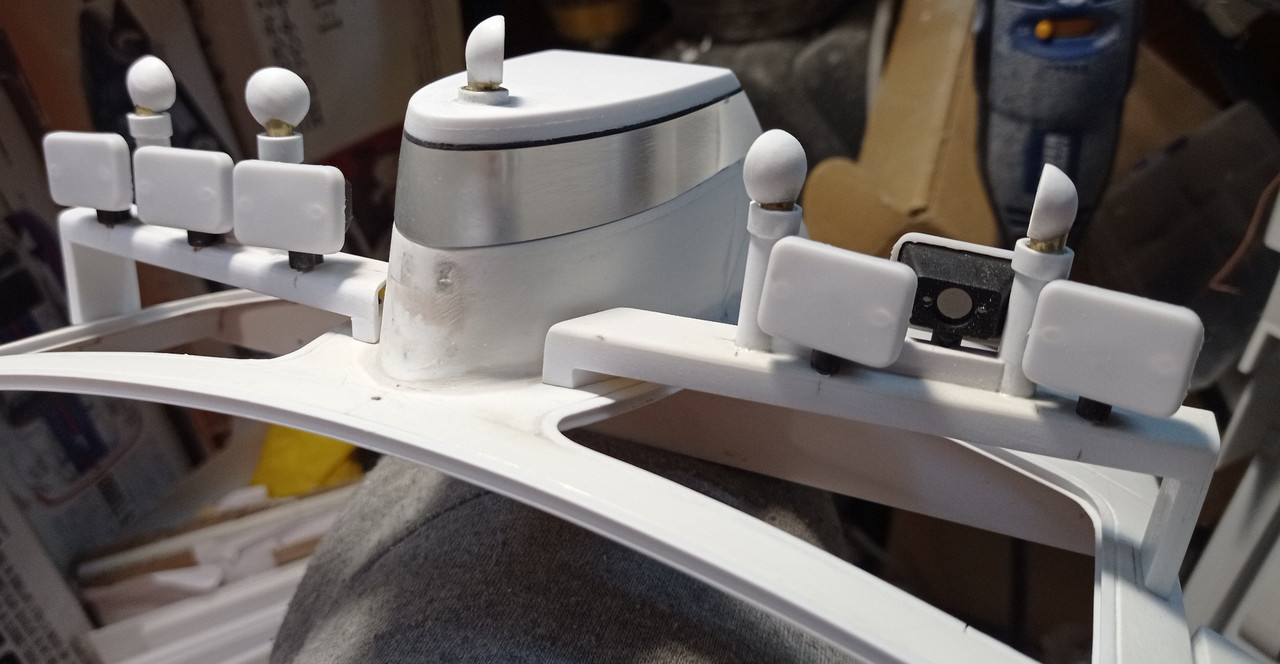
Started making the mounts for the strobe lights. I was going to use electronic strobes, composed of multiple LEDS, but these are quite small and not too bright, as they're intended for 1/10 scale vehicles. I opted to make a mechanical setup.

spin132.jpg


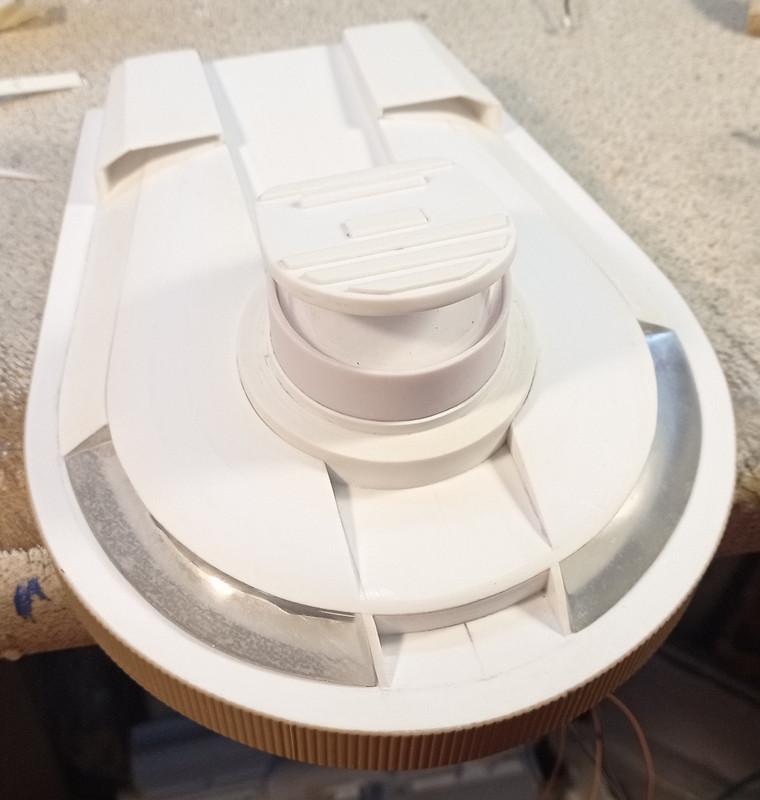
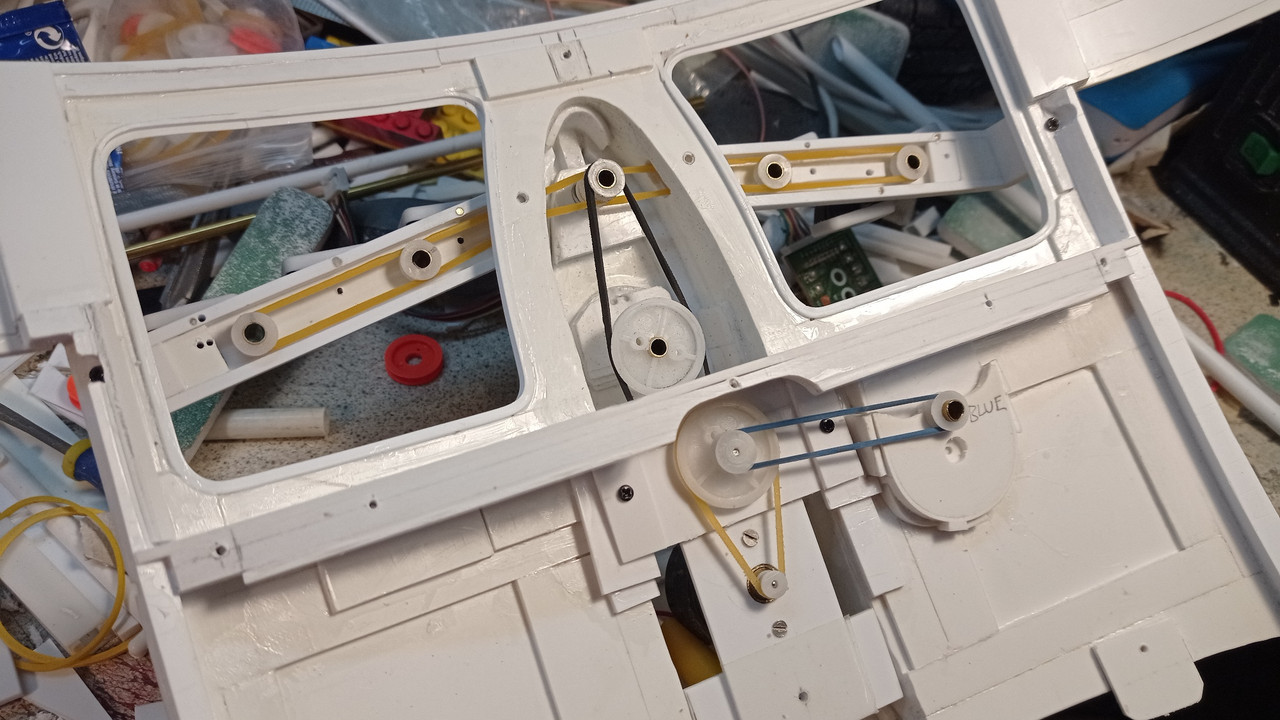
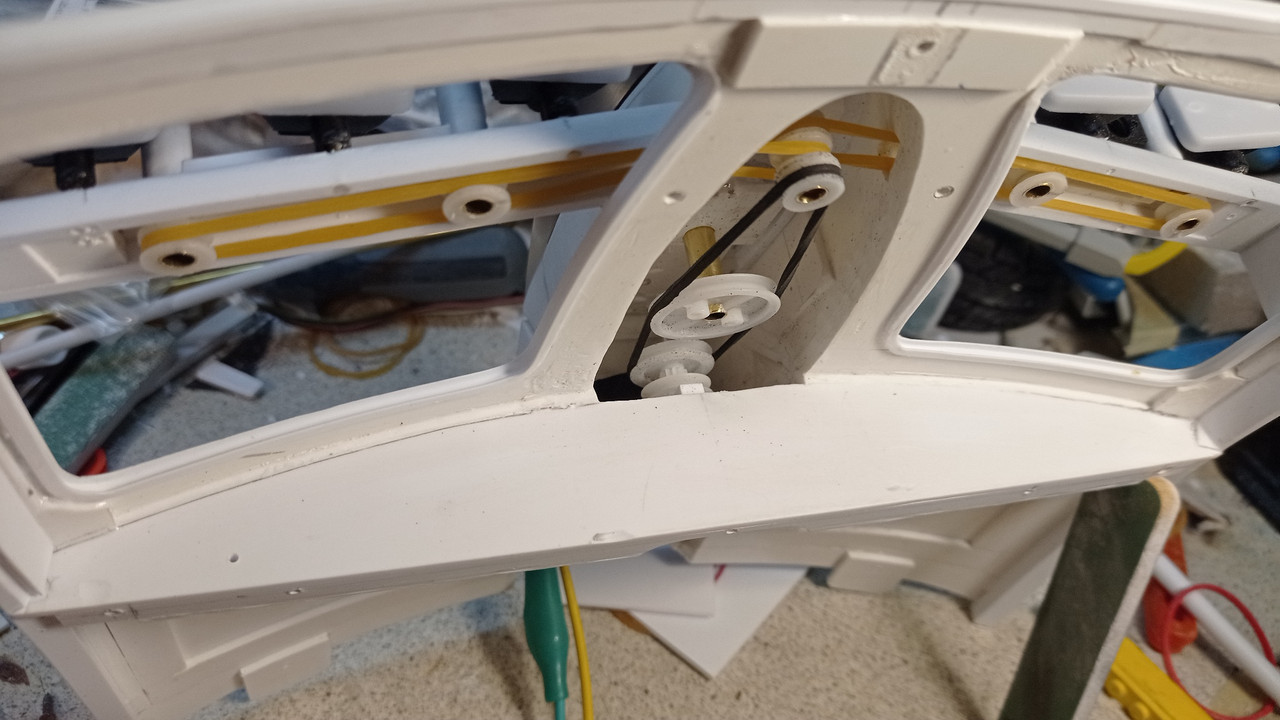
I made these oversized, in order to conceal a drive belt within. 3mm LEDs will be passed through the brass tubes, with a 45 degree reflector mounted on top.

spin133.jpg


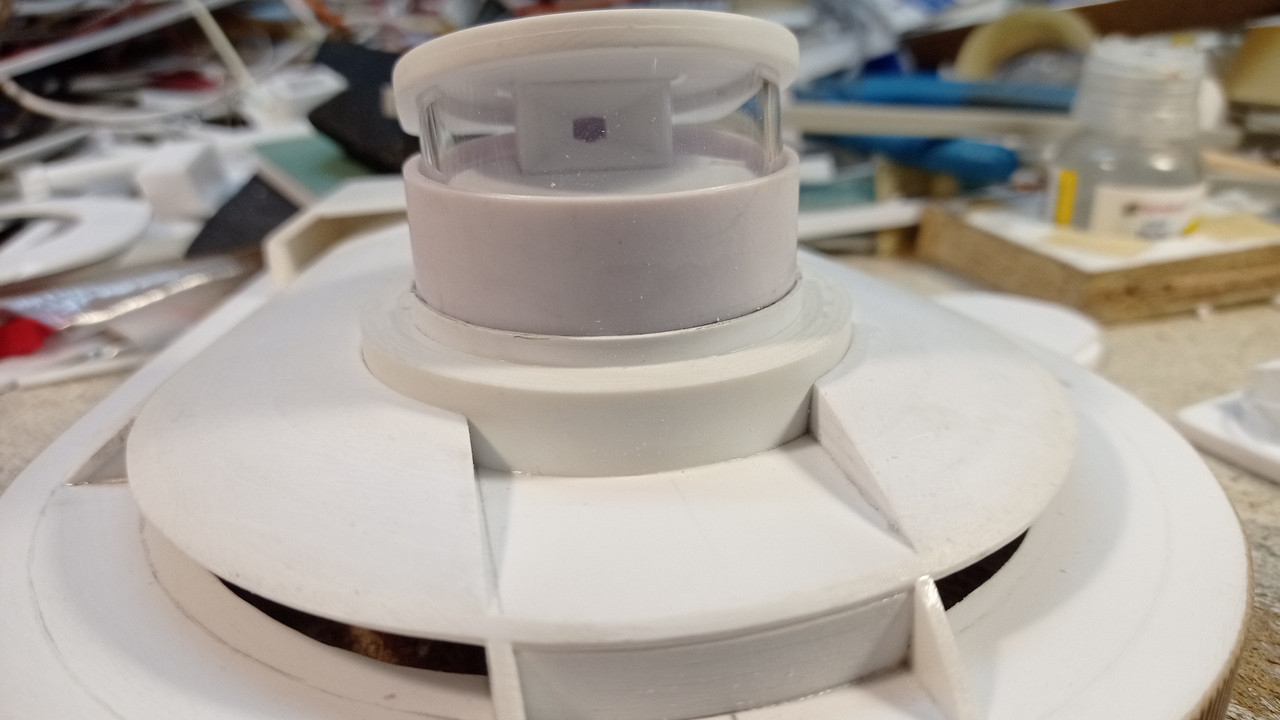
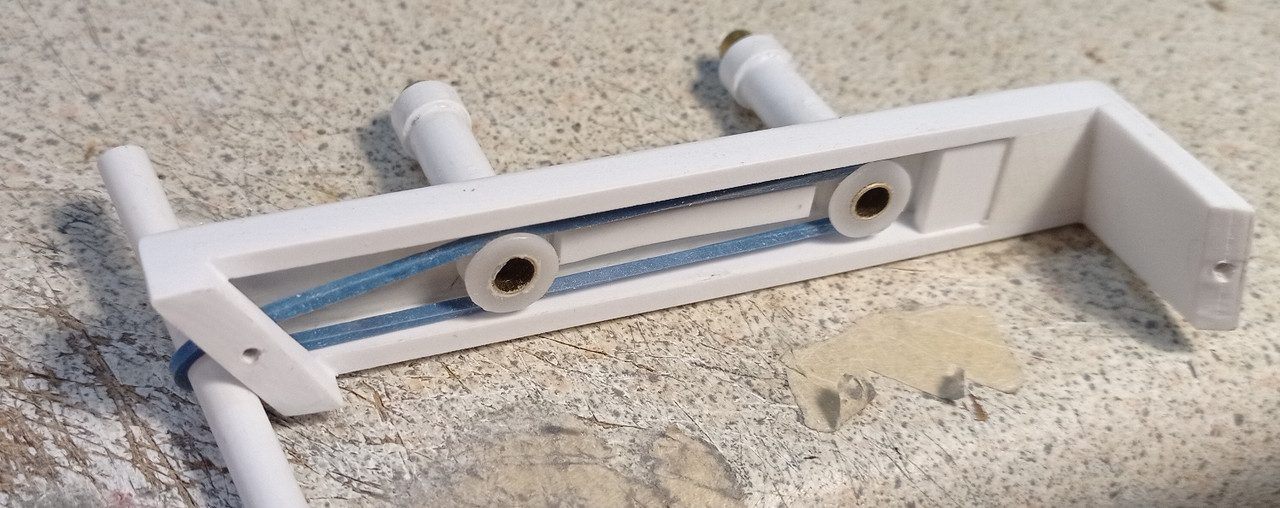
Fitted to the car. The belt passes through the end of the mounting bar and into the central spine. The central strobe light will connect both belts. I wanted to use belts, not gears, to minimise the noise during operation. I will drive them using the quietest motor i can find, the type used in walkmans / tape recorders.

spin134.jpg


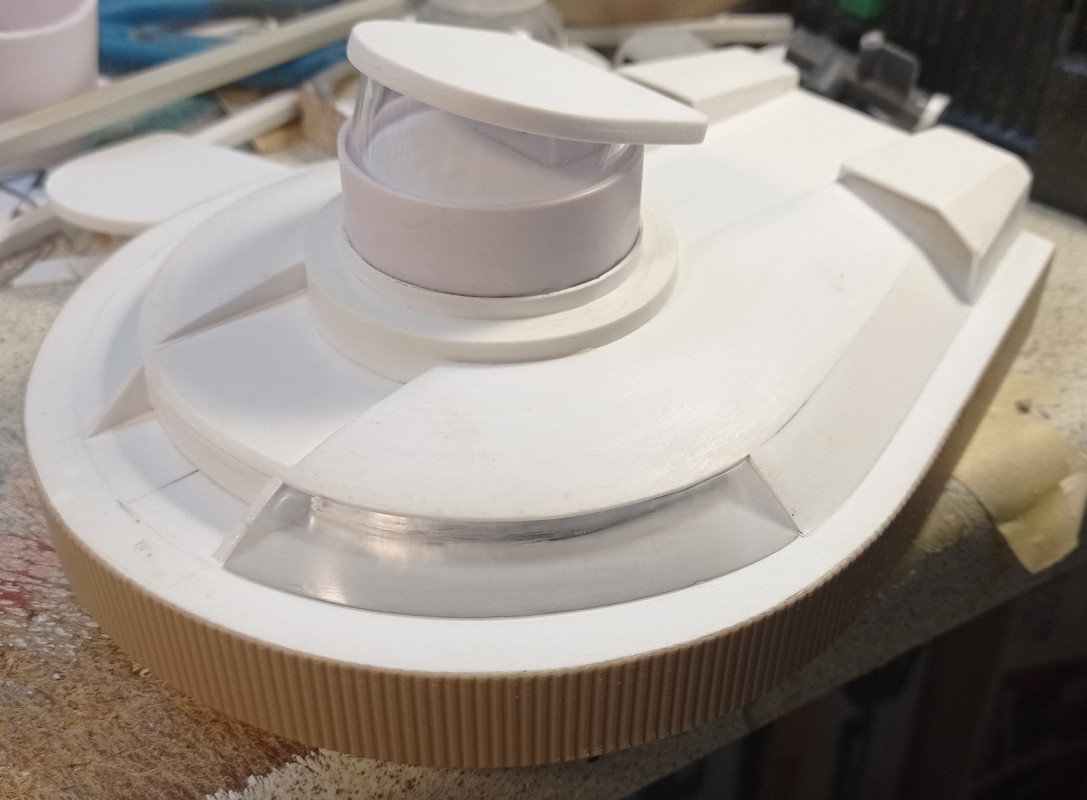
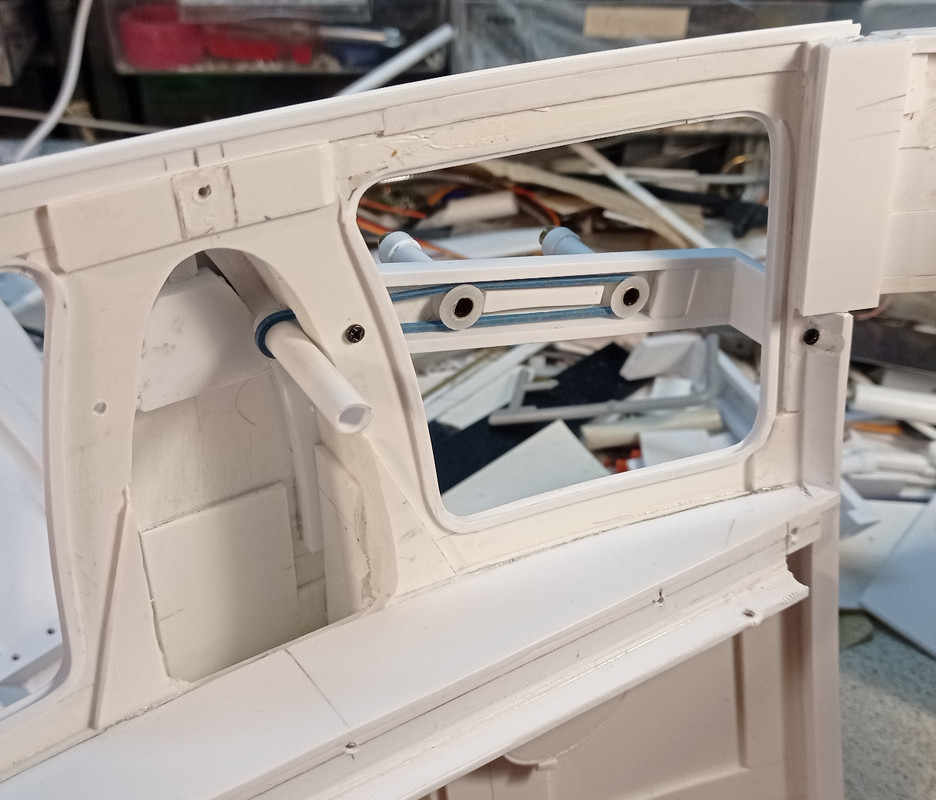
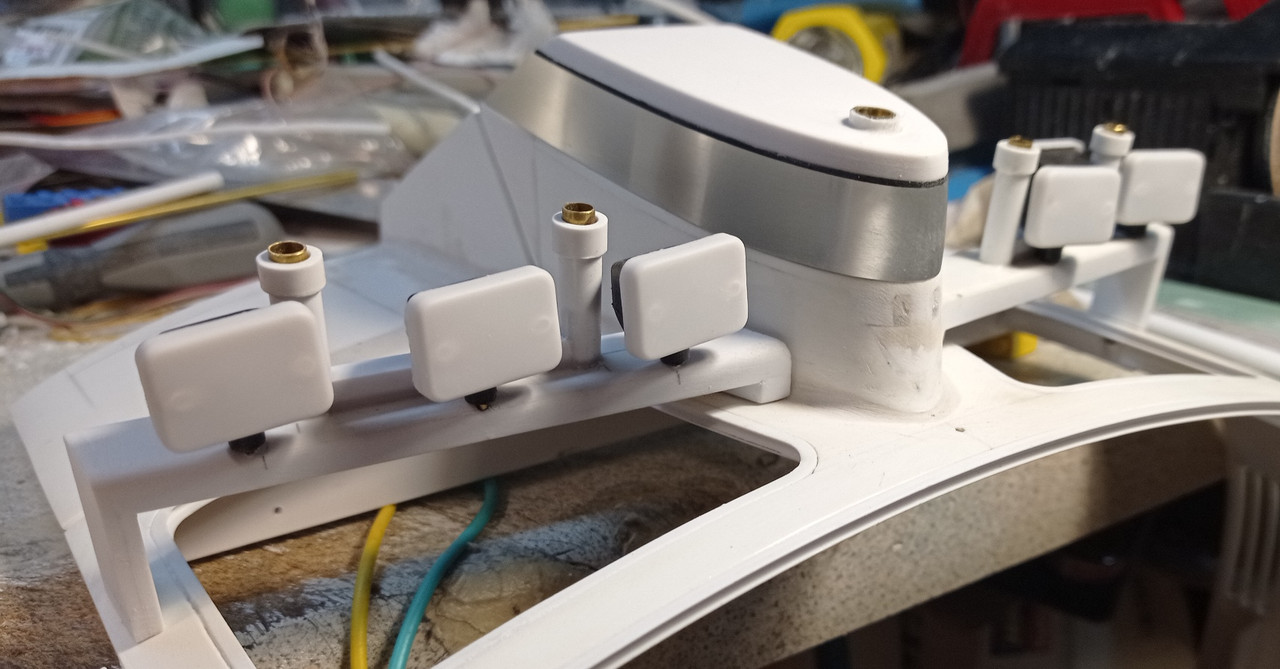
Fitted in place. Once the rectangular lights are added, they will help disguise the added bulk of the mounts.

spin135.jpg
 
I added the drive motor for the strobe lights. There are 7 strobe lights in total to be powered, 2 on each lightbar, 1 on the centre, 1 on the roof (behind the window) and 1 hidden inside the clear fairing. This last one is only visible in a few shots when the car is on the ground. During flight, it is fully lit. I'm using rubber bands, which are not the best, so i've ordered some proper drive belts. It's not totally silent, but it's nowhere near like the Ecto-1's lights.

spin136.jpg


spin137.jpg


I made the clear fairing from a 15mm block of acrylic. There are covers over the lights to protect them for now.

spin138.jpg
 
All the drive belts in place. I will enclose this area to block out as much noise as possible. I just need to insert 3mm LEDs into all the brass spindles.

spin139.jpg


Reflectors made. I will paint them silver and add some chrome tape to the insides.

spin140.jpg


Video of them in operation.

 
Back
Top